Attaching PDF files to a case
Archived
3 Tasks
10 mins
Scenario
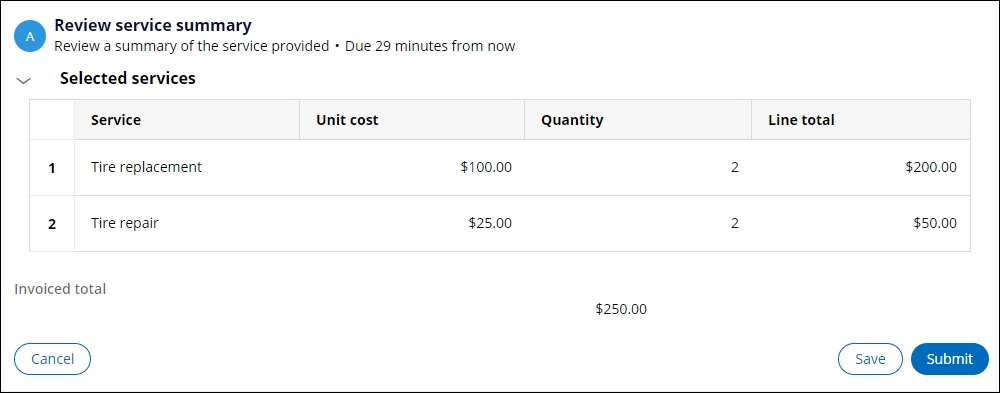
After roadside assistance services have been provided, customers with standard coverage receive a receipt for the service charge, including a breakdown of the services provided.
Send an email message to customers with the invoice total and an attachment with the breakdown of charges from the Review service summary view.
The following table provides the credentials you need to complete the challenge.
| Role | User name | Password |
|---|---|---|
| Application Developer | author@gogoroad | pega123! |
Note: Your practice environment may support the completion of multiple challenges. As a result, the configuration shown in the challenge walkthrough may not match your environment exactly.
Challenge Walkthrough
Detailed Tasks
1 Create the receipt for service charge PDF
- In the navigation pane of App Studio, click Case types > Assistance Request to open the case.
- In the Resolution stage, click Step > More > Automations > Create PDF > Select to add a Create PDF automation.
- Click and drag the step to precede the Send receipt to customer step.
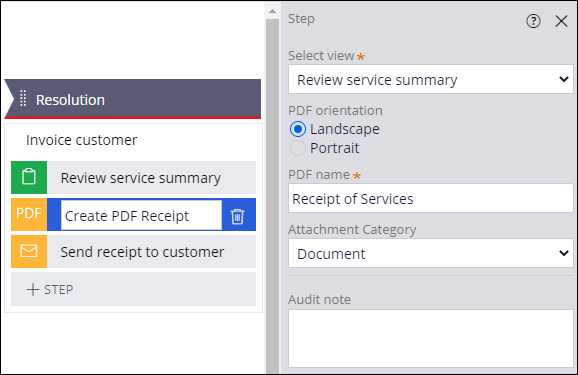
- Click the Create PDF step, and then enter Create PDF Receipt as the step name.
- In the contextual pane, in the list, select Review service summary.
- In the PDF name field, enter Receipt of Services.
- In the Attachment Category list, select Document.
- Click Save.
2 Attach customer email to the case
- In the header of App Studio, click App Studio > Dev Studio to switch workspaces.
- In the navigation pane of Dev Studio, click Case types > Assistance Request to open the case.
- In the Resolution stage, click Send receipt to customer.
- In the contextual pane, select Include attachments > Choose attachments > Category > Document.
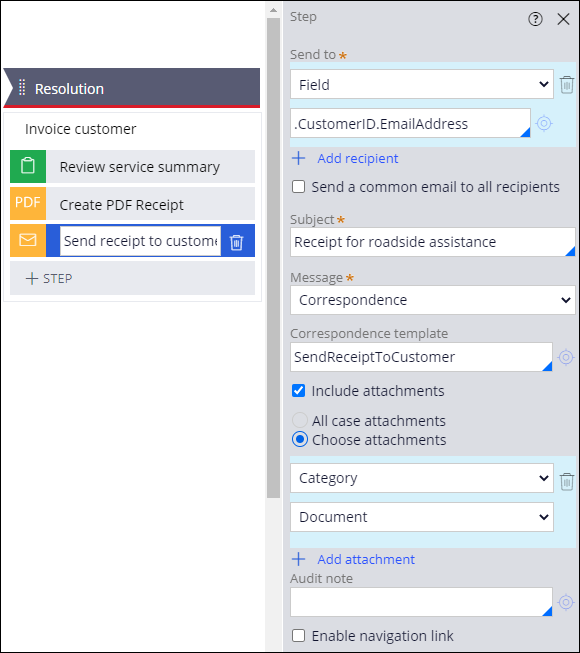
- Click Save.
3 Confirm your work
Note: To confirm your work, select a user who does not have the Coverage level = Gold. Otherwise, you do not encounter the process.
- In the Assistance Request case type, click Save and Run.
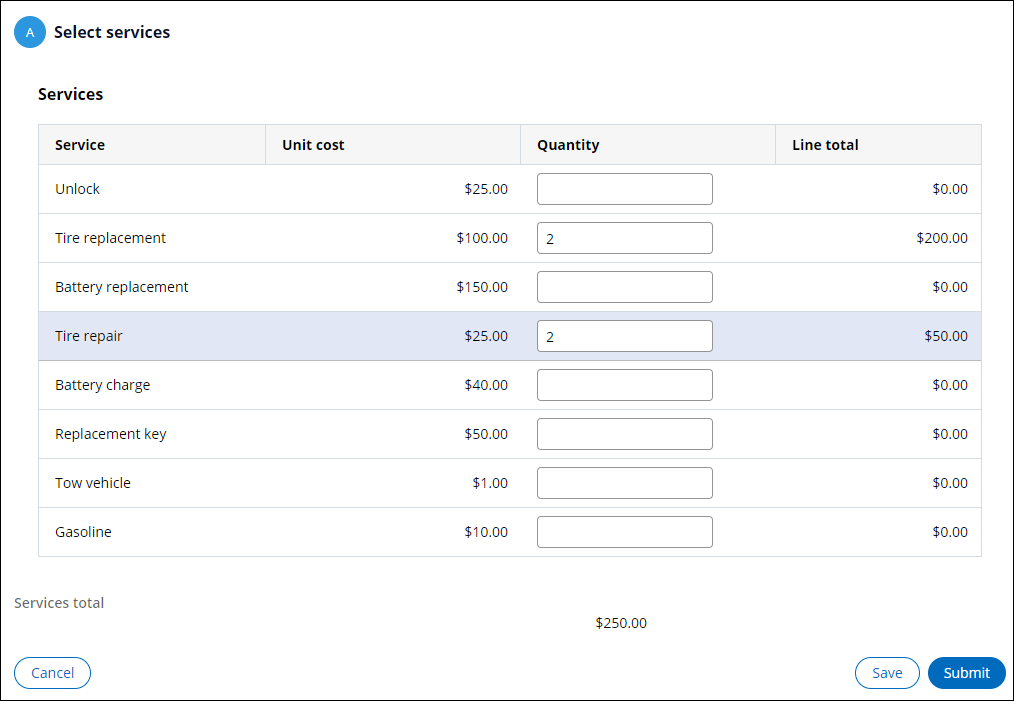
- Advance the case to the Select services step.
- In the list of services, in one of the Quantity fields, enter a value to ensure that the Services total is correct.
- Click Submit to advance to Review service summary step.
- On the Review service summary form, verify the quantities for the selected services.
- Click Submit to change the Assistance Request case to a Resolved-Completed status.
- Click Actions > Refresh to refresh the page.
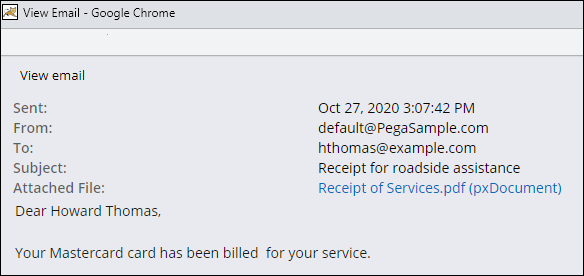
- In the final case view, in the Files & documents section, verify that the Receipt of Services PDF and the Receipt for roadside assistance email are attached to the case.

- Click Receipt for roadside assistance to open the email, and then click Receipt of Services.pdf (pxDocument) to open the Receipt of Services PDF attachment.
Note: The PDF attachment may not open from the email window due to connection security. You can download it separately in the section.