Configuring business conditions
2 Tasks
5 mins
Scenario
U+ Bank identifies that many customer accounts are without associated email or Facebook contact information. To ensure their client database is up to date, Customer Service Administrators decide to update customer contact information by using the Intelligent Guidance feature of Pega Customer Service™. U+ Bank wants its CSRs to suggest contact information updates when they interact with customers whose contact email or Facebook ID is missing. The bank wants the relevant service request type to display in the system as the next best action for the CSR to take.
As a Customer Service Administrator, create a new business condition to verify whether the customer is missing a contact email or Facebook ID.
Use the following credentials to log in to the exercise system:
| Role | User name | Password |
|---|---|---|
| Customer Service Administrator | CSAppAdmin | password123! |
| Customer Service Representative | cacsr | password123! |
Your assignment consists of the following tasks:
Task 1: Create a new business condition
Create a new business condition in App Studio with the following information:
|
Name |
Description |
|
Contact email or Facebook ID missing |
Contact information needs updating as email or Facebook account is missing. |
|
Condition number |
Context |
Property |
Operator |
Value |
|
1 |
.Contact |
|
is equal to |
"" |
|
2 |
.Contact |
Facebook ID |
is equal to |
"" |
Task 2: Configure the Intelligent Guidance feature for autopay enrollment
Set up the Intelligent Guidance feature to display Update contact information as the next best action for the CSR to take whenever the newly created business condition is true.
Task 3: Confirm your work
Initiate a demo call from John Brown, a customer whose contact email account is missing. Verify if Update contact information is displayed as a suggested action.
Challenge Walkthrough
Detailed Tasks
1 Create a new business condition
- On the exercise system landing page, click Pega CRM suite to log in to App Studio.
- Log in as a Customer Service Administrator with User name CSAppAdmin using Password password123!
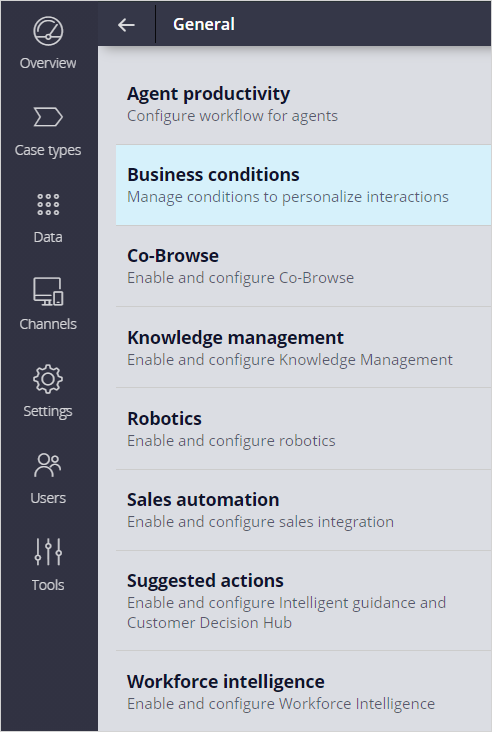
- In the navigation pane of App Studio, click Settings > General to access the application settings.
- On the General landing page, click Business conditions to open the Business Conditions landing page.
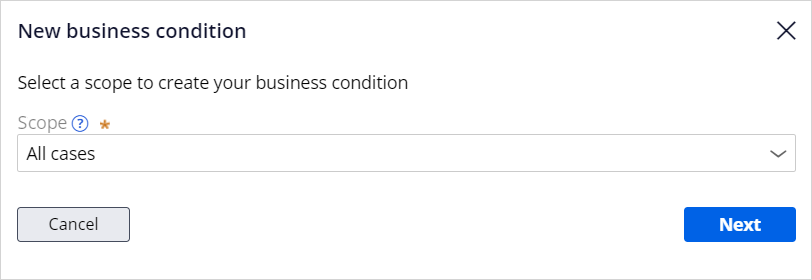
- On the Business conditions landing page, click Add to create a new business condition.
- In the New business condition dialog box, in the Scope list, confirm that the new business condition scope is All cases, and then click Next.
- In the condition builder, in the Name field, enter Contact email or Facebook ID missing.
- In the Description field, enter Contact information needs updating as email or Facebook account is missing.
- In the Set conditions section, begin configuring the first row:
- In the Select context list, select .Contact from the list.
- In the property list, select Field > Email.
- In the comparator list, select is equal to.
- In the property value field, enter "". This indicates a blank field.

- Click the Add icon to configure the second row of the business condition.
- In the Select context list, select .Contact.
- In the property list, select Field > Facebook ID.
- In the comparator list, select is equal to.
- In the property value field, enter "".

- Under the first condition, click the logical operator selection list, and then select or.
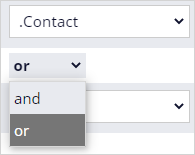
- Click Submit to complete the configuration of the business condition.

- In the upper-right corner, click Save to save the business condition.
2 Configure the Intelligent Guidance feature for autopay enrollment
- In the navigation pane of App Studio, click Case types to open the Case Type Explorer.
- Click Update contact information to open the case type.

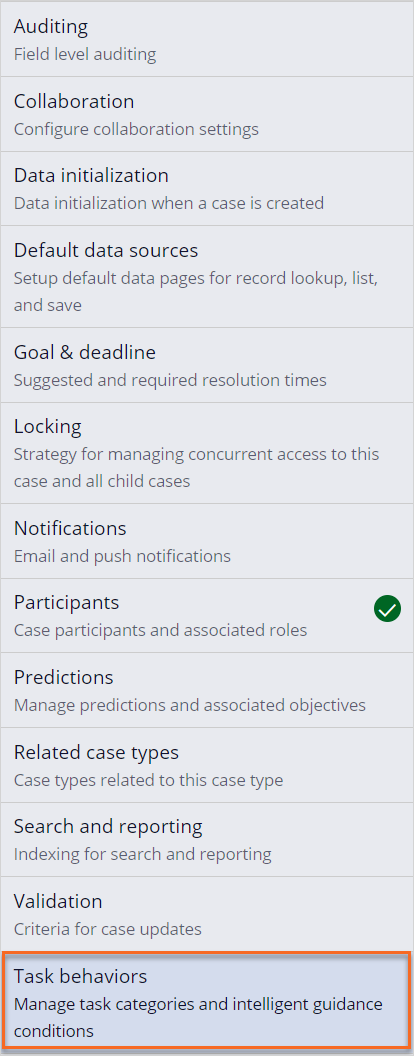
- Click the Settings tab.
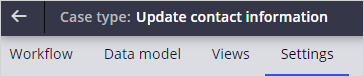
- On the Settings tab, click Task behaviors to begin configuring the case type as the next-best-action for the CSR to take.
- In the Task behaviors dialog box, on the General tab, in the Display suggested action when section, click Add new to add the newly created business condition.
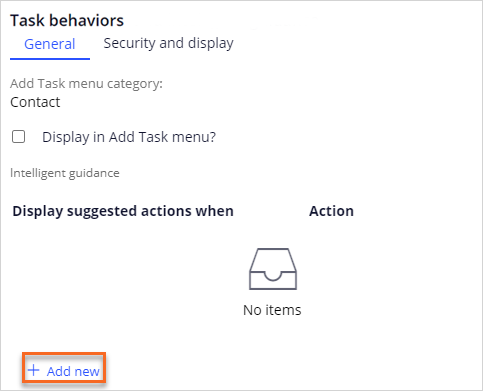
- In the Display suggested action when list, select Contact email or Facebook ID missing.
- In the Action list, select Suggest.

- In the upper-right corner, click Save.
- In the lower-left corner, click the user icon, and then select Log off to log out of App Studio.
Confirm your work
- Log in to the Interaction Portal with User name cacsr and Password password123!
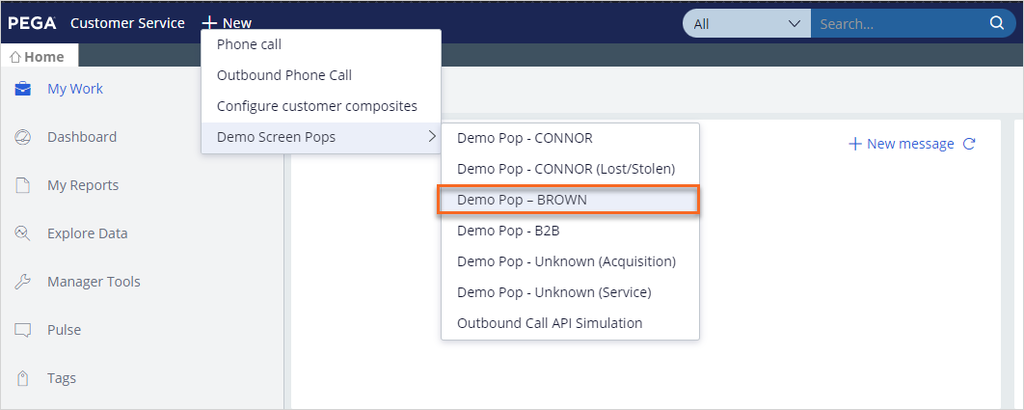
- In the header of the Customer Service application , click New > Demo Screen Pops > Demo Pop - BROWN to launch the customer interaction.
- In the Incoming Web messaging conversation window, click Accept to initiate the customer interaction.
The Update contact information case suggestion is now displayed in the Next best action section of the screen. In the Contact Information section, you can see that John Brown's email information is missing from his account.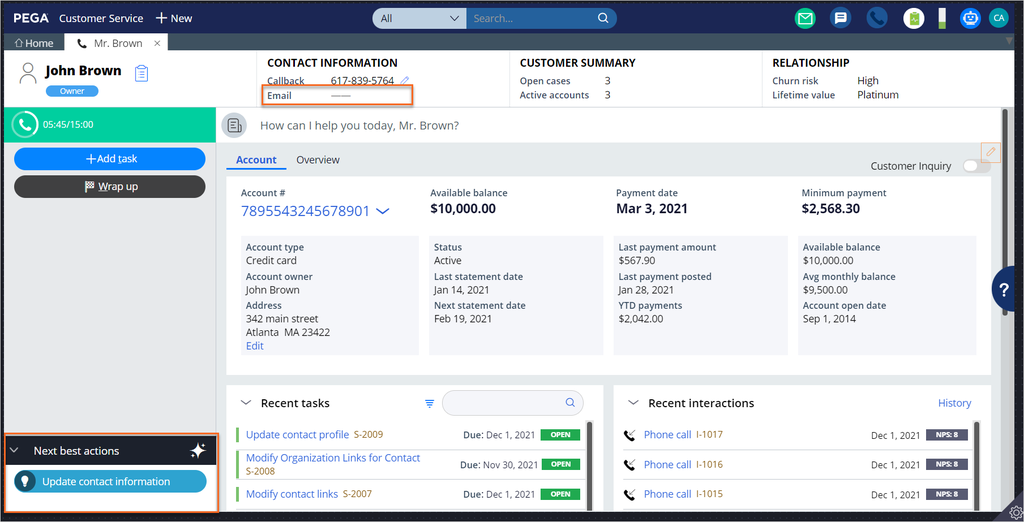
Available in the following mission:
If you are having problems with your training, please review the Pega Academy Support FAQs.
Want to help us improve this content?