
Configuring OpenID Connect authentication
Archived
4 Tasks
45 mins
Scenario
Front Stage is considering using OpenID Connect to authenticate Operators.
Design and implement an OpenID Connect as a proof of concept.
Pega now supports SSO login with OpenID Connect. You can use Gmail, Facebook, or any other Open ID connect Identity Providers to log in to a Pega Platform™ application.
To use Gmail credentials to log in to a Pega Platform application, you configure both the Google Account and the Pega Platform application.
The following table provides the credentials that you need to complete the challenge:
| Role | User name | Password |
|---|---|---|
| Administrator | Admin@Booking | rules |
Detailed Tasks
1 Review the solution detail
- Configure the Google Account.
- Create a project in Google API & Services.
- Fill out the OAuth consent screen.
- Create Credentials.
- Configure the application.
- Configure a new SSO login in App Studio.
- Verify the Authentication Service.
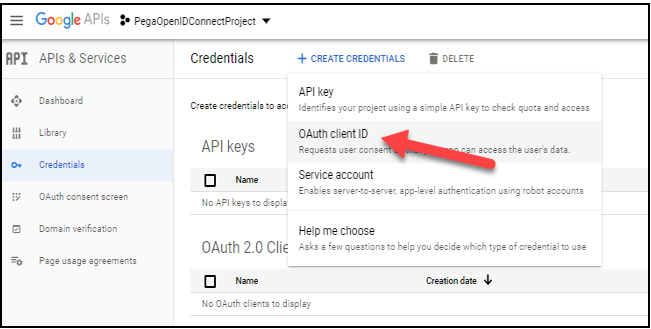
2 Create the project in Google API & Services
- Click the link to access the Google API Console.
- In the Credentials section, click Create to create a project.
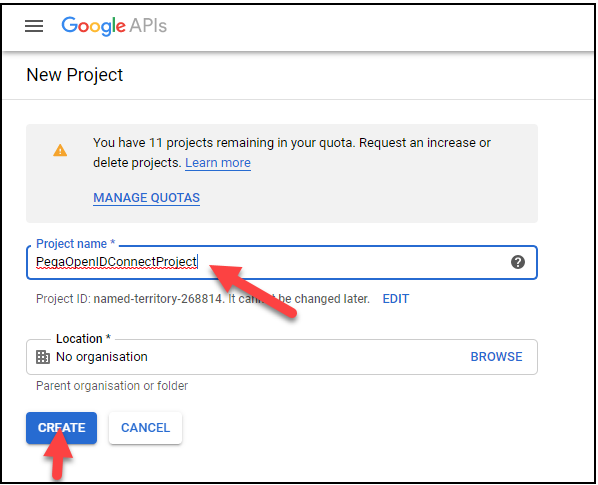
- In the Project name field, enter PegaOpenIDConnectProject.
- Click Create to create the new project.
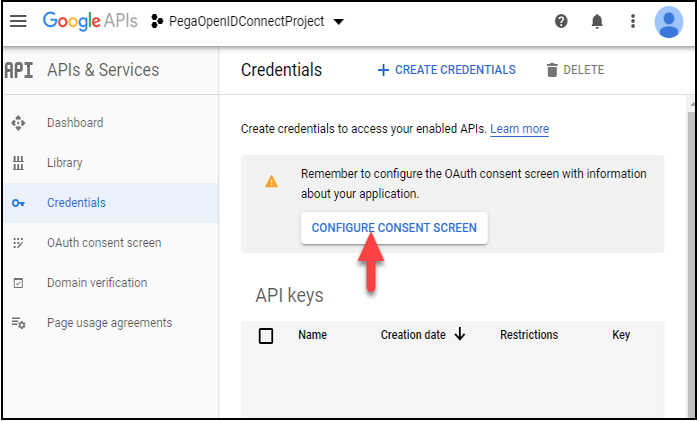
- Click Configure Consent Screen and enter the details.
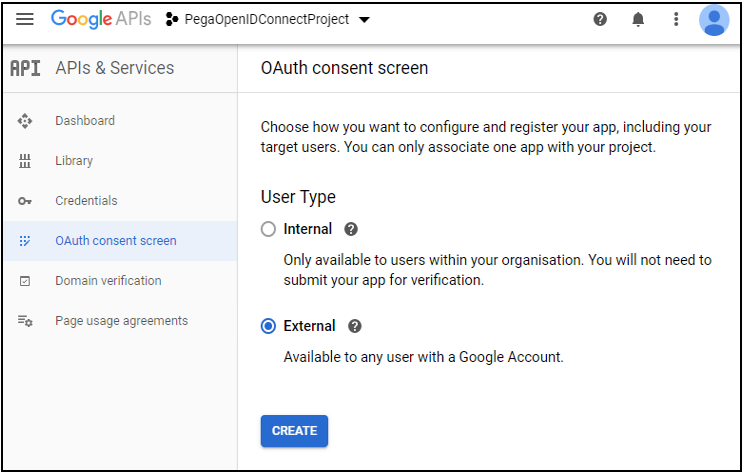
- In the User Type section, select External, and then click Create.
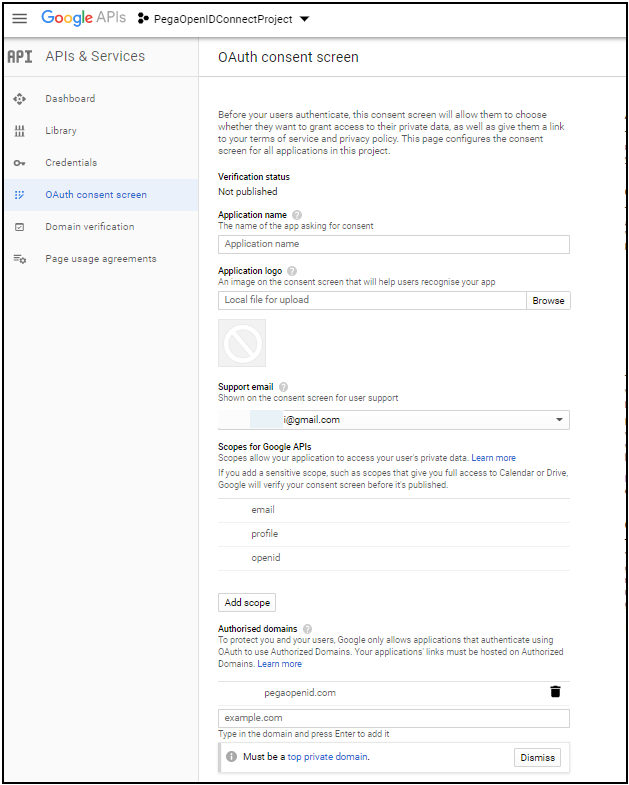
- Provide the Authorized Domain. Generating a Client ID and Secret Key is mandatory:
- Application Name: Enter a name to identify your configuration.
- Support Email: Enter your Gmail address. This is displayed automatically.
- Scope of Google API: Define the scope (for example, Email, Profile, OpenID).
- Authentication Domain: Add your hostname for where the Pega application is running. If you are using Pega Cloud® Services, the domain name is easy to find and use. If you are using Pega VM or Personal Edition, then a change is required in the Tomcat server.xml file to use a domain name for localhost. Instructions are provided at the end of these exercise instructions. For example, www.pegaopenid.com is the domain in the Tomcat server.xml file.
- In the header, click to configure the OAuth client ID.
-
In the Application type section, select Web application.
-
In the Authorized redirect URIs field, enter a pathname. For example, https://www.pegaopenid.com/prweb/PRAuth.
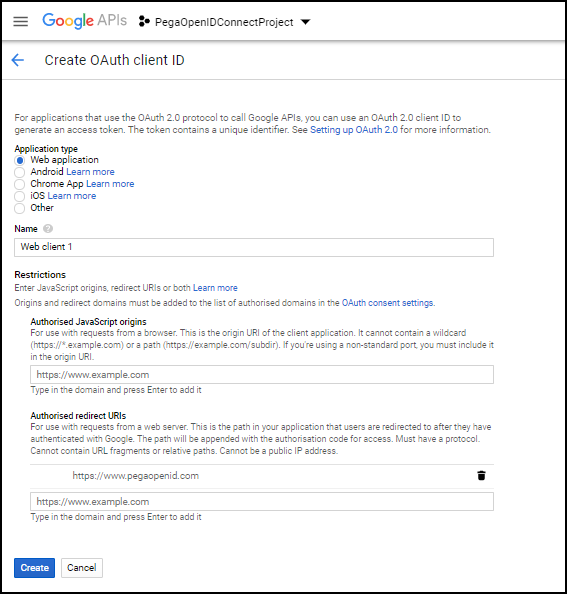
-
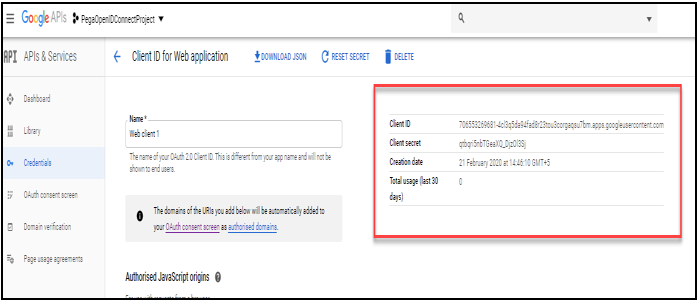
Click Create to view the pop-up window with the Client ID and Client secret key.
-
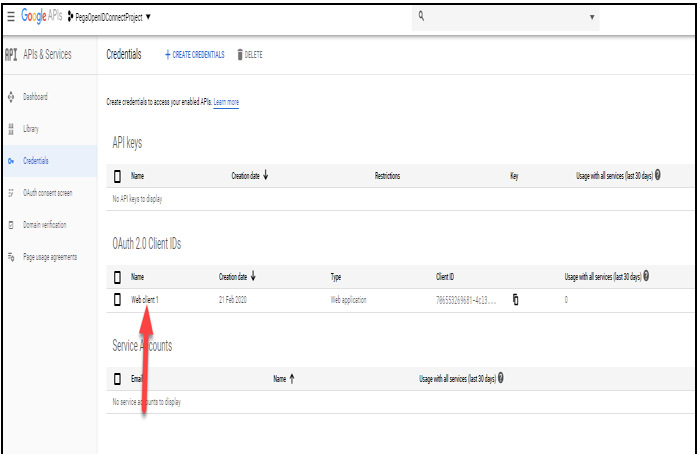
Copy the Client ID and Client secret key for use when configuring the rules in the Pega application.
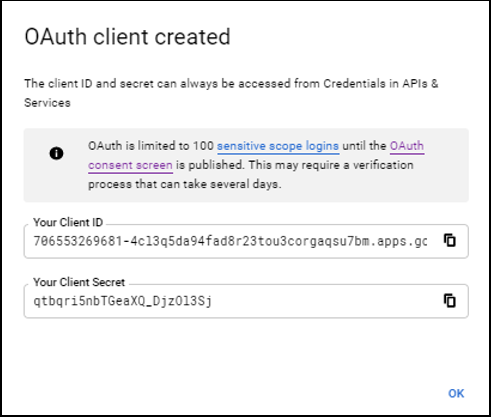
Note: The Client ID and Client secret key are also accessible on the Create Credentials page.
3 Configure a new Single sign-on (SSO) login in App Studio
Configure a new SSO login in App Studio
- Log in to App Studio.
- In the navigation pane, click Users.
- In the explorer, click Single sign-on (SSO).
- In the upper-right corner, click .
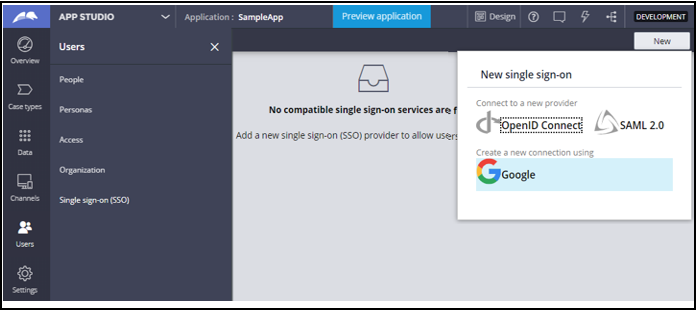
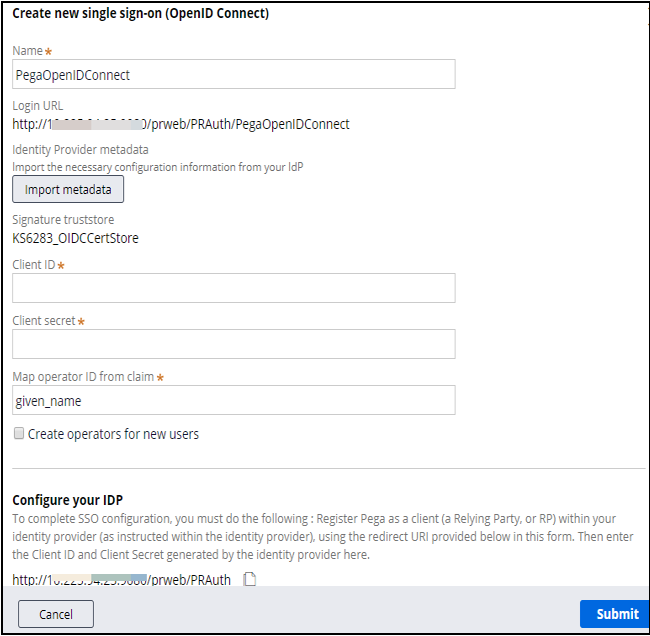
- Create the new single sign-on login.
- Name: Enter a name for this configuration. Noe that this name is appended to the URL.
- Import metadata: Click to select a URL and then enter the URL (for example, https://accounts.google.com/.well-known/openid-configuration)
- Client ID and Client secret: Use the values from the page of Google API & Services.
- Map operator ID from claim: Enter your name.
- Create operators for new users: Select this check box and provide the access group.
- Configure your IDP: Copy this URL to paste into the Import metadata field.
- Click Submit.
The SSO with OpenID connect is created and can be opened in Dev Studio for further configuration or verification.
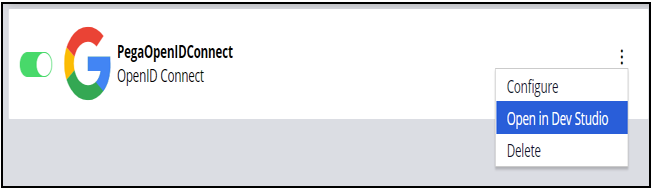
Tip: Open the Authentication Service rule in Dev Studio if any further configuration changes are required. You can map required properties on the Mapping tab.
Changes in the Tomcat Server.xml file
If you are performing this challenge in Personal Edition or in a VM machine, make the following changes to the server.xml file:
- Pega Personal Edition (on Windows) is installed to: C:\PRPCPersonalEdition.
- Open the server.xml file in the C:\PRPCPersonalEdition\tomcat\conf folder.
- If you are using VM – Linux Lite, the server.xml file is located at /opt/tomcat/conf.
- Search for the connector port and set it to 80, with the following changes:
<Connector port="80" protocol="HTTP/1.1"
connectionTimeout="20000"
redirectPort="8443" /> - Search for the default host and enter an address ending with .com to act as your domain. For example, <Engine name="Catalina" defaultHost="www.pegaopenid.com">
- In the same server.xml file, search for the host name and use the same name.
<Host name="www.pegaopenid.com"
appBase="webapps"
unpackWARs="true"
autoDeploy="true"> - After making the changes, save the server.xml file in Tomcat.
- In the hosts file, enter the following line:
- In Windows: C:\Windows\System32\drivers\etc\hosts
- In VM- Linux lite: /etc/ 127.0.0.1 www. pegaopenid.com (name as given in the server.xml file)
After making changes to the files, you can now access the Personal Edition with a domain name, with no need for the port number.
- http://localhost:8080/prweb -- before changes to the server.xml and hosts file.
- http://www.pegaopenid.com/prweb -- after changes to the server.xml and hosts file.
4 Confirm your work
- Copy the Login URL from the Authentication Service.
- Open a different browser (For example, if you are using Chrome, open Firefox).
- Paste the Login URL into the Web browser.
- In the Login with Gmail section, enter your Gmail credentials.