Configuring volume constraints
4 Tasks
10 mins
Scenario
U+ Bank, a retail bank, is currently promoting multiple credit card offers by sending emails to qualified customers. The bank now wants to apply some limitations on the outbound volume. The IT department has enforced a channel limit of 50 emails per day. The bank also wants to restrict the number of Standard card offer emails to only 20 per week due to a business requirement.
Use the following credentials to log in to the exercise system:
| Role | User name | Password |
|---|---|---|
| Decisioning Analyst | CDHAnalyst | rules |
Your assignment consists of the following tasks:
Task 1: Create new volume constraints
Under Intelligence > Volume Constraints, create new volume constraints at the top level.
Note: The volume constraint must be created at the top level for use in the Next-Best-Action Designer outbound schedule.
Task 2: Configure the volume constraints
Configure the newly created volume constraints to implement the channel limits to 50 emails per day and restrict the number of Standard card offer emails to only 20 per week.
Task 3: Configure a scheduled run
In the Next-Best-Action Designer > Channels tab, configure a schedule run with the newly-created volume constraints.
Note: In the Recurrence section, ensure that the Refresh the audience check box is selected. Also, ensure that the All mailable customers segment is selected as the starting population.
Task 4: Run the schedule and confirm the run results
In the Next-Best-Action Designer > Channels tab, run the schedule and confirm that the results check that only 50 emails are sent and the Standard card action is restricted to a maximum of 20 only.
Challenge Walkthrough
Detailed Tasks
1 Create new volume constraints
- Log in as Decisioning Analyst with user name CDHAnalyst and password rules.
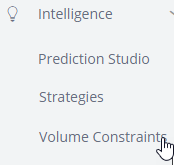
- From the navigation pane on the left, click Intelligence > Volume Constraints.
- Click Create.
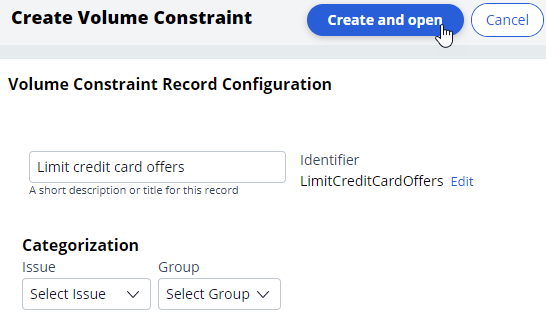
- In the short description field, enter Limit credit card offers.
- Leave the Issue and Group blank.
- Click Create and Open.
2 Configure the volume constraints
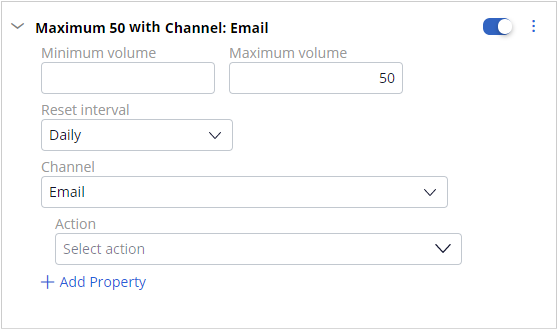
- In the Edit Volume Constraint screen, click Add definition to add a new volume constraint condition.
- In the Maximum volume field, enter 50.
- In the Reset interval list, select Daily.
- In the Channel list, select Email.
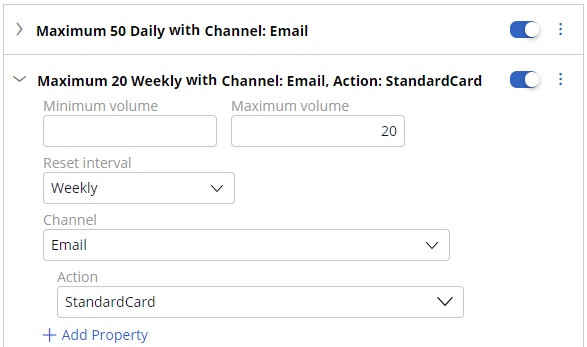
- Click Add definition to add another volume constraint condition.
- In the Maximum volume field, enter 20.
- In the Reset interval list, select Weekly.
- In the Channel list, select Email.
- In the Action list, select StandardCard.
- Click Save to save the volume constraint.
3 Configure a scheduled run
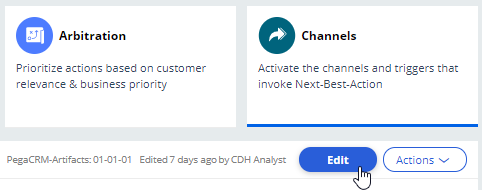
- In Next Best Action Designer, click the Channels tab.
- In the Primary Schedule section, click the More icon, and then select Suspend to suspend the currently scheduled run.
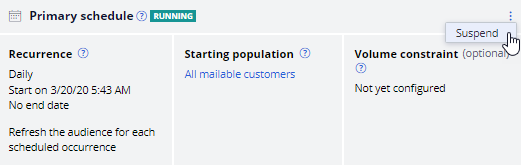 Note: If the Primary schedule is in Draft state, you can skip step 2.
 - Click Edit to make changes to the run.
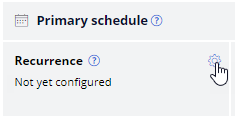
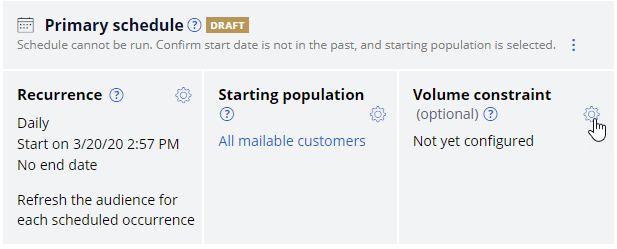
- In the Primary Schedule section, to the right of Recurrence, click the Gear icon to configure a schedule run frequency in the Configure outbound schedule window.
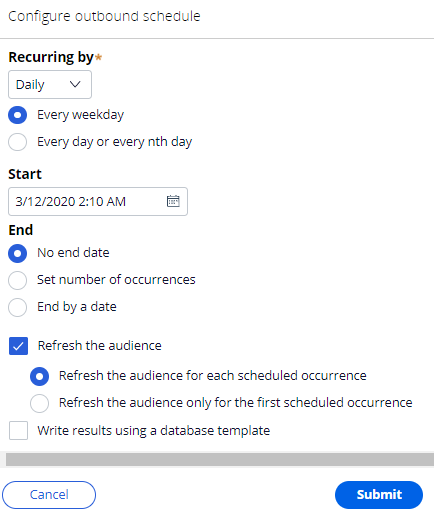
- In the Start field, enter today’s date. Ensure that the time is current and in the U.S. Eastern Standard Time (EST) time zone.
- Ensure that the Refresh the audience check box is selected.
- Click Submit to save the outbound schedule and close the Configure outbound schedule window.
- To the right of Volume Constraints, click the Gear icon to select the volume constraint defined to limit action volume.
- In the Configure Constraints window, next to the Limit credit card offers tile, click Add to add the volume constraint.
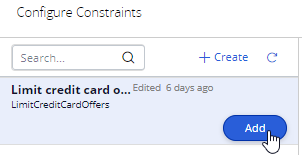
- Click Apply to confirm the volume constraint selection and close the pop-up window.
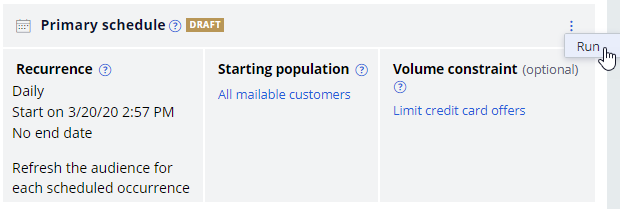
- Click Save to save the changes made to the Channels tab.
4 Run the schedule and confirm the run results
- In the Channels tab, in the Primary Schedule section, click the More icon, and then select Run to run the outbound schedule.
 Note: The status changes to Running when processing begins. An entry for upcoming runs appears in the Run Schedule section.
 - Refresh the tab to view the latest status of the run.
- Once the run is complete, click COMPLETED to view the results.
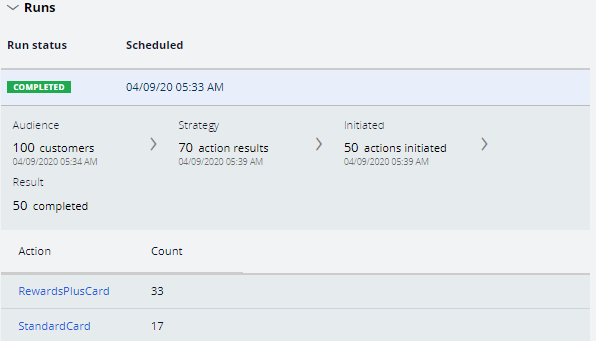 Note: Notice that only 50 emails are sent as a result of the outbound run. Also, the Standard Card offer is restricted to a maximum of 20. The remaining quota of the volume constraints, if any, in a given interval will be used in the following schedule run.
Your run results number might not match the numbers shown in the exercise steps as the segment used in the exercise system selects a random sample of 100 customers in each run. - From the navigation pane on the left, click Intelligence > Volume constraints.
- Open Limit credit card offers to view the remaining volume constraints quota.
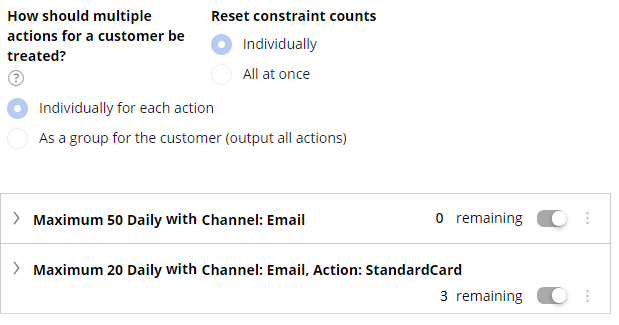
Available in the following mission:
If you are having problems with your training, please review the Pega Academy Support FAQs.
Want to help us improve this content?