Creating an email account
1 Task
10 mins
Scenario
The manager at U+ Bank is struggling to keep up with daily email volume. So, the manager wants to automate replies and notifications in the bank application. As a system architect, you are tasked with creating an email account first to integrate with an email server and account details for handling various tasks from an email.
Use the following credentials to log in to the exercise system:
| Role | User name | Password |
|---|---|---|
| System Architect | EmailBotDev | password123! |
Your assignment consists of the following task:
Task: Create an email account
Create and configure an email account for receiving and sending emails.
Challenge Walkthrough
Detailed Tasks
1 Create an email account
- Log in to App Studio as the System Architect with user name EmailBotDev using password password123!.
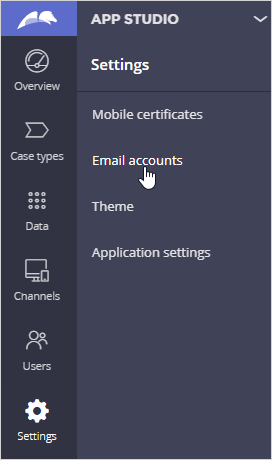
- In App Studio, click Settings > Email accounts to open the Email accounts instance list.
- In upper-right corner of the Email accounts list, click New to add a new email account.
- In the Email account settings dialog box, add the account Details and select the Account provider as follows:
- Account ID: UbankHelper
- Account Name: UbankHelper
- Email provider: Custom
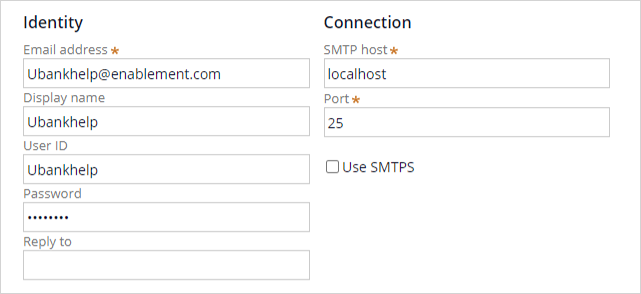
- In the Sender section, in the Send using list, select SMTP to populate the connection details automatically.

- Add the Identity and Connection details as follows:
- Email address: [email protected]
- Display name: Ubankhelp
- User ID: Ubankhelp
- Password: password
- SMTP host: localhost
- Port: 25
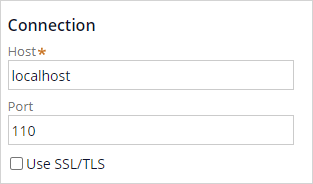
- In the Receiver section, in the Receive using list, select POP3 to populate the connection details automatically.

- In the Identity area, select the Use sender's ID and password check box to copy the credentials from the Sender area.
- Add the Connection details as follows:
- Host: localhost
- Port: 110
- Click Submit to add the account to your application.
On the email account instance list, Success is displayed in the Connection status column of the new email account.
Available in the following mission:
If you are having problems with your training, please review the Pega Academy Support FAQs.
Want to help us improve this content?