
Adding fields to Views
Archived
3 Tasks
20 mins
Scenario
Now that the stages and steps for the MyTown311 Service Request case life cycle are configured, the Mayor and the Services coordinator have determined the information that is necessary to add to certain steps. Configure the views for those steps with fields that gather and display the information. Some views have been configured by a different developer.
The following table provides the credentials you need to complete the challenge.
| Role | User name | Password |
|---|---|---|
| Application Developer | author@mytown | pega123! |
Challenge Walkthrough
Detailed Tasks
1 Add editable fields to views
- In the App Studio navigation pane, click Case types > Service Request to display the Service Request case life cycle.
- In the Service Request case type, click the Report problem step to open the contextual property pane on the right.
- In the contextual property pane, click Configure view to add fields to the view.
- In the Fields tab, click Add field to add a new field.
- In the Field name field, enter Request date.
- In the Type list, select Date only.
- Click Submit & add another to add another field to the Report problem view.
Tip: When a step has multiple fields, use the Submit & add another option.
- Repeat steps 5-7 to create a Text (single line) field named Requestor name.
- In the Field name field, enter Issue severity.
- In the Type list, select Picklist to display the Display as and Picklist options fields.
- In the Display as and Picklist options fields, keep the default values.
- In the Choices section, click Add choice. An empty field is displayed.
- In the Empty field, enter Low as a picklist value.
- Repeat steps 10b-10c to create two additional picklist values, Medium and High.
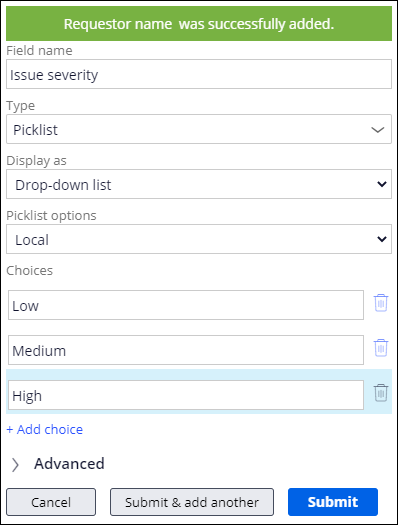
- Click Submit & add another to add another field to the Report problem view.
- Repeat steps 5-6 to create a Text (paragraph) field named Description.
- Click Submit to dismiss the field creation modal.
Tip: Use the Submit option for the last field on a view or if the view only has one field.
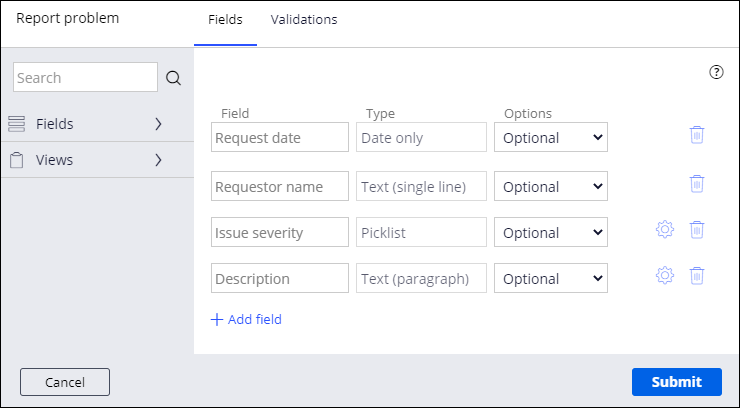
- For each field, in the Options list, keep the default value of Optional.
- In the Report problem window, click Submit.
- Click Save to save your work.
Note: The number of configuration issues decreases from 4 to 3 after you configure the Report problem view.
- Repeat steps 2-7 and 13-14 to create the remaining fields by using the information from the following table.
Tip: Save after configuring each view and notice that the number of configuration issues decreases.
Stage
Step
Field Name
Field Type
Options
Create
Identify location
Address
Location
Required
Request updates
Request updates
Boolean
Optional
Requestor Email
Email
Optional
2 Add a calculated field to the Perform repair view
- In the Service Request case type, click the Perform repair step to open the property pane on the right.
- In the property pane, click Configure view to add fields to the view.
- Under the Field entry row, click Add field.
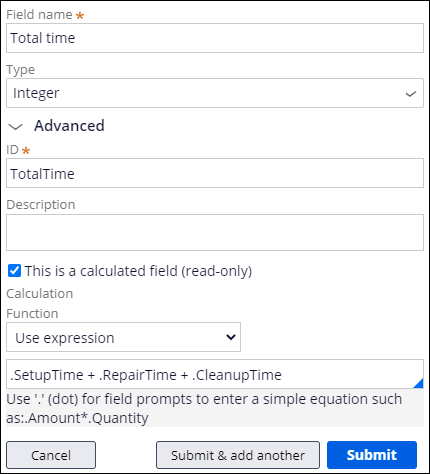
- In the Field name field, enter Total time.
- From the Type list, select Integer.
- Expand the Advanced section, and then select This is a calculated field (read-only).

- In the Function list, select Use expression. An empty field is displayed below.
- In the empty field, enter .SetupTime + .RepairTime + .CleanupTime.
- Click to add the calculated field to the view.
- Click to record the new fields and return to the Workflow tab of the case life cycle.
- Click to save your changes in the case life cycle.
3 Add a read-only field to the Review repair view
- In the Service Request case type, click the Review repair step to open the property pane on the right.
- In the contextual property pane to the right, click Configure view.
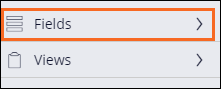
- In the left pane, click Fields to expand the Fields list.
- In the list of fields, hover your pointer to the right of the Total time field to display a Plus icon.
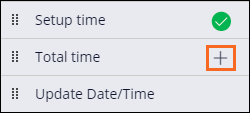
- Click the Plus icon to add the Total time field to the view list.
Note: The Total time field is already Read-only and does not require additional configuration.
- Click Submit to record the changes.
- Click Save to save your changes to the case life cycle.
Confirm your work
Note: As you advance through the case, enter any required information and verify that each view displays the desired fields.
- In the upper right, click Save and run to create a new service request.
- In the Report problem view, click Continue to advance to the Identify location view.

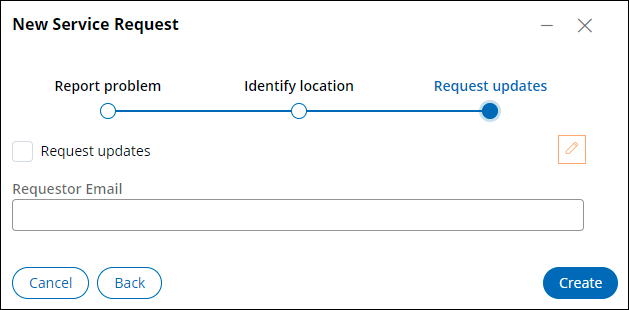
- In the Identify location view, click Continue to advance to the Request updates view.

- In the Request updates view, click Create to complete the Create process.
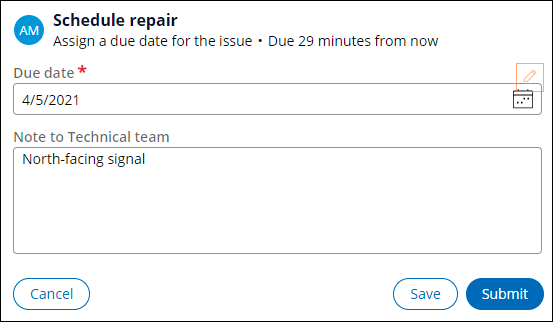
- In the Schedule repair view, click Submit to display the Perform repair view.
- In the Perform repair view, in the Setup time field, enter 10 as the number of minutes spent setting up a repair.
- In the Repair time field, enter 80 as the number of minutes spent performing the repair.
- In the Cleanup time field, enter 30 as the number of minutes spent cleaning up the site after the repair.
- Tab or click out of the Cleanup time field to allow the calculation to execute and provide a total. In this case, the amount in the Total repair time field is 120.

- Click Submit to display the Approval view.
- In the Approval view, confirm the time entry fields display as read-only fields with the numbers you entered in steps 7-9.

- Click Approve to resolve the case.