Fixing spacing issues and using helper classes
Archived
5 Tasks
40 mins
Scenario
Spacing and alignment issues are common errors when building UI screens. It is important to address these issues because they can create an inconsistent experience for users. In this challenge, you are tasked with correcting typical issues around double spacing. Use your browser-based developer tools to identify the issues and then make the appropriate configuration changes to remove these alignments and spacing issues. Finally, you use some of the out-of-the-box helper classes provided in the UI-Kit.
The following table provides the credentials you need to complete the challenge.
| Role | User name | Password |
|---|---|---|
| Application Developer | author@mytown | pega123! |
Challenge Walkthrough
Detailed Tasks
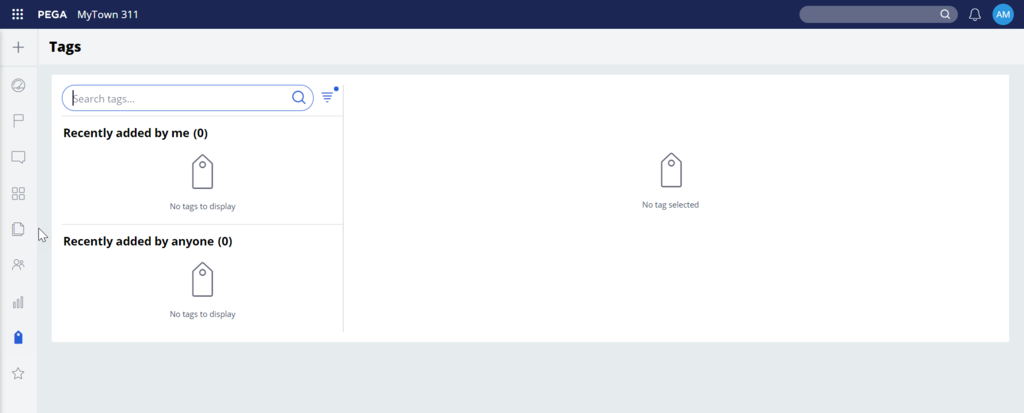
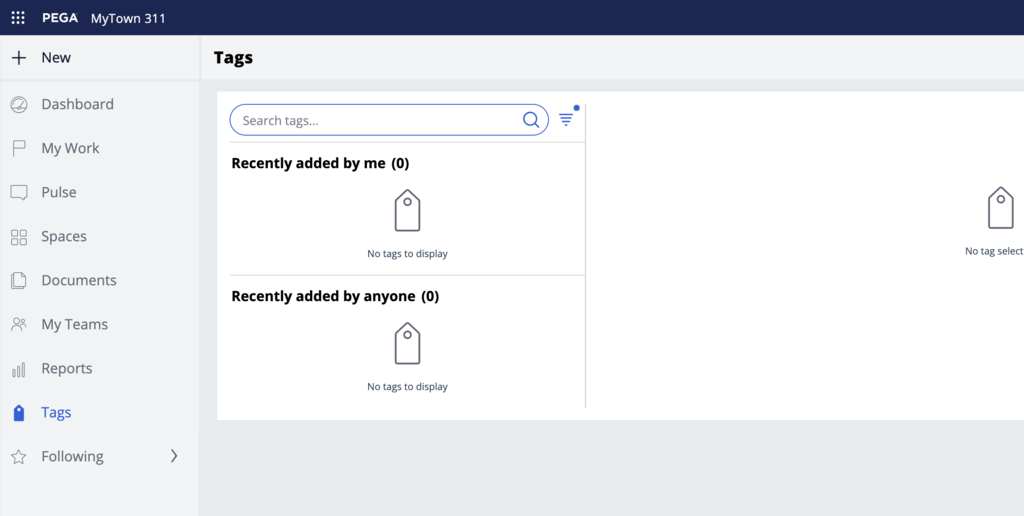
1 Open the Tags landing page
- In the header of your workspace, click the Switch Studio menu.
- Select Dev Studio.
- Select Launch portal > Case Manager to open a secondary portal.
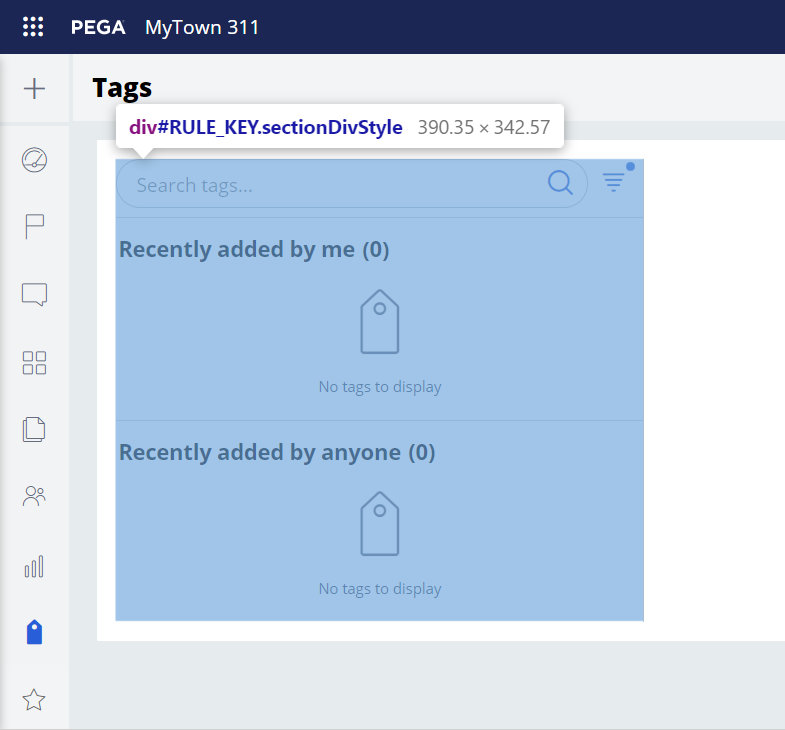
- Click Tags to open that landing page.
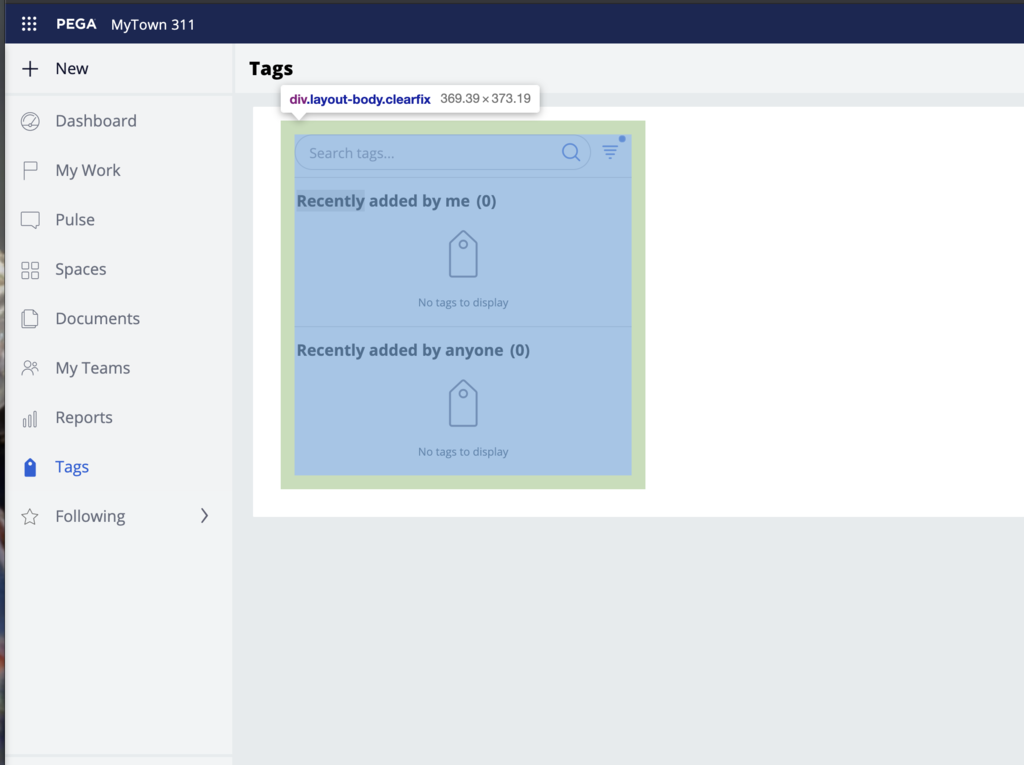
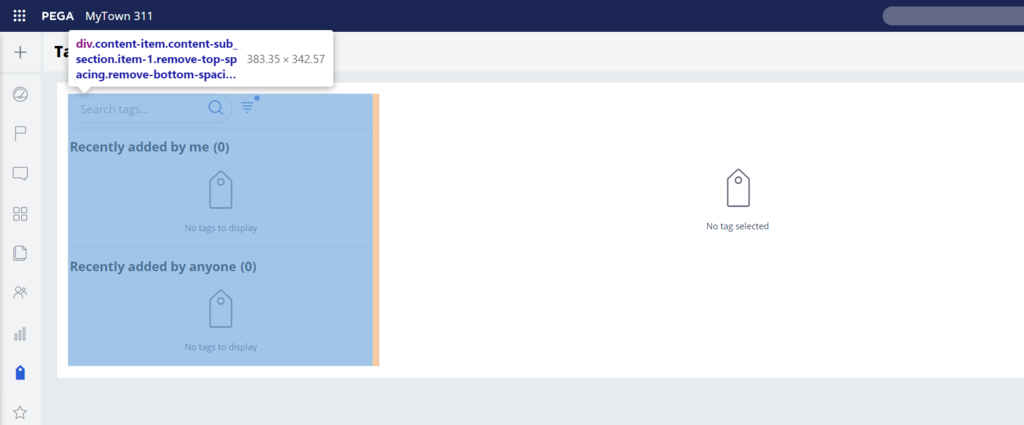
- Using the developer tools, identify a case of double margin and spacing issues. Right-click on the screen, and then click Inspect or press F12 to inspect.
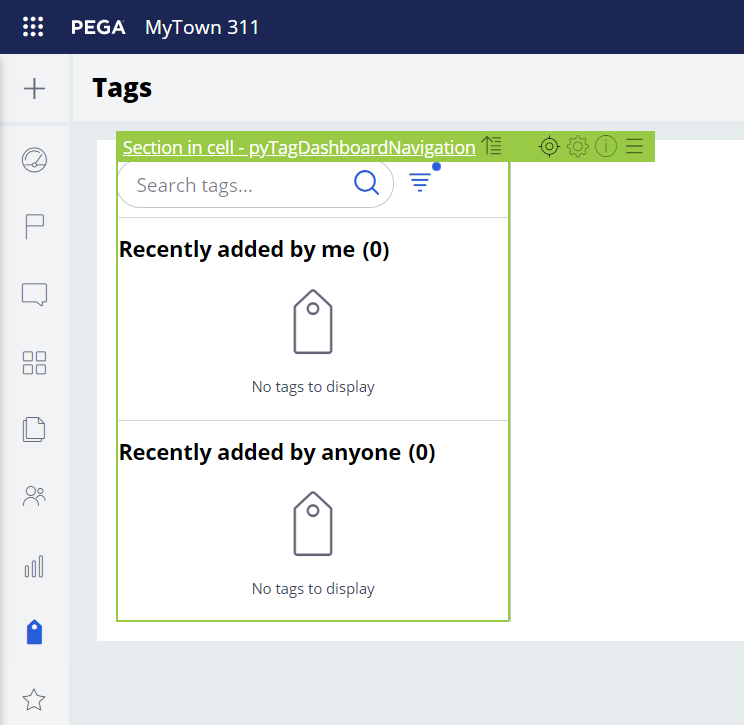
- Click the Toggle runtime toolbar icon and then click the Toggle Live UI icon to open the section pyTagDashboardNavigation.
- Select the section, and then click the Open in Dev Studio icon.
- Navigate to the Dev Studio portal.
- Click Private Edit, then click Continue with private edit.
Note: The parent layout is using a Default container format which adds padding and margin. In this case, this is not required because the top-level section is already using a Default container. This is the case where two nested Default containers introduce double padding.
- Select the Dynamic Layout Stacked - 1 section header, and then click the View properties icon.
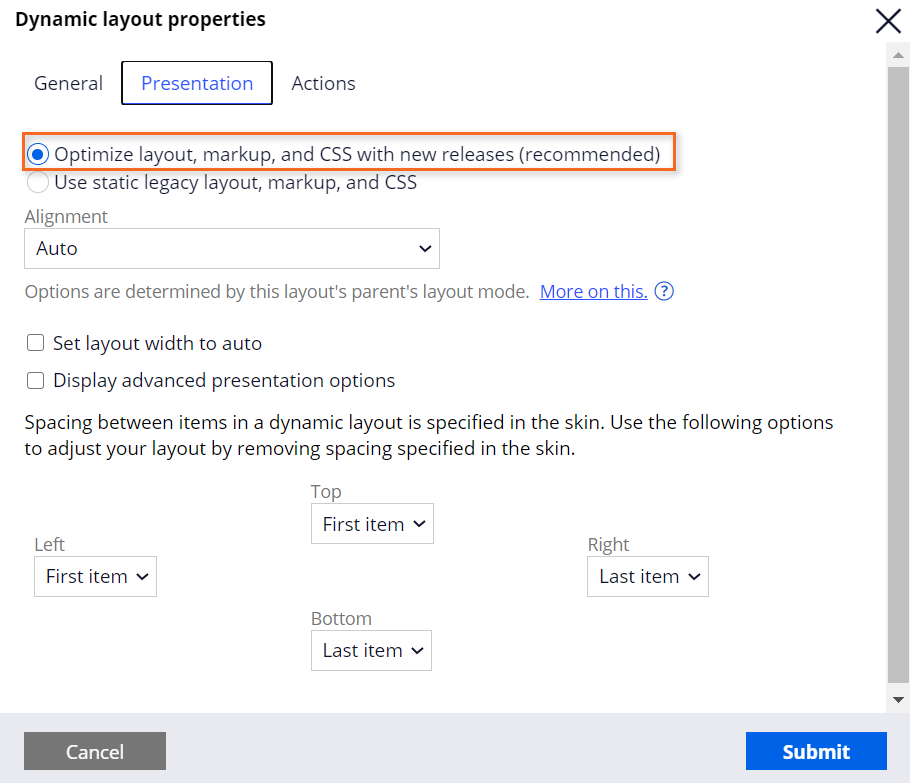
- Click the Presentation tab.
- Select Optimize layout, markup, and CSS with new releases.
- Click the General tab.
- In the Container format list, select None.
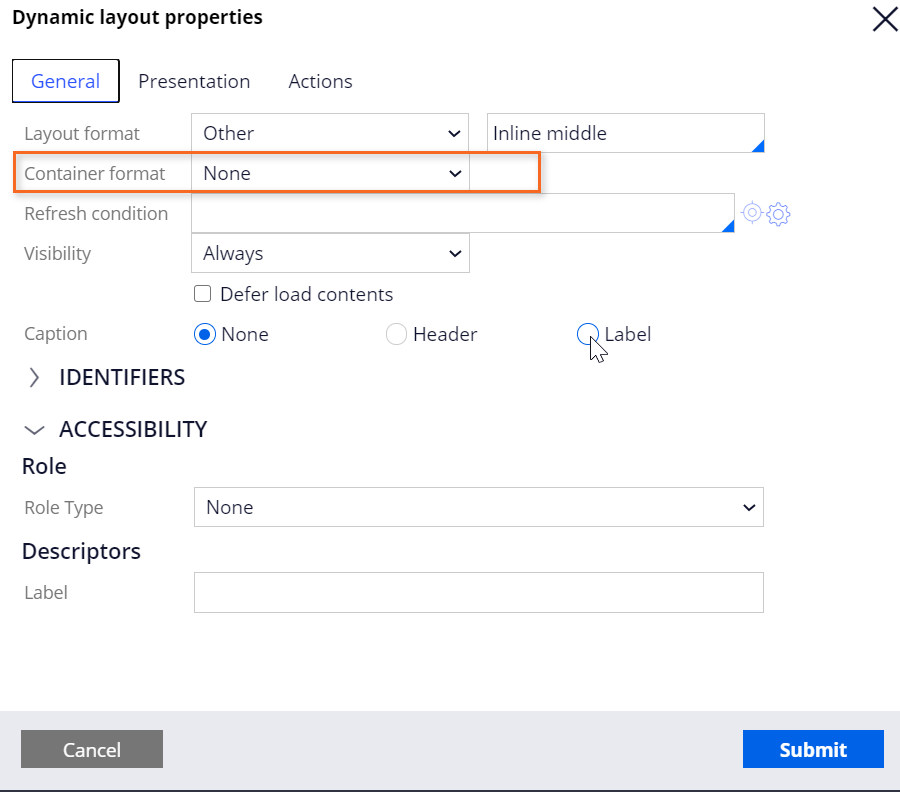
- Click Submit,
- Click Save.
- Go back to the Case Manager portal, refresh the browser, and review the changes made on the Tags page.
2 Fix the bottom spacing issue
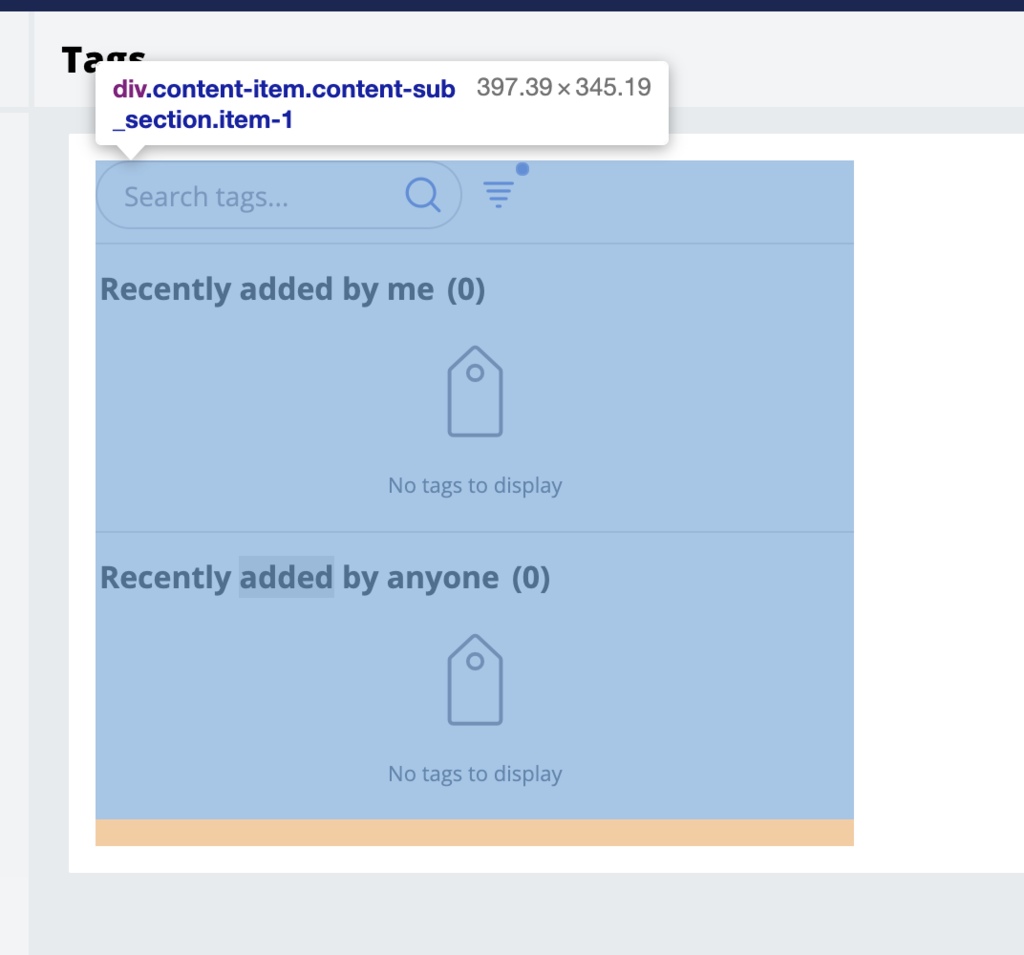
- Using your browser-based developer tools, identify the remaining bottom spacing issue. Right-click on the screen and then click Inspect or press F12 to inspect.
- Click the Toggle runtime toolbar icon and then click the Toggle Live UI icon to open the section pyTagDashboard.
- Select the section and then click the Open in Dev Studio icon.
- Navigate to the Dev Studio portal.
- Click Private Edit, and then click Continue with private edit.
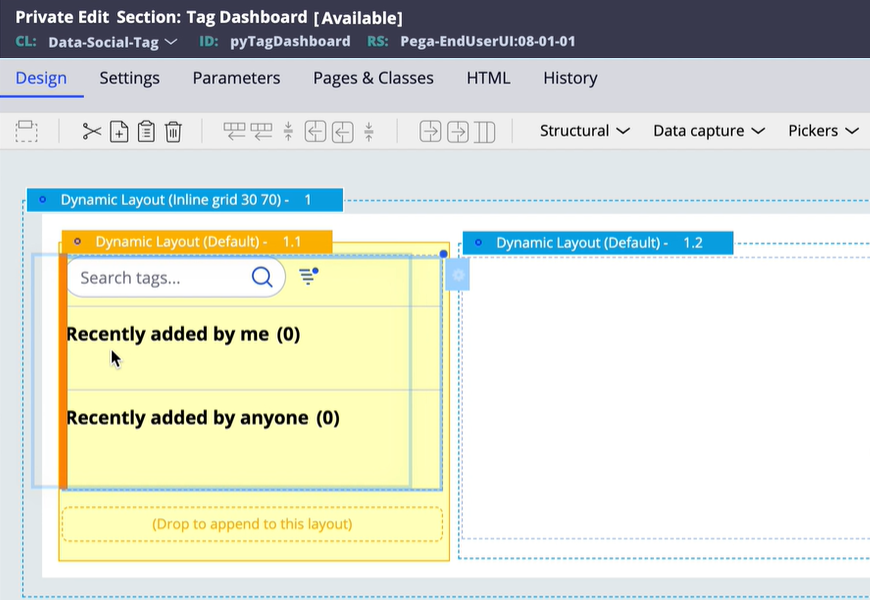
Note: This section uses four dynamic layouts where only one layout is needed.
- Select the Dynamic Layout (Default) - 1.3 section, and then click the Delete selected layout or row icon.
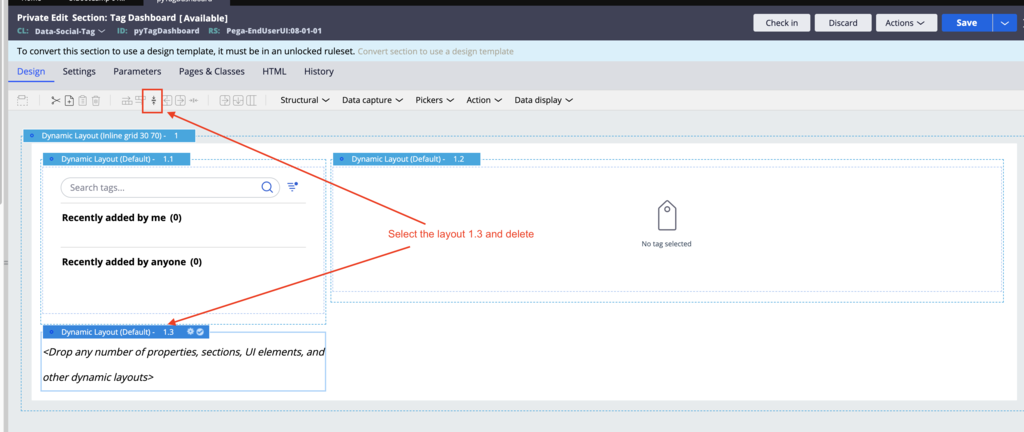
- After deleting the Dynamic Layout (Default) - 1.3 section, move the sections referenced in dynamic layouts that is, Dynamic Layout (Default) - 1.1 and 1.2 until you are left with just Dynamic Layout (inline grid 30 70) -1.
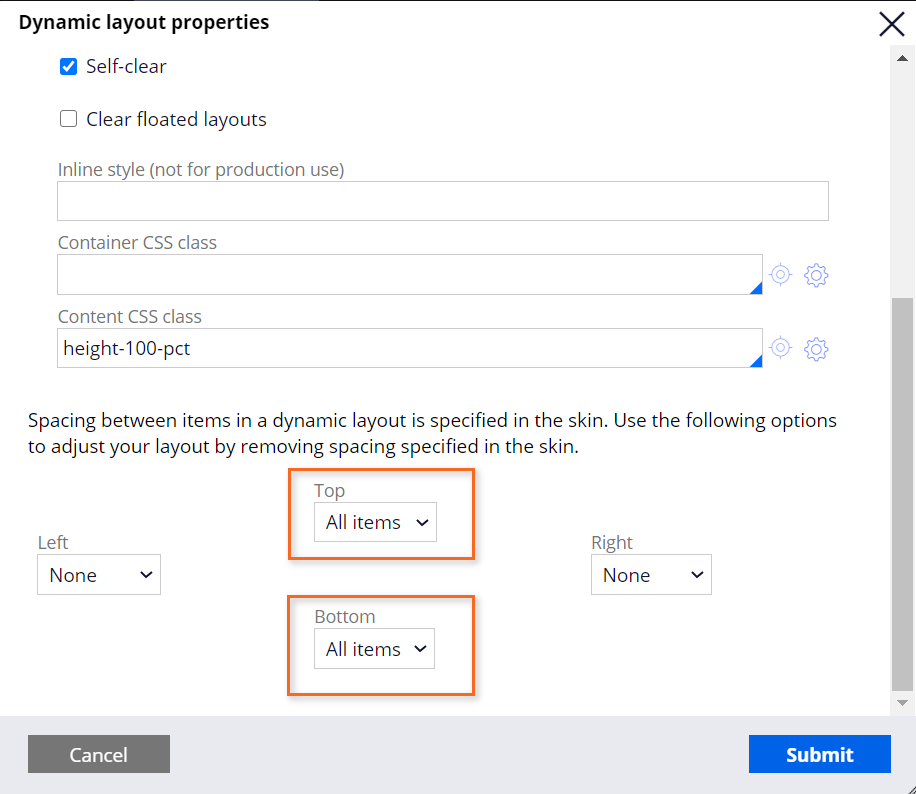
- In the Dynamic Layout (Inline grid 30 70) -1 section, click the View Properties icon.
- Click the Presentation tab.
- Select Optimize layout, markup, and CSS with new releases.
- Scroll down to the spacing properties.
- For the and Bottom properties, select the option of All Items.
- Click Submit.
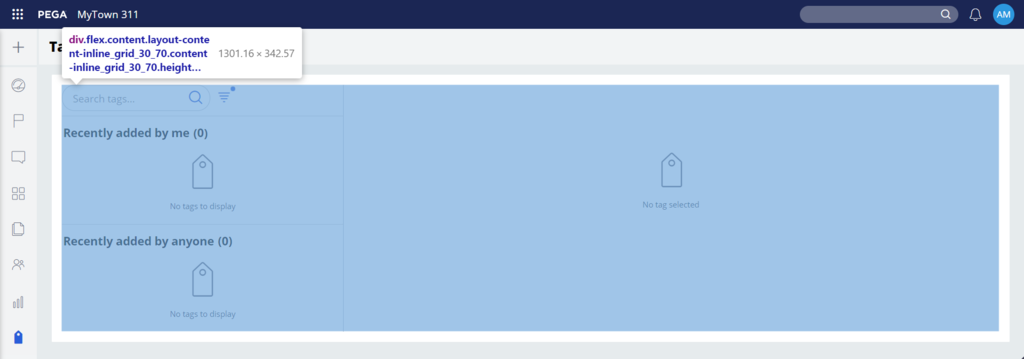
Note: The section resembles the following image after these changes are made.
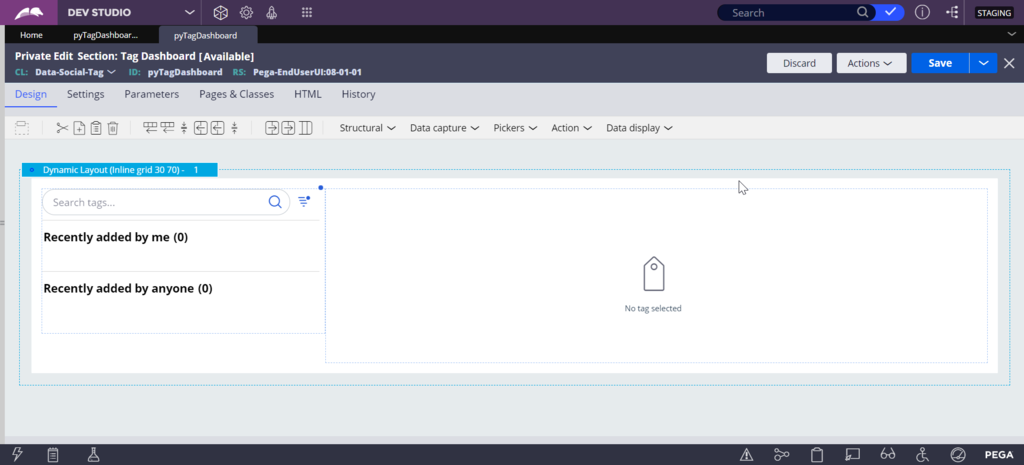
- Go back to the Case Manager portal, refresh the browser, and review the changes made on the Tags page.
3 Add more improvements
- Using your browser-based developer tools, continue to edit the section to improve the UI. Right-click on the screen and then click Inspect or press F12 to inspect.
- Use developer tools to identify how to remove some of the unneeded spacing - use the helper class border-l-standard to create the separator between the filter.
- Access the Case Manager portal.
- In the No tag selected area, click View Properties.
- Click the Presentation tab, then select the Display advanced presentation options check box.
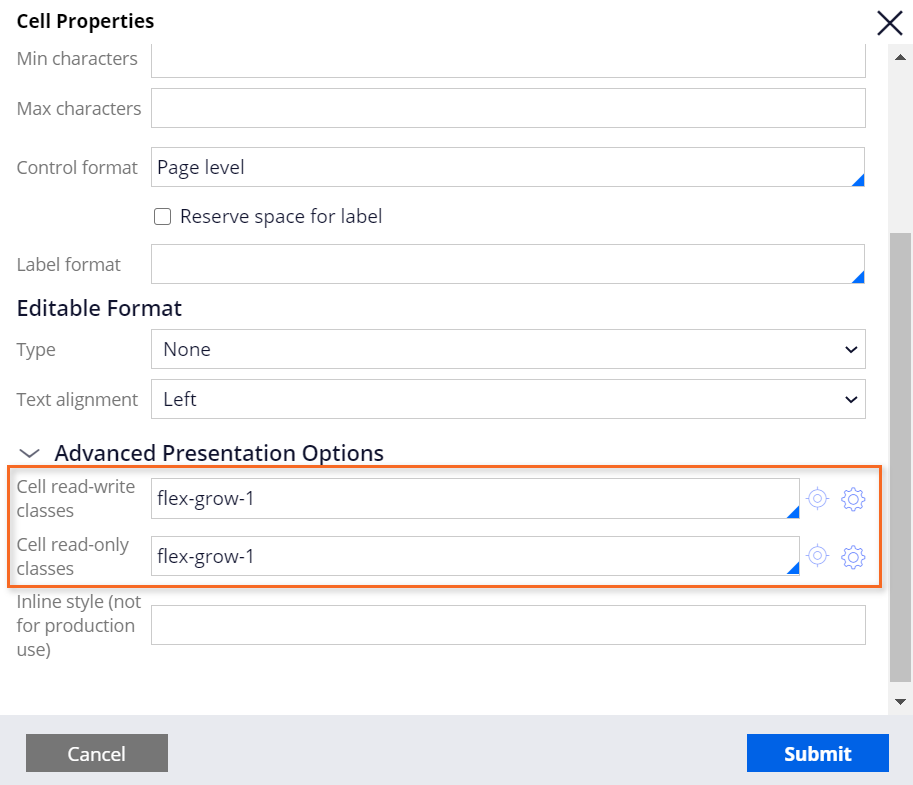
- For the Cell read-write classes option, click the Open helper class picker icon.
- Search for and select border-I-standard option.
- Click Submit.
- Copy and select the border-I-standard option into the Cell read-only classes option field.
- Click Submit.
- Click Save.
- Go back to the Case Manager portal, refresh the browser, and review the changes made on the Tags page.
Note: Watch the video if you are not able to get to the required outcome.
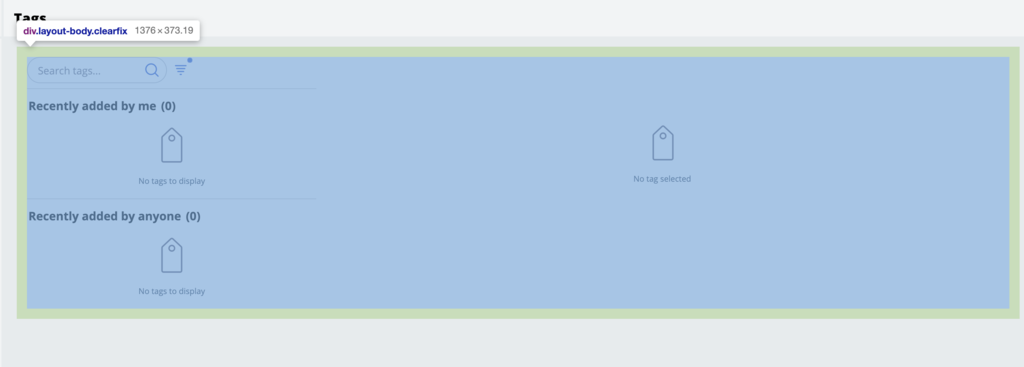
4 Fix space between flex items
- Using your browser-based developer tools, identify the remaining bottom spacing issue. Right-click on the screen and then click Inspect or press F12 to inspect.
- Open the pyTagDashboard section, which is already opened in Dev Studio.
- Select the Dynamic Layout (Inline grid 30 70) -1 section, and then click the View Properties icon.
- Click the Presentation tab and scroll down to the spacing properties.
- For the Left and Right properties, select All Items.
- Click Submit.
- Click Save.
- Go back to the Case Manager portal, refresh the browser and review the changes made in the Tags page.
5 Expand the size of search tag
- Click the Toggle runtime toolbar icon, and then click the Toggle Live UI icon to open the section pyTagDashboardNavigation.
- Select the section, and then click the Open in Dev Studio icon.
- Navigate to the Dev Studio portal.
- In the Search tag box, click View Properties.
- Click the Presentation tab.
- In the Advanced presentation options section, ensure that, in the Cell read-write classes and Cell read-only classes lists, the flex-grow-1 helper class is selected.
- Select the Dynamic Layout (Inline Middle) – 1.1, and then click the View Properties icon.
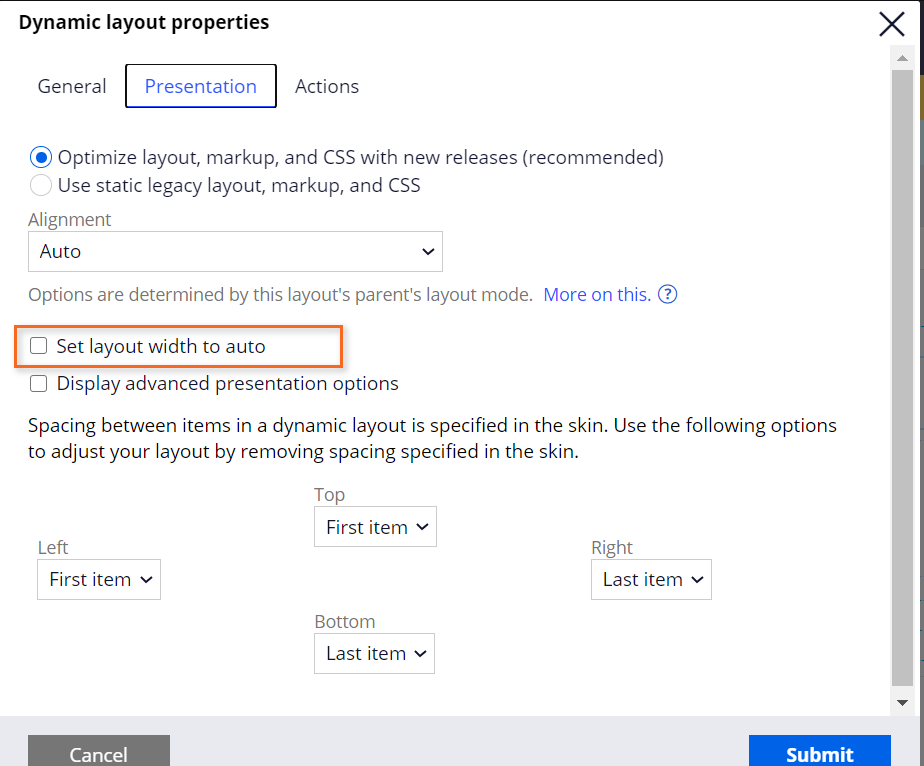
- Click the Presentation tab.
- Clear the Set layout width to auto check box.
- Click Submit.
- Click Save.
- Go back to the Case Manager portal, refresh the browser, and review the changes made on the Tags page.