Managing Deployment levels and packages
Archived
5 Tasks
30 mins
Scenario
MyTown has completed the development for two automation projects and is ready to begin testing. To facilitate the testing, MyTown wants to deploy both projects to Pega Robot Manager™ to associate the packages with the appropriate workgroups and organizational structure and manage them throughout the deployment life cycle. MyTown also plans to deploy the projects to a Package Server so that robots can download the appropriate packages for specific assignment types automatically.
To ensure both automations are high quality, MyTown will thoroughly test each automation and deploy new versions to address any issues or bugs that are found. Once the automations are defect-free, the deployed packages must be upgraded to QA and, ultimately, production.
Note: This mission and challenge requires Pega Robot Studio version 19.1.23. Click the Completing this challenge link for assistance in downloading and installing Pega Robot Studio.
Challenge Walkthrough
Detailed Tasks
1 Connect to Pega Robot Manager and Package Server
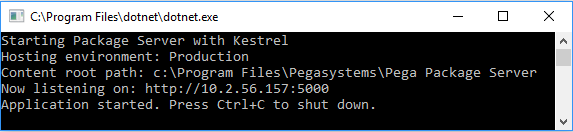
- If not already running, start Pega Package Server to ensure it is listening.
-
Download the MyTownProjects exercise .zip file that contains the automation projects.
MyTownProjects_2.zip (184.53 KB) -
Extract the .zip file into a desired directory.
-
Open the Pega Robot Studio application.
-
From the menu bar, click to open the Options window.
-
From the left navigation pane, click .
-
Ensure the option is enabled which will display server connectivity and authentication details.
-
Under the Server Details section, in the Address field, enter the URL of your Pega Robot manager lab instance in the format https://########.pegace.net/prweb
-
Under the Authentication Details section, in the Email field, enter developer@mytownrm.
-
Under the Authentication Details section, in the Password field, enter rules.
- Under the Package Server section in the Address field, enter the Package Server URL in the format of http://[IP address]:5000

-
Click Test Connection to verify successful connectivity.
Note: If the connection is unsuccessful, verify the URLs and ensure that both the Package Server and Pega Robot Manager instances are running. -
Click OK to apply the changes.
2 Deploy the MyTown projects
- From the menu bar, click to open the Open Project window.
-
From the file browser, navigate to the extracted exercise folder and select the ../MyTownParksproj/MyTownParksproj.ossln solution file you downloaded to open the parks department automation project.
-
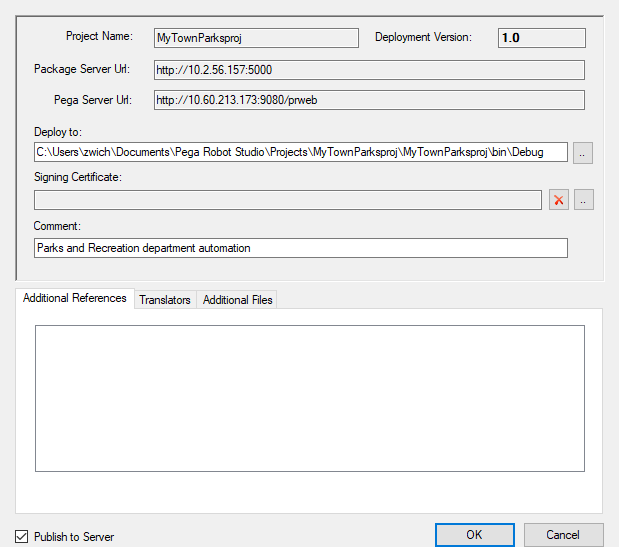
From the menu bar, click to open the Project Deployment window.
-
In the Comment field, enter Parks and Recreation department automation to provide a description for the package.
-
Verify the Publish to Server check box is already selected to deploy to Pega Robot Manager and Package Server.
-
-
Click OK to begin the publishing process.
-
Click OK to dismiss the Deployment Status window.
-
Repeat steps 1-7 with the MyTownWaterproj.ossln solution file and enter Water and Sewer department automation for the deployment comment.
3 Deploy and assign package versions
-
Login to Pega Robot Manager with username RMSysAdmin and password myt0wn@pp1
-
Click to open Pega Robot Manager portal dashboard.
-
From the Pega Robot Manager dashboard, click the link to display the list of deployed packages.
-
Select the MyTownParksproj package to open the package landing page.
-
From the menu, click to open the Edit package window.
-
In the Name field, enter MyTown Parks and Recreation to change the package name.
-
Click to apply the changes and close the dialog box.
-
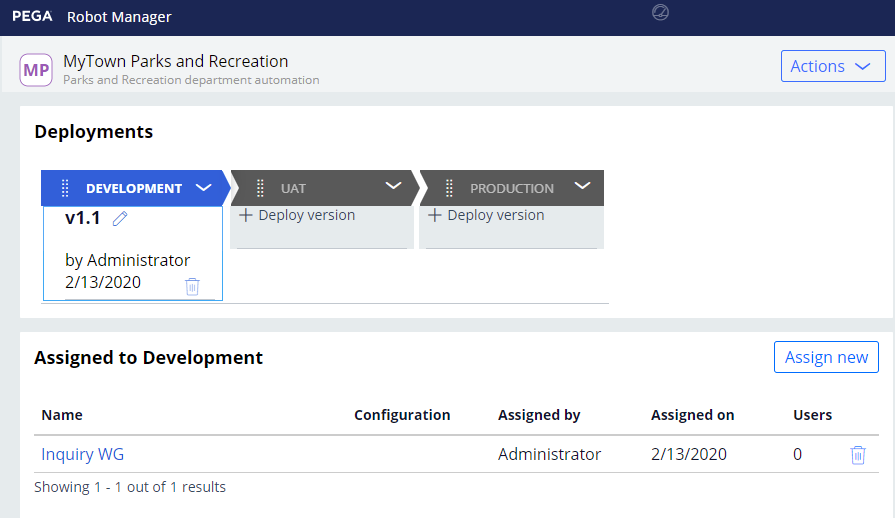
Under the Development level, click Deploy version to open the Available versions window.
-
To the right of version v1.0, click Deploy to associate version 1.0 of the MyTown Parks and Recreation package to the Development deployments level.
-
In the Assigned to Development section, click Assign new to assign the v1.0 deployment to a work group.
-
In the field, press the down arrow key to select the Inquiry WG work group.
-
Click to advance to the package configurations.
-
Click to confirm that there are no configurations present for this package.
- Click to apply the work group assignment.

4 Deploy additional versions
This challenge simulates a bug fix by redeploying the same project with a higher version number. In reality, a developer would update the automation project with appropriate fixes prior to redeploying the project.
-
From Pega Robot Studio with the MyTownParks solution open select on the menu bar to open the Project Deployment window.
-
Verify the Deployment Version number has incremented to 1.1.
-
In the Comment field, enter fixed automation bug.
-
Click OK to begin the publishing process.
-
Click OK to dismiss the dialog box.
-
Return to Pega Robot Manager.
-
Navigate to the MyTown Parks and Recreation package landing page.
-
From the menu, click to display the Versions window. Note the additional v1.1 version and the associated description.
-
Click Close to dismiss the window.
-
Under the Development deployment level, click the Pencil icon next to v1.0 to open the Available versions window.
- Click Deploy to replace the deployed v1.0 version with the latest version, v1.1.
5 Deploy to higher deployment level
-
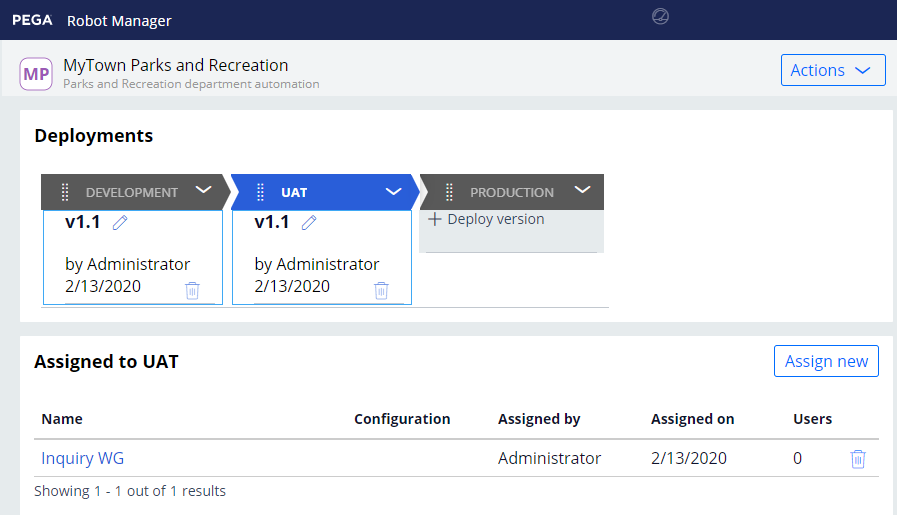
Under the UAT deployment level, click to display the Available versions window
-
Next to v1.1, click Deploy to deploy the v1.1 version to the UAT deployment level.
-
Click the Development deployment level to display the MyTown Parks and Recreation work group assignment.
-
To the right of the work group assignment, click the Trash icon to delete the assignment.
-
Click to confirm the deletion.
-
Click the UAT deployment level.
-
Click Assign new to open the Create assignment window.
-
From the Work group field, select the Inquiry WG work group to reassign the work group to the higher deployment level.
-
Click twice to advance the assignment process to the confirmation screen.
- Click to complete the assignment.
-
Repeat steps 1-10 to deploy version 1.1 to production and update the MyTown Parks and Recreation work group assignment.