Managing runtime configuration
3 Tasks
20 mins
Scenario
MyTown has encountered an error using a robot to process the creation of New Water Service accounts. A support request has been sent to you to investigate this issue. Before you can suggest a recommendation to resolve this issue, you need to capture the error in a Runtime log file. Using Pega Robot Manager™, you must manage the Runtime configuration settings by enabling the creation of a detailed diagnostics log file, capturing the automation, adapter, and matching activity of the robot. After updating the Runtime configuration settings, you must assign the updated configuration file to your robot to verify the updates to the configuration file.
Detailed Tasks
1 Save a copy of the master Runtime configuration file
- Log in to the Pega Platform instance by using Operator ID RMSysAdmin and password myt0wn@pp1.
- From the Dev Studio header, clickto open the Robot Manager portal.
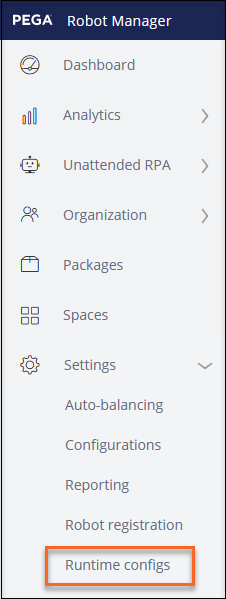
- On the left navigation panel, click Settings > Runtime configs to display the Runtime configs landing page.
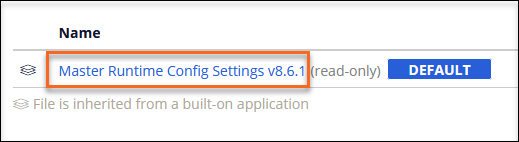
- On the Runtime configs landing page, click the Master Runtime Config Settings v8.6.1 link to display the configuration file.
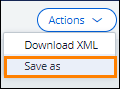
- In the upper-right corner of Pega Robot Manager, click Actions > Save as to display the Save as dialog box.
- In the Settings name field, enter Runtime Diagnostics Enabled.
- In the Description of settings contents text box, enter Logging enabled to verbose for automation, matching and adapter categories.

- Click Create to dismiss the Save as dialog box and create the new configuration file.
2 Edit the Runtime configuration file
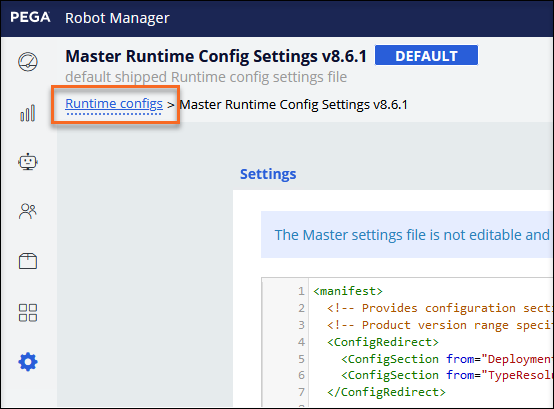
- From the breadcrumb at the top of the configuration page, click Runtime configs to return to the Runtime configs landing page.
- From the list of runtime configuration files on the Runtime configs landing page, click the Runtime Diagnostics Enabled link.
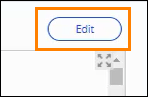
- On the Runtime Diagnostics Enabled landing page, click Edit to display the Configuration File in edit mode.
- Scroll down to roughly line 24 and change the
publisher mode
-
Scroll down to approximately line 590 in the
<!-- Adapters - generic messages -->section and in the Adapters category, change thelogLevelto 4. -
In the same Adapters section for the Matching category, change the
logLevelto 4 for the Matching Category.
- Scroll down to the
<!-- Framework -->section and in the Automation category, change thelogLevelto 4.
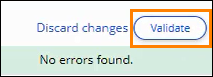
- Click Validate to check for errors in the configuration file. Wait for the No errors found message.
- Click Save to display the Save changes dialog box.
- In the Comment text box, enter verbose logging enabled for adapters and automations.
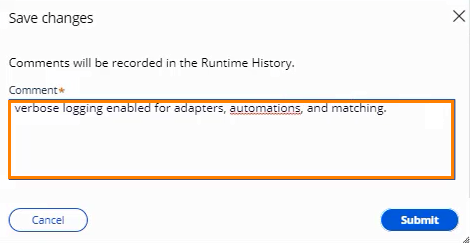
- Click the Submit button to save the configuration.
Note: Publisher mode enables the Runtime diagnostics to create a log file. The log level setting records error, warning, informational messages and verbose debugging output. Log level 4 generates detailed messages and is commonly used to capture the robot's behavior.
3 Manage the new Runtime configuration file
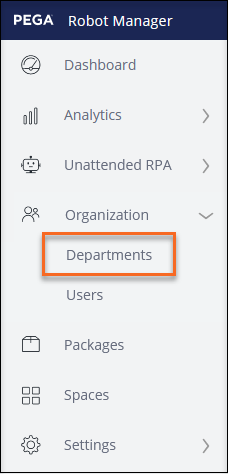
- On the left navigation panel, click Organization > Departments to display the Departments landing page.
- On the Departments landing pace, click the Water Service department link to display the department landing page.
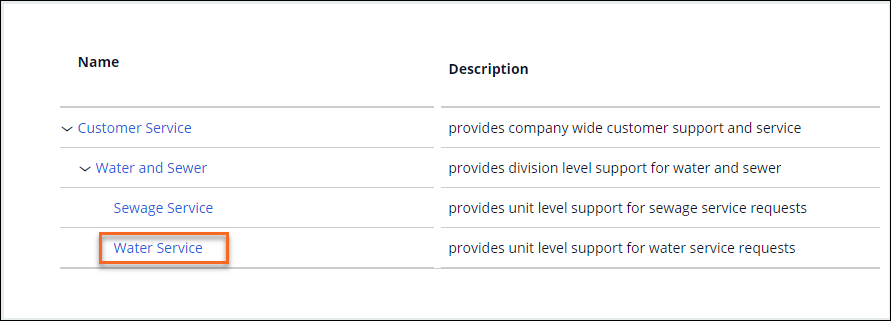
- Click the Override link to display the Override dialog window.

- From the Select from the list of settings drop-down, select Runtime Diagnostics Enabled.
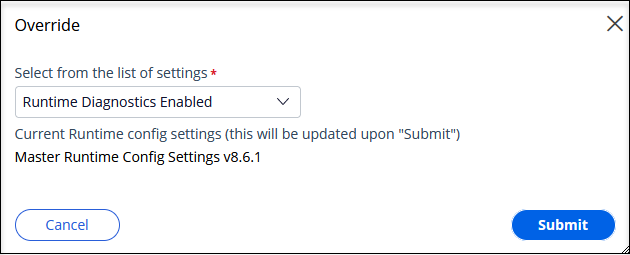
- Click Submit to save the configuration setting.
- On the left navigation panel, click Settings > Runtime configs to display the Runtime configs landing page.

- Verify that users are now assigned to the Runtime Diagnostics Enabled configuration file.

Available in the following mission:
If you are having problems with your training, please review the Pega Academy Support FAQs.
Want to help us improve this content?