Moving robots manually between workgroups
Archived
3 Tasks
20 mins
Scenario
MyTown is opting for unattended Robotic Process Automation (RPA) to manage the spike in Service Requests that occur on Mondays and Tuesdays of each week. Historically, the data shows inquiries trend down during that same time. The MyTown RM application intends to manage this workload shift by allowing only those robots in Inquiry work group to move to the Service Request work group. The robots in the Service Request work group cannot be moved.
The default Candidate work group and requestor mapping created by MyTown must be modified to implement this business need. You are asked to use the RPA services in the robot simulator to test the available work groups and ensure the Robot registration settings are configured to support balancing the workload. You must also test that the robots from the Inquiry work group can move to the Service Request work group by manually moving them within Pega Robot Manager.
Challenge Walkthrough
Detailed Tasks
1 Update the Candidate work group and requestor mapping
- Launch the Pega Training instance and log in with user name RMSysAdmin and password myt0wn@pp1
- From the Dev Studio header, click Launch portal > Robot Manager to open the Robot Manager portal.
- On the Pega Robot Manager dashboard, click Settings to display the Settings landing page.
- Click Robot Registration to open robot registration settings
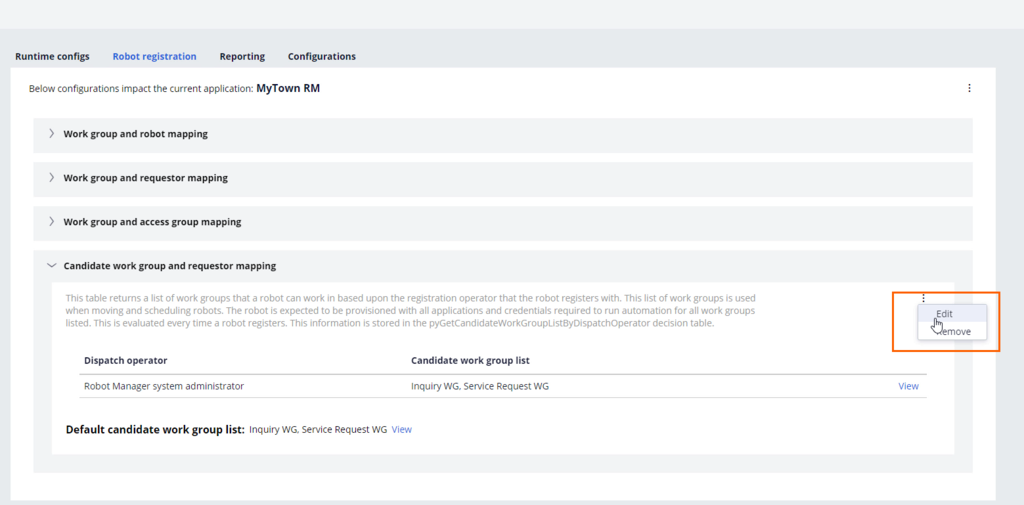
- Open the Candidate work group and requestor mapping section
- Click More icon > Edit to open the section in the edit view
- Click the Pencil icon to edit the row in the table
- In the edit popup enter SvcReqRegID in the Requestor identifier field
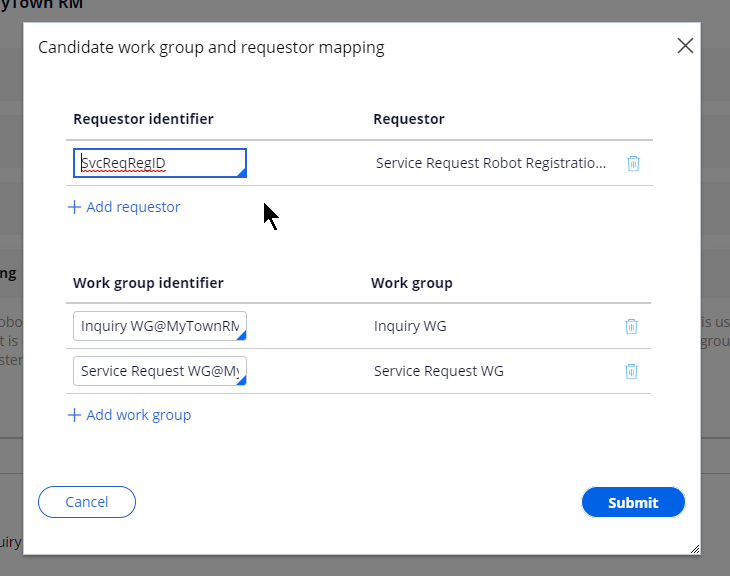
- Click the Trash can icon on the Inquiry WG work group row to remove it from the table
- Click Submit to close the window
- Click Save to finish saving changes within the table

2 Validate updated work group and requestor mapping
- In the Pega Robot Manager navigation header, click Robots to display the Robots landing page.
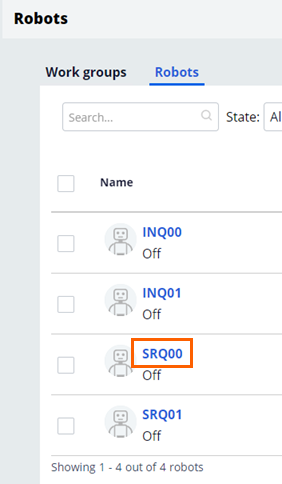
- On the Robots landing page, click Robots to access the Robots tab.
- On the tab, click SRQ00 to access the Robot Details page.
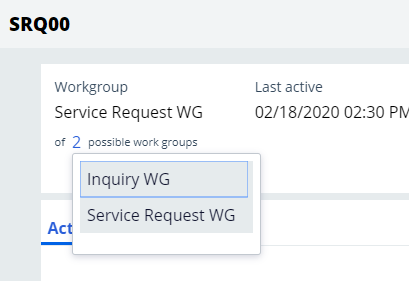
- On the Robots Details page, hover over the number of possible work groups to display the original configuration of the decision table.
- Open Pega Robot Simulator:
- On the Pega Robot Simulator login screen, confirm that the robot server URL matches the URL of the Pega instance.
- In the Enter credentials used to start robots section:
- In the User field, enter InquireRegID.
- In the Password field, and InqRobot1!
- In the the Enter credentials used to create cases section:
- In the User field, enter QueueRegID.
- In the Password field, and QueRobot1!
- In the Enter credentials used to start robots section:
- Click Login to access Pega Robot Simulator.
- In the RPA Simulator Main window, from the Select a RPA Service drop-down, select REQRPA.
- Click Start to display the RPA Simulator Configure RPA Service window.
- On the RPA Simulator Configure RPA Service, clear the Use default credentials check box.
- In the User field, enter SvcReqRegID
- In the Password field, enter SvcRobot1!
- Click Start RPA Service.
- On the Pega Robot Simulator login screen, confirm that the robot server URL matches the URL of the Pega instance.
- In your browser, on the Pega Robot Manager tab, click the browser Refresh. The page refreshes and the number of possible work groups for SRQ00 is updated to 1.
- On the Robot Details page, hover over the possible work groups and confirm that Service Request WG is now the only work group displayed.

- In the RPA Simulator Main window, start the RPA service for INQRPA by logging in with user name InquireRegID and password InqRobot1!.
- Confirm that the Inquire robots have two possible work groups configured.
3 Move robots from Inquire work group to Service Request
- In the Pega Robot Manager navigation header, click Robots.
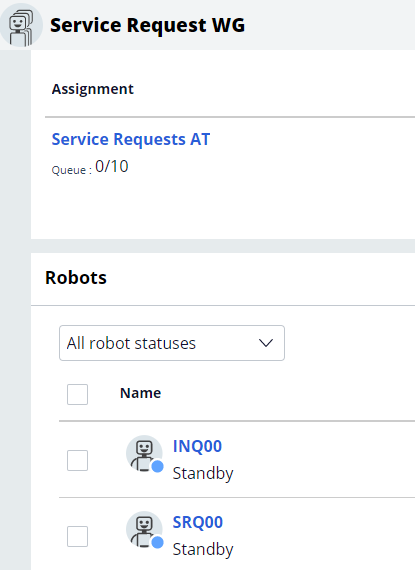
- On the Robots landing page, click Service Request WG. The Service Request work group details page is displayed.
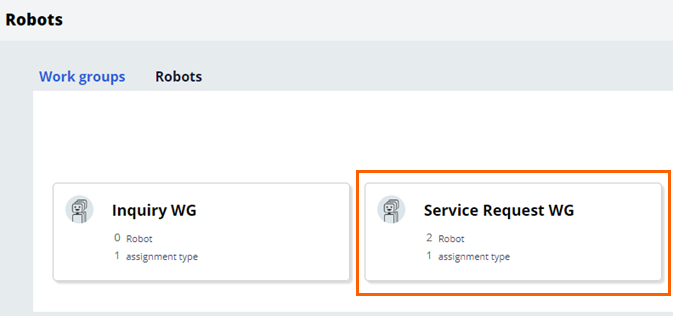
- In the Robots frame on the Service Request work group details page, click Move robots here to display the Move robots window.

- In the window, select the INQ00 check box, and then click Move. The work group page is updated to display robot INQ00 in the list of robots for Service Request.
- In the browser, click the button to return to the Robots landing page.
- On the Robots landing page, click Inquiry WG to display the inquiry work group details page.
- In the Robots frame on the Inquiry work group details page, click Move robots here.
- In the Move robots window, select INQ00 and then click Move. The INQ00 robot is returned to the base work group.
Note: In the RPA Robot Simulator, remember to stop the two RPA services, INQRPA and REQRPA.