
Anwendungszugriff verwalten
2 Aufgaben
5 Min.
Szenario
Die GoGoRoad-Produktmanager möchten den Zugriff auf die Entwicklung auf den Case-Typ „Neuer Anbieter“ beschränken, sodass nur genehmigte Rollen Aktualisierungen durchführen können. Konfigurieren Sie Berechtigungen für den Case-Typ „Neuer Anbieter“, was verhindern soll, dass jemand mit der Benutzerrolle Aktionen für den Case-Typ ausführt.
In der folgenden Tabelle finden Sie die Anmeldedaten, die Sie zur Durchführung der Challenge benötigen.
| Rolle | Benutzername | Kennwort |
|---|---|---|
| Entwickler | author@gogoroad | pega123! |
| Kundendienstvertreter | CSR@gogoroad | pega123! |
| Gebietsleiter | territorymgr@gogoroad | pega123! |
Challenge-Schritte
Genaue Übungsschritte
1 Set permissions for the User role on the Access Manager
- Log in with the developer credentials provided in the scenario.
- In the header of Dev Studio, click Configure > Org & Security > Access Manager > Work & Process to view role-based authorizations for each case type in your application.
- In the Access Group drop-down, select GoGoRoad:Users to view authorizations for the User role.
- Under Case Types, expand New Vendor to display the child rows.
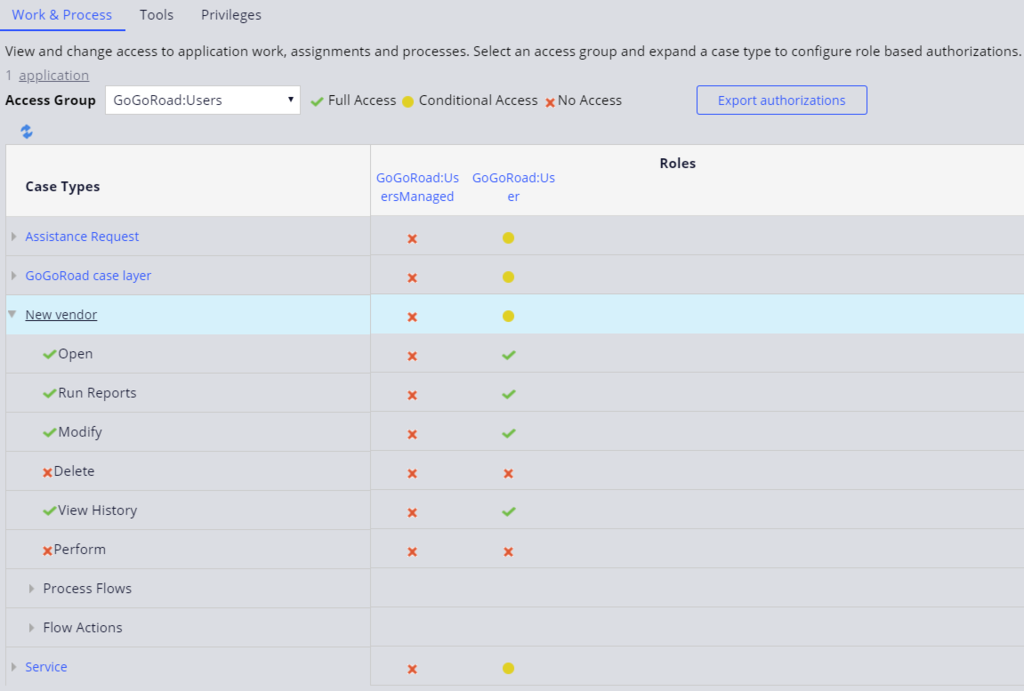
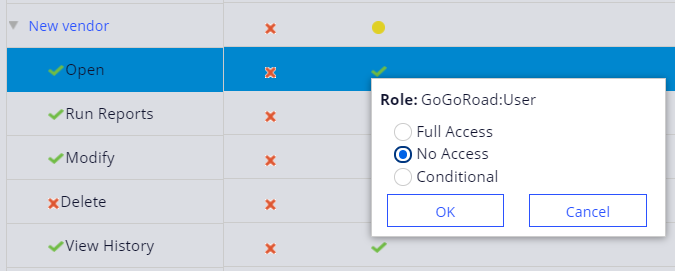
- To the right of Open, in the GoGoRoad:User column, click the Full Access check mark to update the access when opening instances of the New Vendor case type.
- Select No Access, and then click OK to set the authorization.
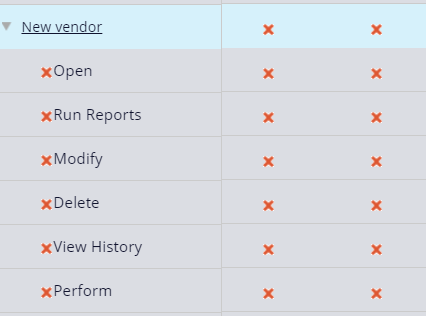
- For the following rows, repeat steps 5 and 6 to set each child row to No Access authorization.
- Run Reports
- Modify
- View History
The New Vendor row updates to restrict access to the case type.
Hinweis: Changes in the Access Manager are saved automatically. You can click the Refresh Page icon under Access Group to verify that changes saved.
2 Confirm your work
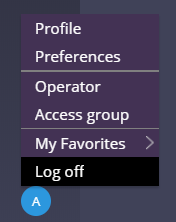
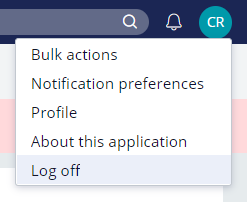
- In the lower left, click the profile icon, and then click Log off to log out of Pega Platform™. The login screen is displayed.
- Log in with the customer service representative (CSR) credentials provided in the scenario. The CSR user portal is displayed.
- Click New > New vendor.
- Verify that the create view displays the an error message that indicates you are not authorized to create, modify, or lock New Vendor case instances.

- In the upper right, click the profile icon, and then click Log off to log out of Pega Platform.
- Log in with the territory manager credentials provided in the scenario. The territory manager portal is displayed.
- Click New > New vendor.
- Verify the create view displays a new instance of the New Vendor case type.
Hinweis: Other roles, like manager, are not restricted from creating a New Vendor case and providing vendor information.
In der folgenden Mission verfügbar:
If you are having problems with your training, please review the Pega Academy Support FAQs.
Möchten Sie uns dabei helfen, diesen Inhalt zu verbessern?