Creating a Windows Form
Creating a Windows Form
The Windows Form project item lets you present a window or a dialog during the process execution. You can use a Windows Form as a debugging tool to test robots before integrating them with a Pega application, or as a user interface (UI) for the solution.
Create a Windows Form
Follow these steps to create a Windows Form in a project.
-
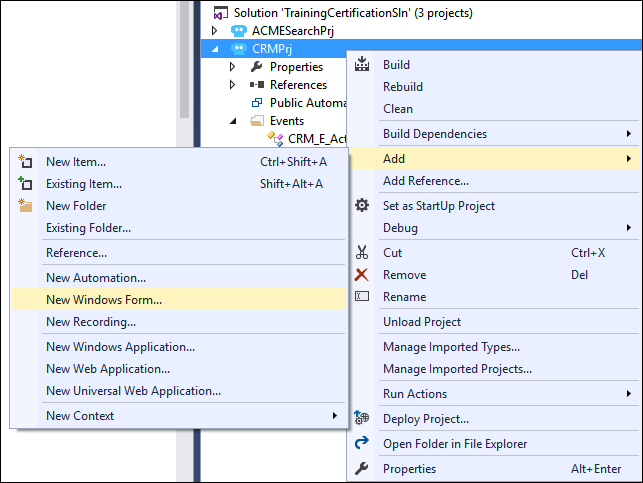
In the Solution Explorer, right-click the project and choose Add > New Windows Form. The Add New Item window is displayed.
-
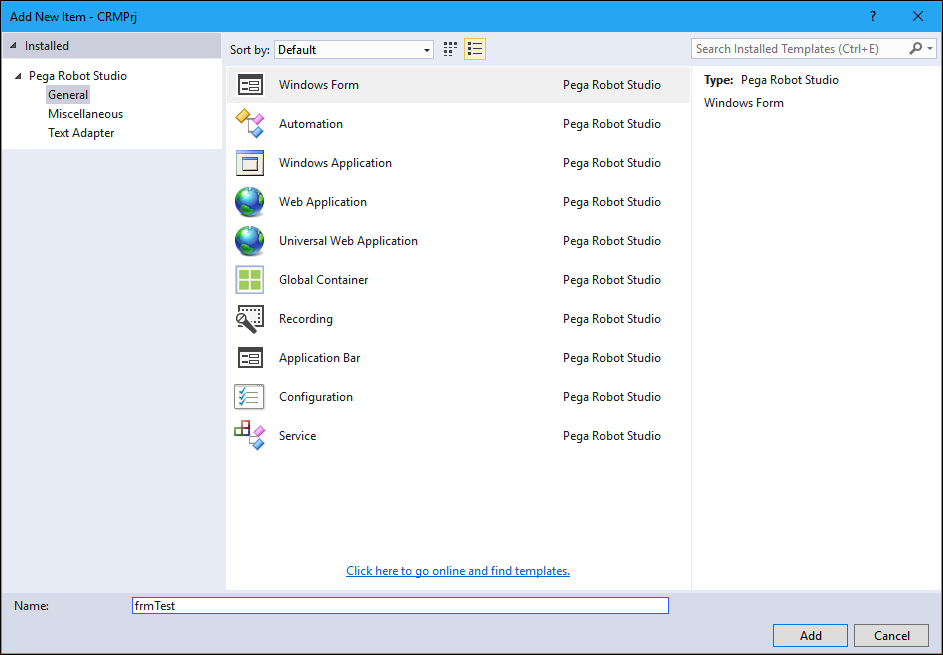
In the Name field, enter the name of the Windows Form according to project documentation, typically frm{purpose of the project item}.
-
Click Add to add the Windows Form with the specified name. The Windows Form is displayed in the Solution Explorer.
- From the designer area, open the Properties window. The Properties window is displayed.
-
In the Properties window, adjust the properties of the Windows form based on the project documentation and requirements.
- From the menu bar, click File > Save All to save your changes.
Add Toolbox components to a Windows Form
Follow these steps to add components to the Windows Form.
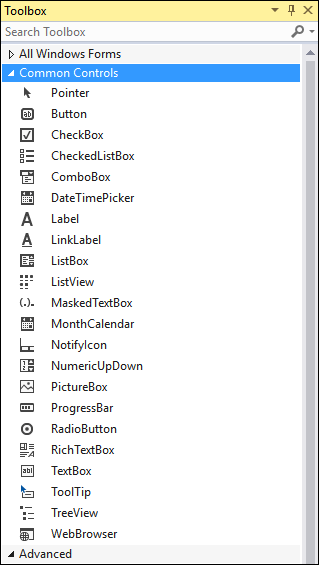
- In the designer area, open the Toolbox window. The Toolbox window is displayed.
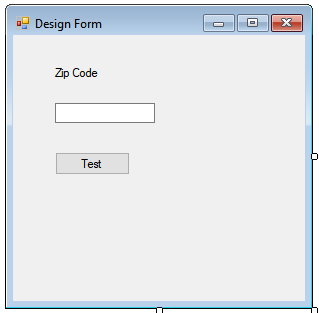
- From the Common Controls section of the Toolbox, drag and drop a Windows control on the Windows Form.
Note: You can also use components from All Windows Forms and Containers section of the Toolbox, if necessary.
-
In the Properties window, change the design (Name) property and other properties based on the project documentation.
Note: The naming convention for Windows form objects is {type of the control in lowercase}{name of the object in uppercase}.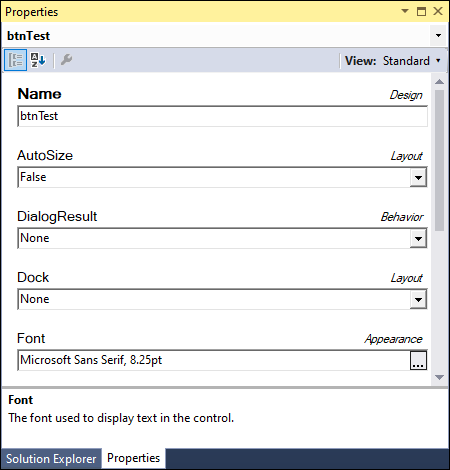
- From the menu bar, click File > Save All to save your changes.
This Topic is available in the following Module:
If you are having problems with your training, please review the Pega Academy Support FAQs.
Want to help us improve this content?