
Creating and managing teams of users
5 Tasks
15 mins
Scenario
In Roadside Assistance cases, a customer service representative (CSR) must assign a service provider to the case, review the summary of the services provided, and submit the request. Create a team named CSR@GoGo for customer service representatives and route the Select service provider and Review service summary steps to the work queue for the team. Add a widget to the dashboard to display the worklist for the CSR@GoGo team.
Note: For the CSR@GoGo work queue to be searchable in App Studio, you must associate the operator with the same workgroup as the work queue.
The following table provides the credentials you need to complete the challenge.
| Role | User name | Password |
| Application Developer | author@gogoroad | pega123! |
Note: Your practice environment may support the completion of multiple challenges. As a result, the configuration shown in the challenge walkthrough may not match your environment exactly.
Challenge Walkthrough
Detailed Tasks
1 Create the CSR@GoGo team
- In the header of App Studio, click Preview to open the User Portal.
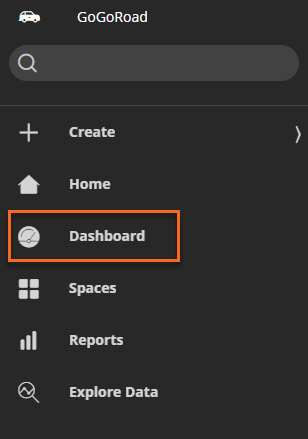
- In the navigation pane, click Dashboard.
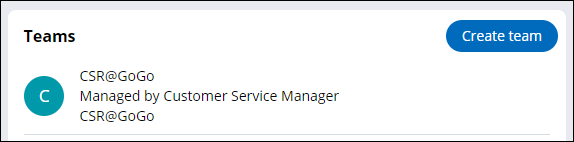
- In the upper-right corner, click Create team. The Create team window is displayed.
- In the Create team window, in the Name field, enter CSR@GoGo.
- In the Manager field, enter or select Customer Service Manager.

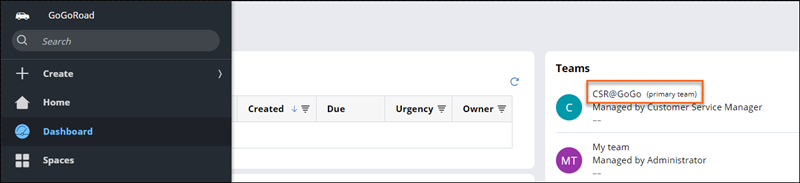
- Click Submit. The Dashboard view displays the CSR@GoGo team.
- Click CSR@GoGo to open the team. The team details are displayed.
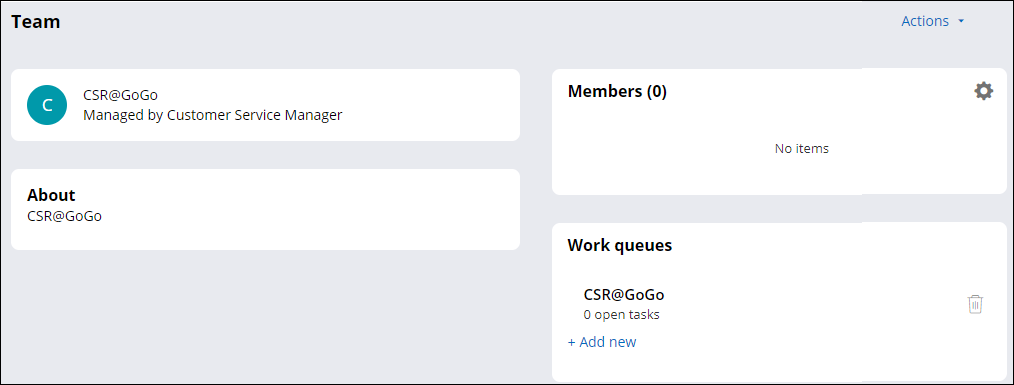
- In the Work queues section, verify that Pega Platform™ created the CSR@GoGo work queue by default.
Note: You can view the work group and work queues that Pega Platform creates in Dev Studio > Records Explorer > Organization. Click Work Group to display the list of work groups. Or, click Work queue to display the list of work queues in the application. For example, open a work queue to view the default work group and open a work group to see the default work queue.
2 Update the work group on the operator record
- In the header of App Studio, click App Studio > Dev Studio to switch workspaces.
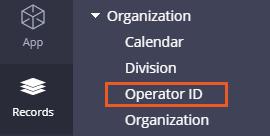
- From the navigation pane, click Records, expand Organization, and then click Operator ID. The list of operator IDs are displayed.
- From the list, click author@gogoroad to open the operator record.
- In the operator record, click the Work tab.
- In the Team field, enter or select CSR_GoGo@gogo, which is the name assigned to the team due to the use of the @ character in the name.

- Click Save.
- In the lower-left corner, click author > Log off to apply the changes to the author@gogoroad operator record.
3 Route steps to the work queue
- Log in using the author@gogoroad operator ID.
- In the navigation pane, click Case types > Assistance Request.
- Click the Select service provider step.
- In the properties pane on the right, in the Route to drop-down, select Work queue. A drop-down list is displayed below.
- In the second drop-down list, confirm that CSR@GoGo is selected.
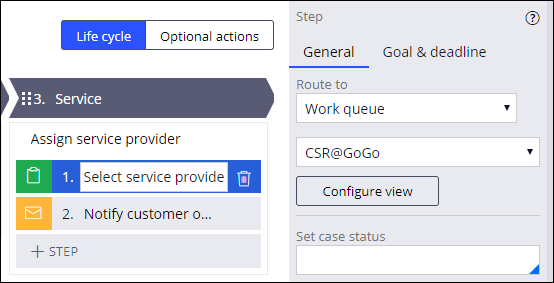
- Click the Review service summary step.
- Repeat steps 4-5 to route the step to the CSR@GoGo work queue.
- Click Save to save your changes to the Assistance Request case type.
4 Add a dashboard widget to display the CSR@GoGo work queue
- In the header of App Studio, click Preview to open the User Portal.
- In the navigation pane, click Dashboard.
- In the upper right, click the Gear icon to personalize the dashboard.
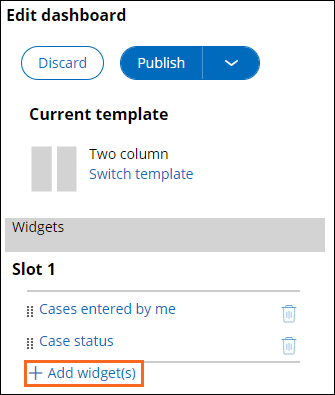
- On the right, in the Edit dashboard pane, under Slot 1, click Add widget(s) to display the Add widgets to slot window.
- In the Add widgets to slot window, in the Case Management section, select Worklist.

- Click Add selected to add the widget to the dashboard.
- In the Edit dashboard pane, to the left of the Worklist widget, click the selection handle and drag the widget to the top position in Slot 1.
- Click the Worklist widget to display the widget configuration section.
- In the Display work from drop-down, select Other Work queue's Work. The display updates with additional fields.
- In the Work queue field, enter or select CSR_GoGo@gogo.
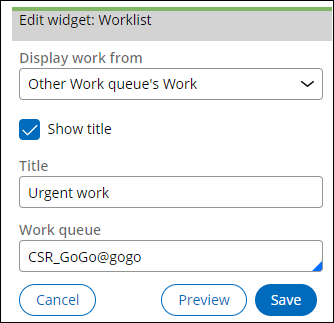
- Click Save to complete the widget configuration.
- At the top of the configuration pane, click Publish > Publish to default to finish personalizing the dashboard. The Worklist widget is displayed at the top of the left column of the dashboard.
5 Optional: Add work queue to a team
- In the Teams section of the Portal Dashboard, click the name of the team to which you want to add a work queue.
- In the Work queues section, click Add new.
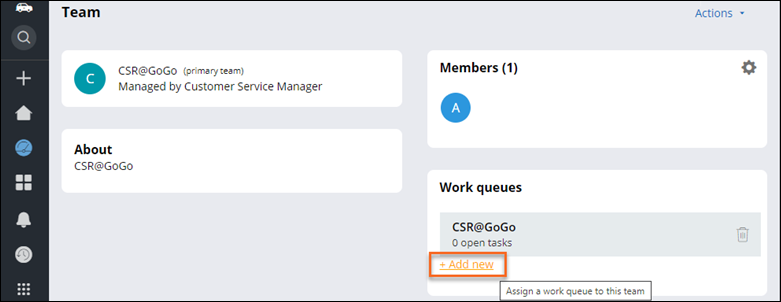
- In the text field that appears, define a work queue by selecting from the list or entering the name of the work queue. For example, if you want CSRs to be able to access the Managers work queue, you can add it to the Team Work queues.
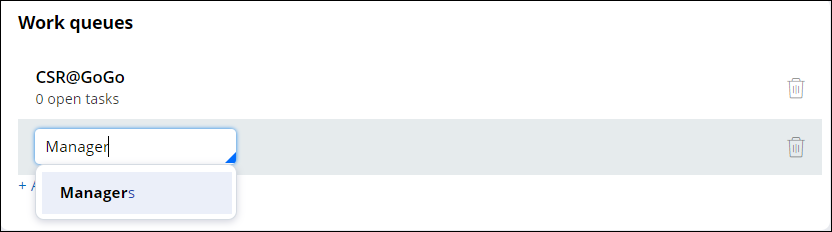
Note: To create a new work queue, enter a name for the work queue. To add an existing work queue, select the work queue from the list. You can add more than one work queue by repeating these steps. You can also delete work queues as needed.
Confirm your work
- Create a new Assistance Request case and advance the case to the Select service provider step. Note the case ID.
Note: Select a customer with Standard coverage. If you select a customer with Gold coverage, the Invoice customer process is skipped.
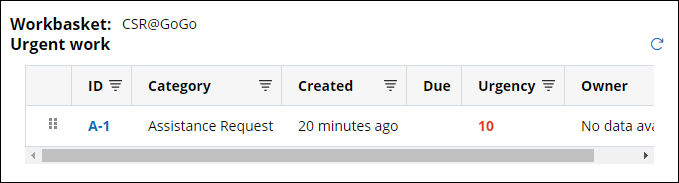
- Open the Dashboard and confirm that the case you created is displayed in the Worklist widget for the CSR@GoGo workbasket.
- Click the case ID in the list to return to the case.
- Click Submit to complete the Select service provider step.
- Return to the Dashboard to confirm that the CSR@GoGo work queue is now empty.
- In the Cases entered by me widget, click the case ID to return to the case.
- Advance the case to the Review service summary step.
- Open the Dashboard and confirm that the case is again displayed in the Worklist widget for the CSR@GoGo workbasket.
This Challenge is to practice what you learned in the following Module:
Available in the following missions:
If you are having problems with your training, please review the Pega Academy Support FAQs.
Want to help us improve this content?