Launching a new offer
7 Tasks
30 mins
Scenario
U+ Bank is cross-selling on the web by showing various credit cards to its customers. However, an increase in interest rates caused an economic slowdown. As a result, the bank decides to announce a festive offer to all customers who are likely to bring in the most revenue to help create demand in the slowing economy.
U+ Bank introduces a new offer that promises 15 percent cashback to customers with a credit score of over 700. The bank also wants to promote this offer at its best by giving it a business weight of 75 percent.
Note: The value for this business lever is set at this stage for this challenge so that the offer is displayed on the U+ website first. The typical use case for a business lever is if the business wants to make a specific offer a priority.
Use the following credentials to log in to the exercise system:
| Role | User name | Password |
|---|---|---|
| Business User | BusinessUser | rules |
| Team Lead | TeamLead | rules |
| NBA Specialist | NBASpecialist | rules |
| Revision Manager | RevisionManager | rules |
Your assignment consists of the following tasks:
Task 1: Create a change request to introduce a new action
As a Business User, submit a change request to create a new festive action that is suitable for customers with a credit score that is greater than 700, a business weighting of 75 percent, and a business value of 35 percent.
Task 2: Prioritize the change request created
As a Team Lead, assign a rank of 1 to the change request that the Business User submits.
Task 3: Complete the action build tasks
As an NBA Specialist, complete the various build tasks to create the action in the change request:
- Define action details.
- Configure a suitability rule (Credit score > 700).
- Design a web treatment with the following links:
Note: For the click-through URL, replace XXXX with the value that is specific to your exercise environment. You can copy this from the URL that is displayed in your browser.
Task 4: Review engagement policy
As a Business User, review the engagement policy created by the NBA Specialist.
Task 5: Review completed tasks in the build stage
As an NBA Specialist, review all the tasks that are completed in the Build stage.
Task 6: Promote the changes to production
As a Team Lead, promote the change request to the Revision Manager, who deploys the business changes to the production environment.
Note: In a real environment, after the promotion stage, there is also a deloyment stage, where the Revision Manager deploys all the promoted changes to production. Because this step is time consuming, we skip it for the purpose of this exercise.
Task 7: Verify the newly created action in CPV
As an NBA Designer, verify the newly created action in Customer Profile Viewer.
Challenge Walkthrough
Detailed Tasks
1 Create a change request to introduce a new action
- On the exercise system landing page, click Pega InfinityTM to log in to 1:1 Operations Manager.
- Log in as a Business User:
- In the User name field, enter BusinessUser.
- In the Password field, enter rules.
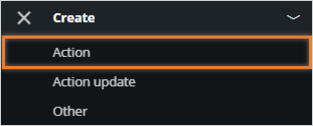
- In the navigation pane of 1:1 Operations Manager, click Create > Action to create a request for a new offer.
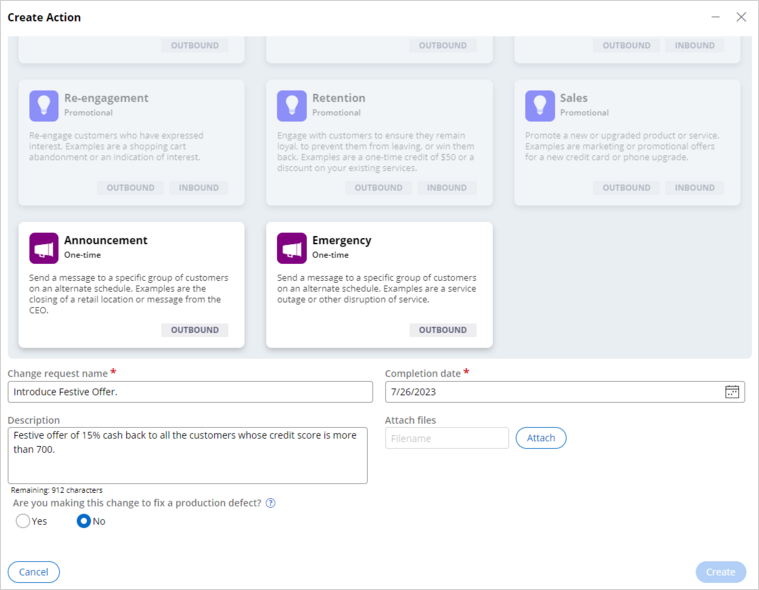
- In the Create action dialog box, complete the details about the change request:
- In the Change request name field, enter Introduce Festive Offer.
Note: The entry represents the name of the change request, not the name of the action.
- In the Completion date field, click the Calendar icon, and then select a date in the future.
- In the Description field, enter Festive offer of 15% cash back to all the customers whose credit score is more than 700.
- In the Are you making this change to fix a production defect?, confirm that No is the default selection.
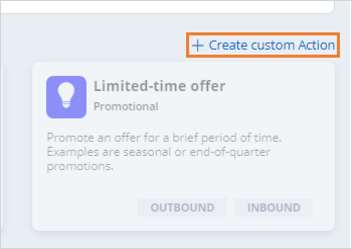
- Click Create custom action to define the attributes of the action.
- In the Change request name field, enter Introduce Festive Offer.
- In the Define action details window, in the Define attributes section, complete the following details:
- In the Name field, enter Introduce Festive offer.
- In the Business issue list, select Grow.
- In the Group list, select Credit cards.
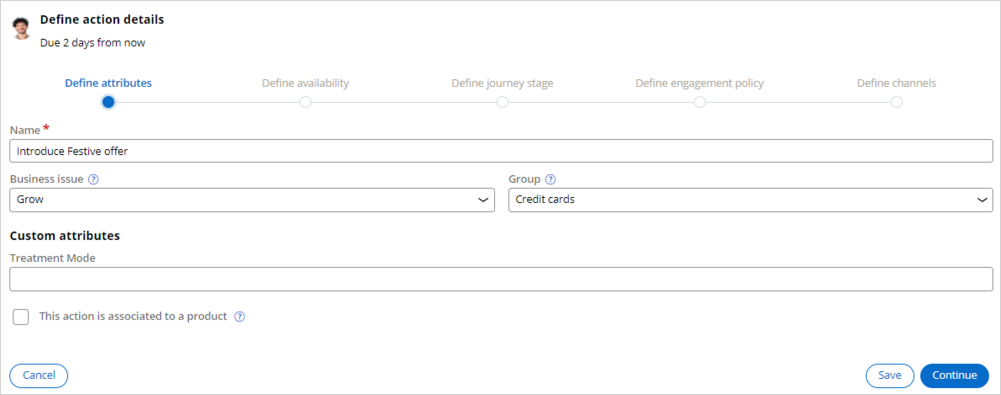
- Click Continue.
- In the Define availability section, complete the following details:
- In the Availability section, confirm that Always is the default selection.
- In the Evaluation criteria list, confirm that Default: arbitration, contact policies, and outbound.
- In the Business weighting field, enter 75.
- In the Business value field, enter 35.
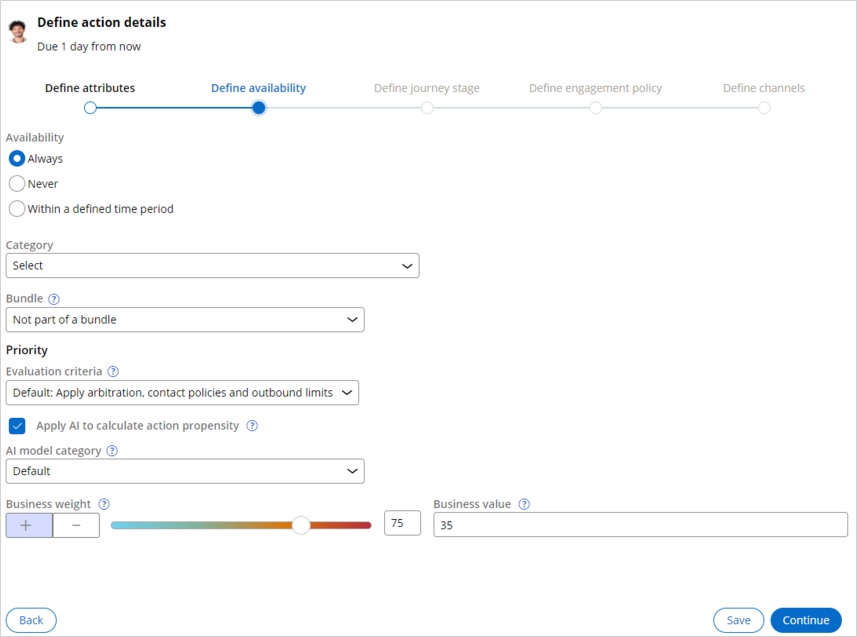
- Click Continue.
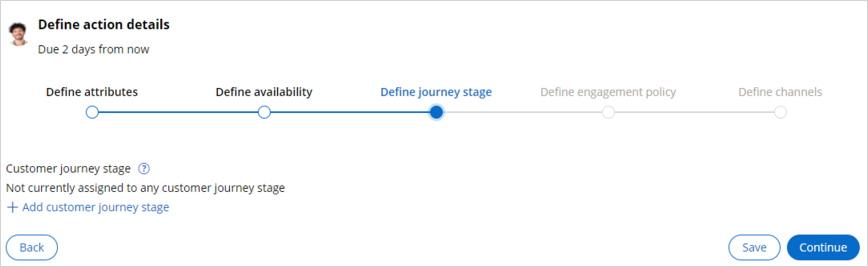
- In the Define journey stage section, click Continue to skip this step.
- In the Define engagement policy section, select Use condition builder.

- In the Intended action level list, ensure that Customer is the default selection.
- In the Intended recipient, ensure that Eligible contact and copy to primary contact is the default selection.

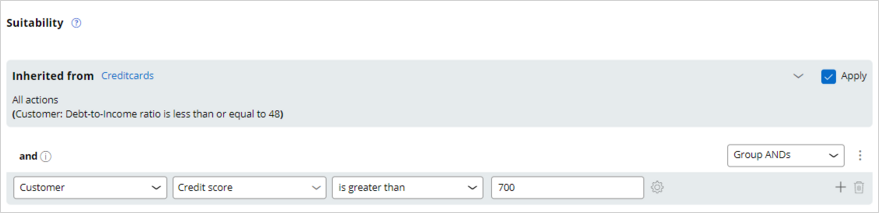
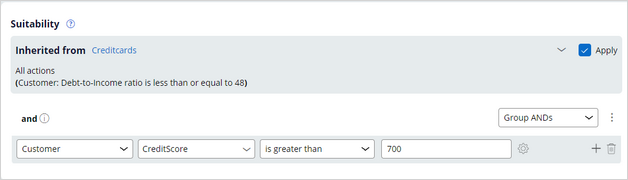
- In the Suitability section, click Add criteria.
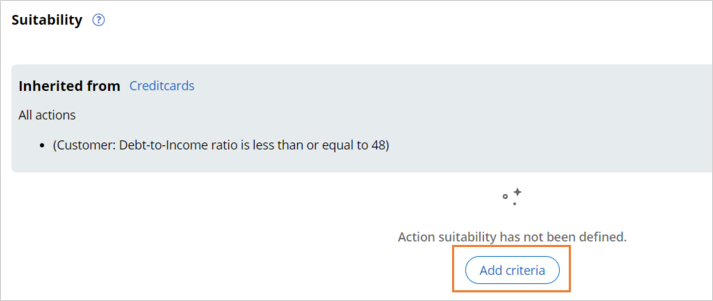
- Configure the following Suitability criteria: Customer Credit score is greater than 700.
- Click Continue to define the channel details.
- In the Define channels section, click Add channels > Inbound > Web, and then complete the details for the web treatment:
- Ensure that Request new treatment is the default selection.
- In the Name field, enter Festive Offer Web tile.
- In the Placement type list, select Tile.
- In the Availability section, ensure that Always is the default selection.

- Click Finish to confirm the details.
- In the lower-left corner, click the user profile image, and then select Log off to log out of the application.
2 Prioritize the created change request
- Log in to 1:1 Operations Manager as a Team Lead:
- In the User name field, enter TeamLead.
- In the Password field, enter rules.
- In the navigation pane of 1:1 Operations Manager, click Change Requests.
- On the Change requests landing page, click Introduce Festive offer to open the change request.
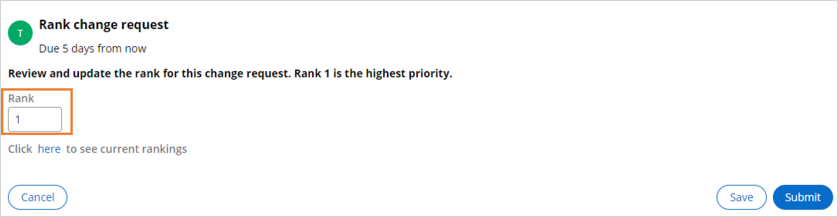
- In the change request, in the To do list, in the Rank change request task, click Go to open the rank change request section.

- In the Rank change request section, in the Rank field, enter 1, and then click Submit.
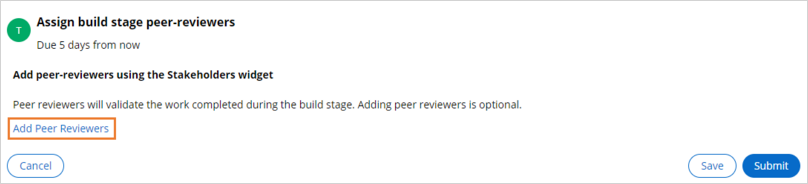
- In the To do list, in the Assign build stage peer-reviewers task, click Go to open the task.

- Click Add peer reviewers to add peer reviewers to the change request.
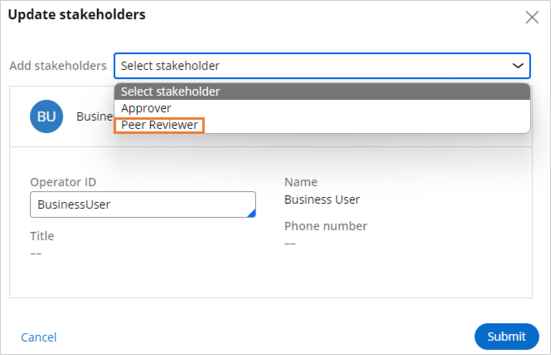
- In the Update stakeholders window, in the Add stakeholder list, select Peer Reviewer.
- In the Peer Reviewer section, in the Operator ID field, enter or select BusinessUser, and then click OK.
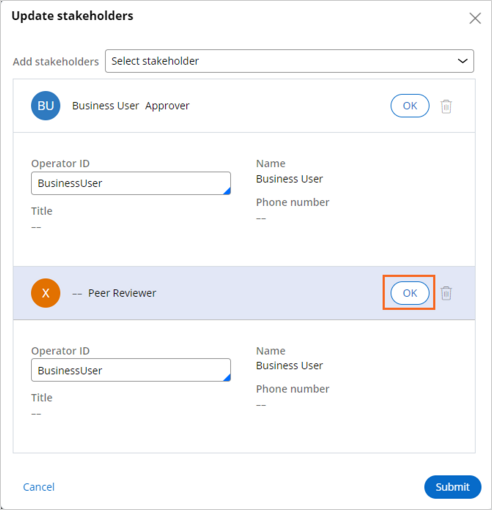
- Click Submit to close the Update stakeholders window.
- Click Submit to complete the task.
- In the lower-left corner, click the user profile image and then select Log off to log out of the application.
3 Complete the action build tasks
- Log in to 1:1 Operations Manager as an NBA specialist:
- In the User name field, enter NBASpecialist.
- In the Password field, enter rules.
- In the navigation pane of 1:1 Operations Manager, click Change requests.
- In the list of change requests, click the Introduce Festive offer to open the change request.

- In the change request, in the To do list, in the Define action details task, click the More icon, and then select Assign to myself.
- In the Define action details task, click Go.
- In the Define action details section, complete the details:
- In the Name field, enter Cashback 15 card.
- In the Keycode field, enter Cashback15.
- In the Business issue list, ensure that the selection of is Grow.
- In the Group list, ensure that the selection is Credit cards.
- In the Availability, confirm that Alwaysis is the default selection.
- In the Business weighting (+/-) field, ensure that the value is 75.
- In the Business value field, ensure that the value is 35.
- Click Submit to submit the action details.
- In the To do list, in the Define journey stage task, click the More icon, and then select Assign to myself.
- In the Define journey stage task, click Go.
- In the Define journey stage section, click Continue to skip this step.
- In the Configure engagement policy section, ensure that the Suitability condition Customer credit score is greater than 700 is active for the action level , and then click Continue.
- In the Prepare validation section, click any persona name to preview its respective values.
- Close the persona preview.
- Select the Barbara, and Troy checkboxes to select the personas for validation, and then click Continue.
- In the Run validation section, change the desired outcome of Troy to Not receive.
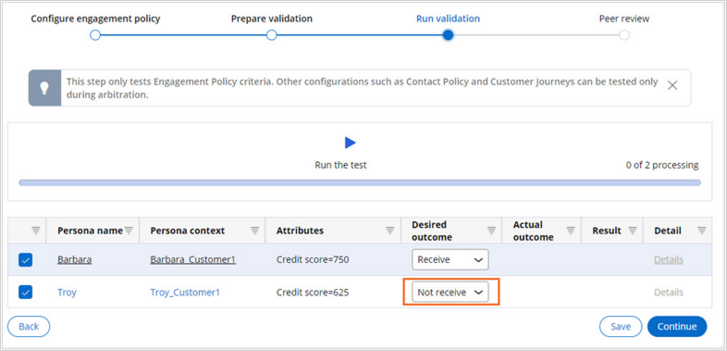
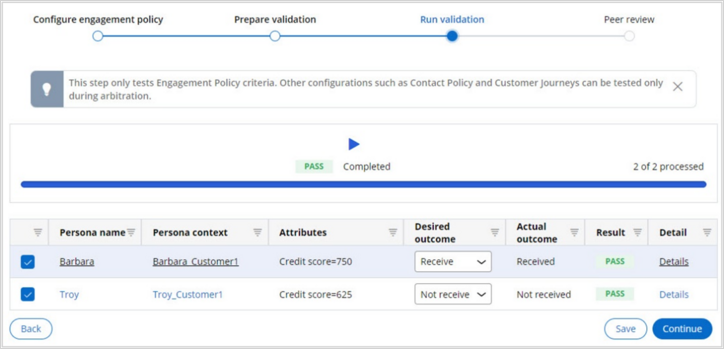
- Click the Run the test icon.
- In the Result column, confirm that the status of both tests is Pass.
Barbara's credit score is 750, which satisfies the defined suitability rule (Credit score > 700), so she receives the offer. Notice that Troy is not eligible for the offer. - Click Continue.
- Add a relevant comment to describe the engagement policy to the peer reviewer, and then click Finish.
- In the To do list, in the Design web treatment task, click the More icon, and then select Assign to myself.
- In the Design web treatment task, click Go.
- In the Design web treatment section, complete the details:
- In the Name field, enter Cashback 15 card web tile.
- In the Placement type field, confirm that Tile is the default selection.
- In the Language list, select English (United States).
- In the Content URL field, enter https://artifacts.pegaenablement.com/images/CashBack15.png.
- In the Click-through URL field, enter https://pega.xxxxxxxx.pegaenablement.com/uplus-wss/retail_bank/category.html.
Note: For the click-through URL, replace XXXX with the IP address value that is specific to your exercise environment. You can copy this from the URL that is displayed in your browser.
- In the Format section, select Image.
- In the Availability section, confirm that Always is the default selection.
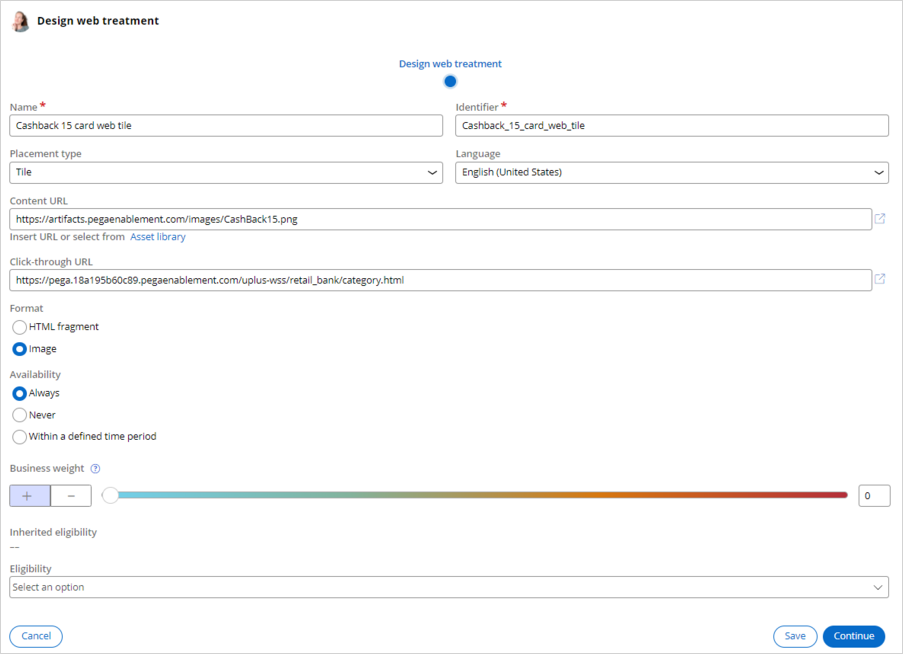
- Click Continue.
- In the lower-left corner, click the user profile image, and then click Log off to log out of the application.
4 Review the engagement policy
- Log in to 1:1 Operations Manager as a business user:
- In the User name field, enter BusinessUser.
- In the Password field, enter rules.
- In the navigation pane of 1:1 Operations Manager, click Change requests.
- In the list of change requests, click Introduce Festive offer to open the change request.
- In the change request, in the To do list, in the Review engagement policy task, click Go.

- Review the details, add the review comments, and then click Approve.
- In the lower-left corner, click the user profile image, and then click Log off to log out of the application.
5 Review completed tasks in the build stage
- Log in to 1:1 Operations Manager as an NBASpecialist:
- In the User name field, enter NBASpecialist.
- In the Password field, enter rules.
- In the navigation pane of 1:1 Operations Manager, click Change requests.
- In the list of change requests, click Introduce Festive offer to open the change request.
- In the To do list, in the Review all completed tasks in build stage task, click the More icon, and then select Assign to myself.
- In the Review all completed tasks in build stage task, click Go.
- In the Review all completed tasks in build stage, click Submit.
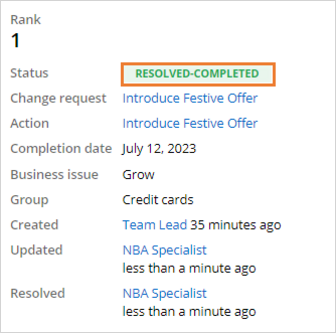
- Confirm that the action status is RESOLVED-COMPLETED.
- In the navigation pane of 1:1 Operations Manager, click Change requests.
- In the list of change requests, click Introduce Festive offer to open the change request.
- In the To do list, in the Validate artifacts task, click the More icon, and then select Assign to myself.
- In the Validate artifacts task, click Go.
- In the Validate artifacts section, click Submit.
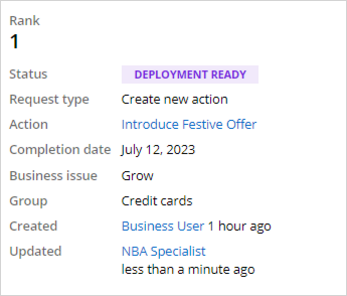
- Confirm that the change request status is DEPLOYMENT READY.
- In the lower-left corner, click the user profile image, and then click Log off to log out of the application.
6 Promote changes to production
- Log in to 1:1 Operations Manager as a team lead:
- In the User name field, enter TeamLead.
- In the Password field, enter rules.
- In the navigation pane of 1:1 Operations Manager, click Change Requests.
- In the list of change requests, click Introduce Festive offer to open the change request.
- In the To do list, in the Complete this change request task, click the More icon, and then select Assign to myself.
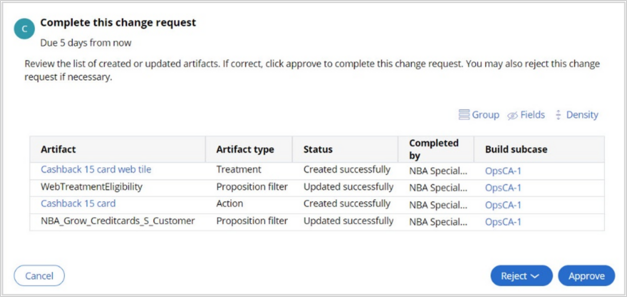
- In the Complete this change request task, click Go.
- In the Complete this change request section, click Approve.
- Confirm that the action status is RESOLVED-COMPLETED.

- In the lower-left corner, click the user profile image, and then click Log off to log out of the application.
7 Verify the newly created action in CPV
- Log in to Customer Decision Hub as an NBA Designer:
- In the User name field, enter NBADesigner
- In the Password field, enter rules.
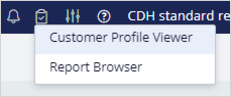
- In the header of Customer Decision Hub, click Reports > Customer Profile Viewer.
- On the Customer Profile Viewer landing page, complete the following details:
- In the Type list, select Customer name.
- In the Customer name field, enter Barbara Stockton.
- Click View.
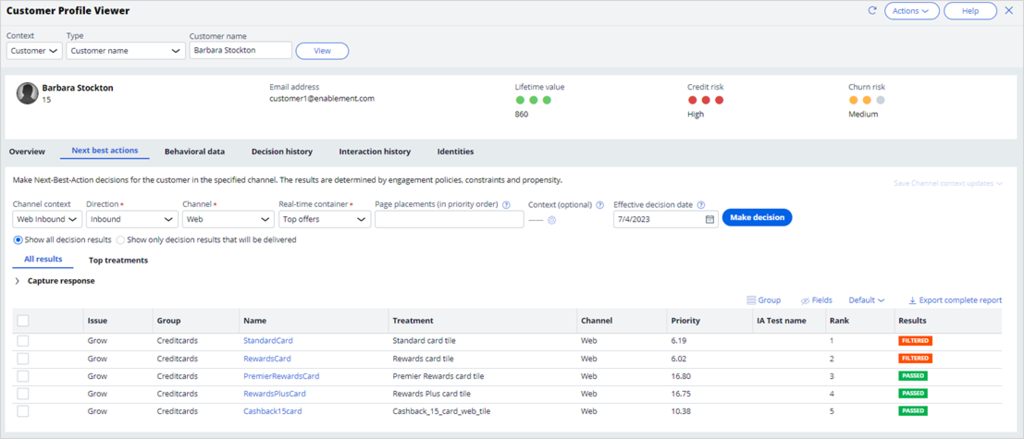
Note: In CPV, you must search for Barbara's profile because the newly created action passed the test for Barbara during testing. As a result, Barbara is eligible for this action and she receives the new offer.
- In Barbara's profile, click the Next best actions tab.
- In the Channel context list, select Web Inbound, and then click Make decision.
This Challenge is to practice what you learned in the following Module:
Available in the following mission:
If you are having problems with your training, please review the Pega Academy Support FAQs.
Want to help us improve this content?