Creating an external treatment to share action details in a file or database
Business scenario
U+, a retail bank, has been sending credit card offers to eligible customers via email. However, to comply with the security and spamming regulations, the bank has decided to use a third-party email delivery service instead of the using the inhouse email server. As a result, the offer details need to be written to a file that can be shared with a third-party email distributor.
Creating a file template
Pega Customer Decision Hub enables you to easily write action details to a file that can be sent to a third-party vendor or application for distribution.
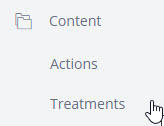
To implement this business requirement, you need to configure a file template. The file template landing page can be accessed from the navigation menu, Content -> Treatments.
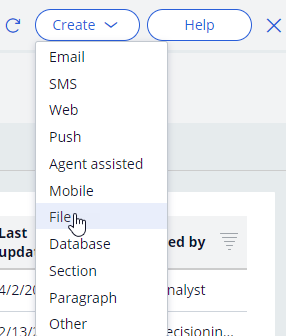
You can create a new file template from this page.
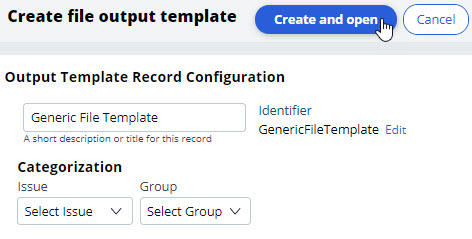
Provide a short description for the new file template and the identifier is automatically populated when you tab out.
First step in configuring a file template is to provide details on an existing repository or to create a new repository where the file needs to be stored.
Creating a repository
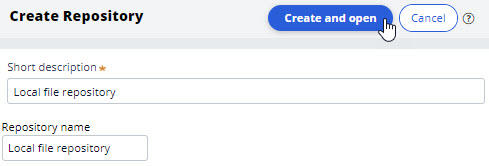
While configuring a file template, you can create a new repository.
Provide a short description and a name for the repository to create one.
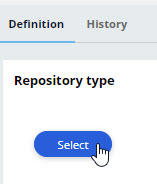
Select a Repository Type where you would like to store the file.
Pega Customer Decision Hub supports various cloud-based destinations as repository types such as JFrog Artifactory, Amazon S3, and Microsoft Azure in additional to local file system.
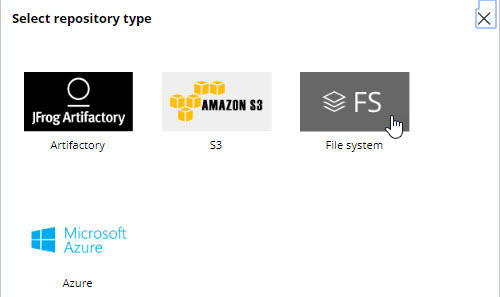
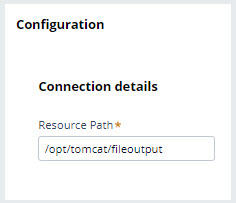
When you select the repository type as File system, provide a directory path in the local file system in the Resource Path where you would like the file to be stored.
Configuring a file template
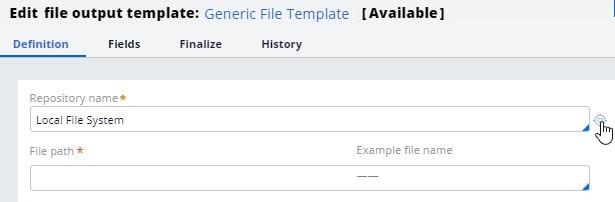
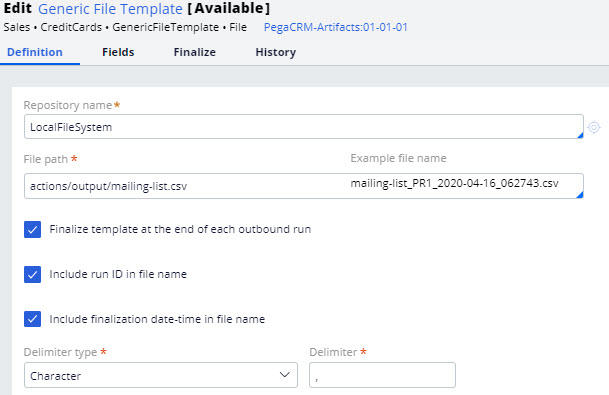
In the Edit file output template page, continue configuring the file template.
Select the repository and provide a path where the file needs to be stored. It is a sub-directory under the directory specified in the file system repository. The format for the file path and name is folder/filename.For example, if the repository path is /opt/tomcat/fileoutput and the file path is actions/output/mailing-list.csv, then the file will be created under /opt/tomcat/fileoutput/actions/output.
Output template finalization
Finalization is the technical process of writing data from an internal staging area to the final file. Finalized data is ready to be consumed by a different system. Finalization can be triggered manually or automatically by the system based on a schedule. Select the Finalize template at the end of each outbound run option to trigger the finalization after each run.
By finalizing a template at the end of each run, you ensure that all data in the file is the result of a single run. That is, the final output includes all data related to the run that triggered the finalization. If you want the data from multiple outbound runs to be written to the same file, leave this option unselected. When you leave this option unselected, you have to configure a separate finalization schedule in the Finalize tab or finalize the file manually in the Treatments > File landing page.
If you chose to finalize at the end of each run, select Include run ID in the file name to include the run ID for easier identification of the files generated in each run.
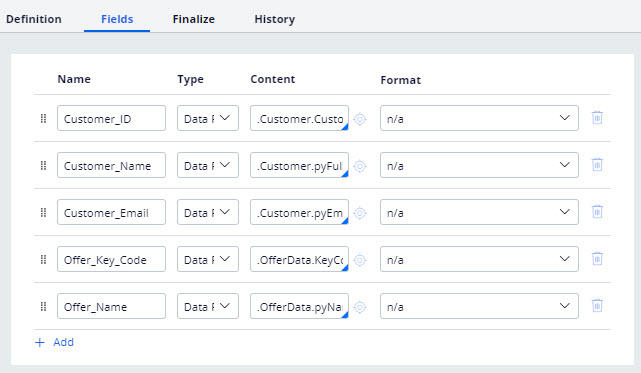
In the Fields tab, you can configure the information elements that you want to output.
That is, you can configure the customer and action details that you want to share with the third-party email distributor. In the Name field you enter a name for the field. In the Content field, you select the corresponding property. Use the .Customer. construct to access customer properties and .OfferData. construct to access action properties.
In the Finalize tab, you can configure further finalization options.
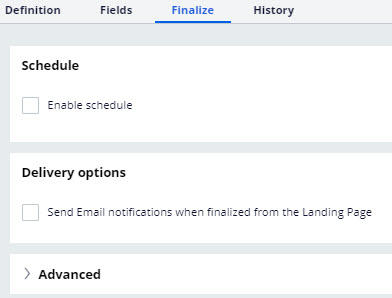
The Advanced section can be used for additional processing during the finalization process. For example, you can use it to initiate the file transfer to a particular location.
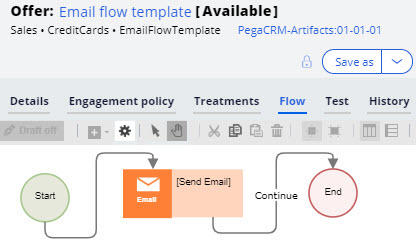
Using the file template in an action flow
You need to configure one of the Send* shapes, that is, Send Email, Send SMS, Send Generic or Send Multi shapes, in the action flow to reference the file template, so that the action details are written to the output file during an outbound run.
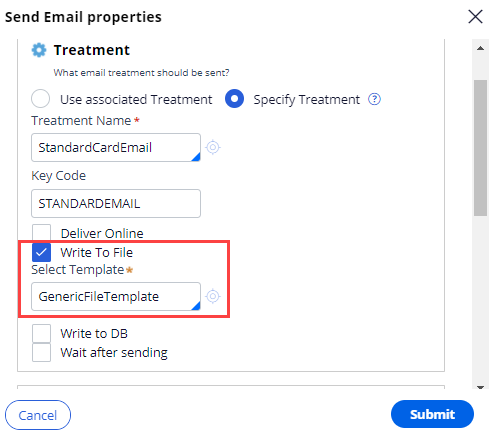
To write action details to a file template, reference the file template in the Send* shape properties, Write To File option.
To write action details to a file, run an outbound schedule. The file with action details will be stored in the specified repository.

The file contains the fields as configured in the file template.
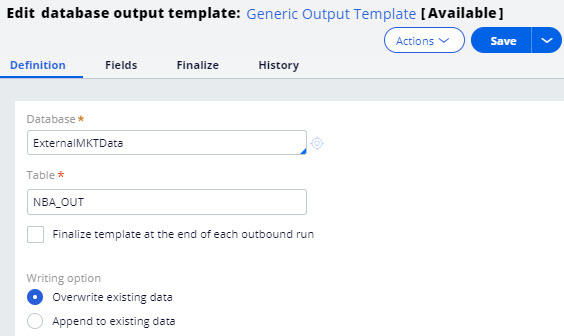
Writing action details to a database
Similar to writing details to a file, you can make the outbound run write details to a database table using a database template. The process of creating a database template is similar to creating a file template. Instead of the repository, file path, and file name configurations, you must provide the Database name and Table name.
Bypassing action flow processing
In the always-on outbound scenario, you have the option to bypass the action flow processing and write actions details to a database table directly via a database template. Use this feature when you don’t have a need to perform multiple steps in the lifecycle of an action, such as send action message, wait for a response, take an appropriate action upon response and so on.
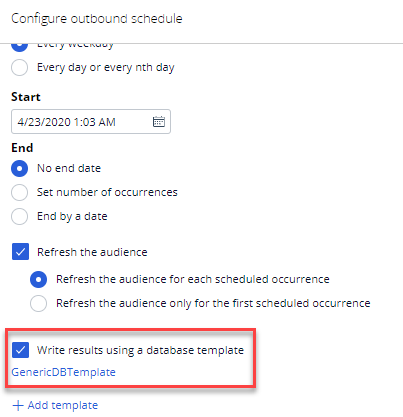
To use this feature, go to Next-Best-Action Designer, Channel. Under the Primary schedule section, click the gear icon next to Recurrence to access the outbound schedule configuration. Enable the Write results using a database template option to add a database template.
Note: Here, you can only configure database templates that have the Writing option set to Append to existing data.