Creating a SOAP service using the Service Wizard
Creating a SOAP service using the Service Wizard
You run the Service Wizard to create all the records needed to expose your application as a service. The Service Wizard walks you through entering the settings required to create the service. The Service Wizard does not create XML mappings for inherited properties, so you must add those properties as needed.
Running the Service Wizard
-
In Dev Studio, select Configure > Integration > Services > Service Wizard to start the Service Wizard.
-
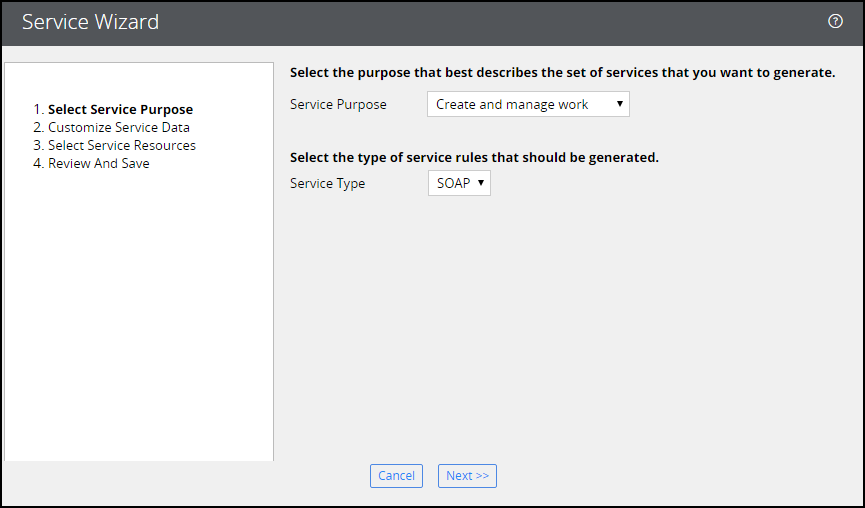
Complete the Select Service Purpose section:
- Set the Service Purpose to Create and manage work.
- Set the Service Type to SOAP.
- Click Next.
Note: Create and manage work is the most common reason to create a service. You invoke an existing service activity if you have created the activity previously. The Process input or output data provides an empty activity that you configure to get or process the desired data. The options in the Wizard differ based on the Service Purpose selected. -
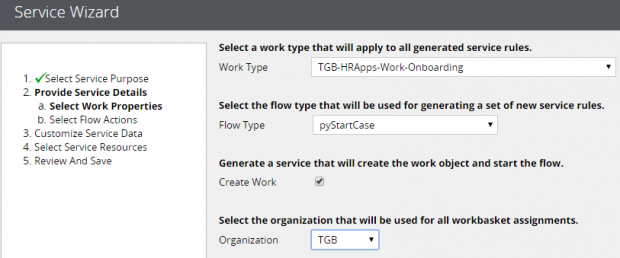
Complete the Provide Service Details — Select Work Properties section:
- Set Work Type to TGB-HRApps-Work-Onboarding.
- Set Flow Type to pyStartCase.
- Select Create Work and set the Organization to TGB.
- Click Next.
-
Click Next.
Note: The pyStartCase flow does not have any flow actions that you want to consider a service to execute. -
Select Use XML for data mapping to allow for list structures in the request.
Note: Only properties defined directly in the TGB-HRApps-Work-Candidate case type are displayed. Inherited properties are not displayed and need to be added manually after the Wizard has been completed. -
Select the following input properties:
- .Employee.Manager
- .Employee.StartDate
-
Click Next to confirm the properties to use.
-
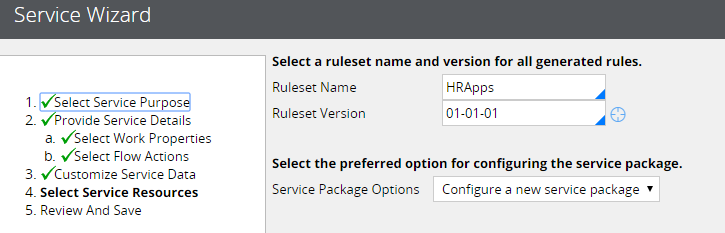
Set the Ruleset Name to HRApps, and set the Ruleset Version to the version in which you are working.
-
From the Service Package Options drop-down list, select Configure a new service package, then click Next.
-
Keep the default settings in the Configuration Data Records screen. Click Next.
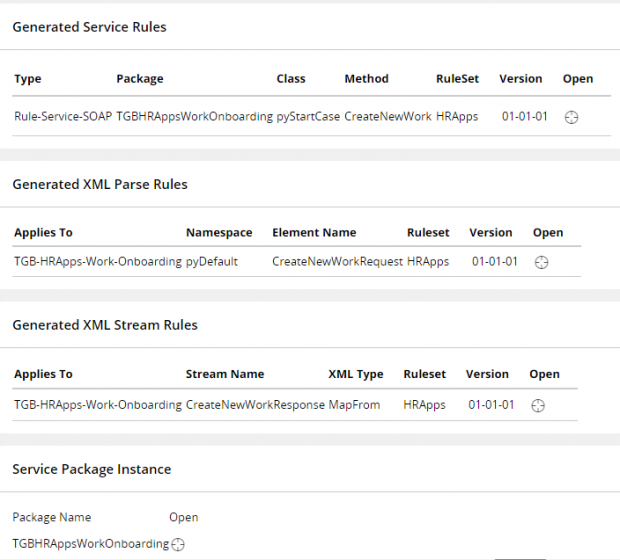
Note: Requires authentication is selected by default. This means that you need to provide an operator and password when you call your service. - The Review and Save screen displays the records that will be created by the Wizard. Click Finish to create the records.
The final page displays the records created by the Wizard.
Adding inherited properties
-
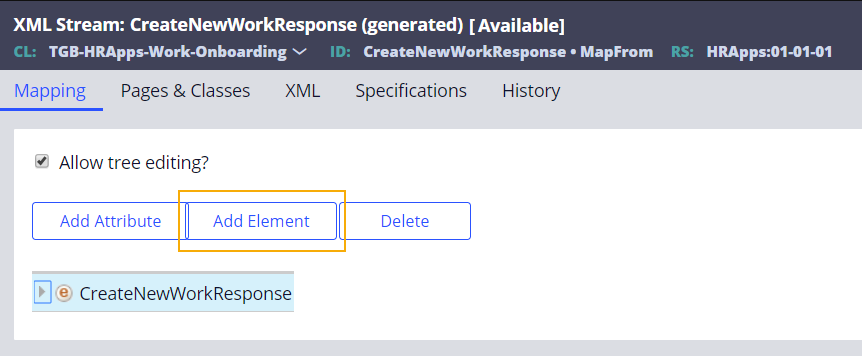
Open the CreateNewWorkResponse XML parse rule generated by the Wizard.
-
Click Add Element to add the required input parameter that was not available for selection in the Wizard.
-
Double-click the new property to configure it.
-
Enter a Node Name and specify the Property to map the value.

- Click OK to update your changes.
Testing the service
-
Open the service rule.
Tip: You can access the service rule from the final screen of the Service Wizard. If you have closed this screen, you can open the Records Explorer and navigate to Integration-Services > Service SOAP to access it. - Click Actions > Run to test the service rule.
- Select Supply SOAP request envelope to enter values for the test.
-
Update the request and enter values for each option. In the following screenshot, you see values have been entered for Employee, SSN, and FirstName.

- Click Execute to test the service.
- Your response will vary based on what you are attempting to do. If there is an error, you see a SOAPFault exception produced.
This Topic is available in the following Module:
- Web services v1