Exporting using the Application Packaging wizard
Exporting an application using the Application Packaging wizard
The Application Packaging wizard simplifies the process of exporting an application by guiding you through the steps to create a product rule. In each step, you add the application components that you want to include. After you complete the steps, the wizard creates the product rule. You can then review the product rule contents and generate the archive file.
Follow these steps to create a product rule and generate an archive file:
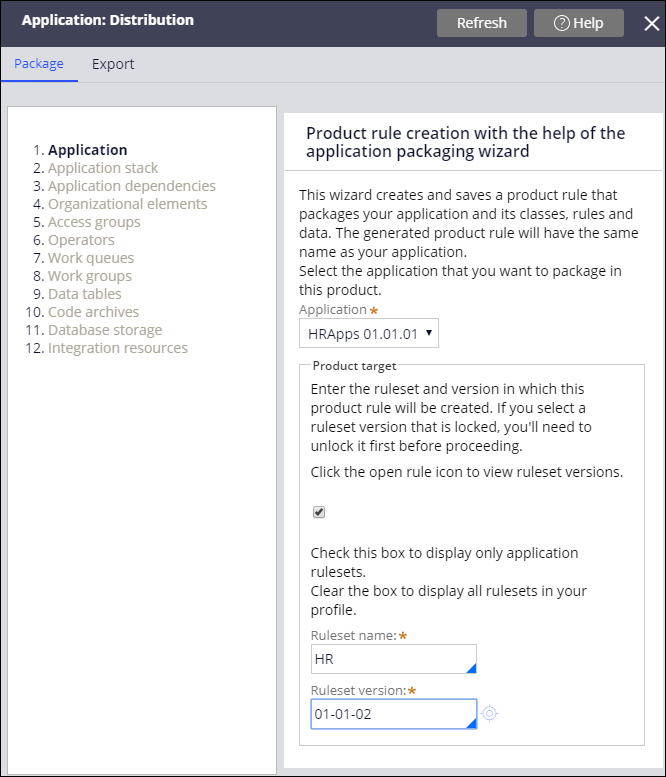
- From Dev Studio, start the wizard by selecting Configure > Application > Distribution > Package.
- On the Application step, use the Application drop-down to select the application you want to package. The drop-down contains the applications you have access to on the current system.
- In the Ruleset Name and RuleSet version fields, select the ruleset and unlocked version that contains the product rule. If you specify a locked ruleset, you receive an error message.
-
Optional: Click Check to display only Application Rulesets to display the rulesets specified in the rule form of the selected application. If left clear, only rulesets in your ruleset stack, as shown on your operator profile, are displayed.
As you proceed through the steps in the wizard, the system automatically lists the components that are available in your application with a check box. Components that are used by your application are selected by default. If you want to exclude a component, clear the check box.
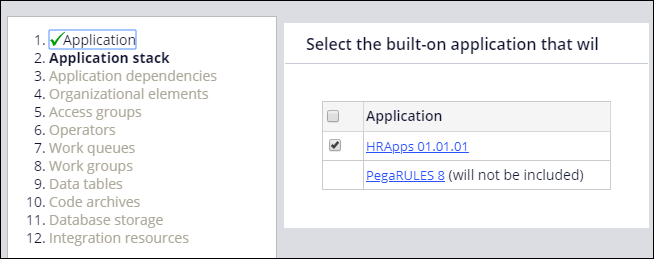
- On the Application Stack step, identify the chain of built-on applications ending with the base PegaRULES application. Depending on the applications present on the destination system, you may not need to include the entire stack in your package.
- On the Application Dependencies step, identify the products on which many Pega-supplied applications are dependent. Pega Platform™ verifies that these dependencies are installed on the destination system before importing the Pega-supplied applications. If required products for your Pega-supplied applications are unnecessary, skip this task.
-
On the Organizational Elements step, identify the organization, divisions, and units associated with your application.

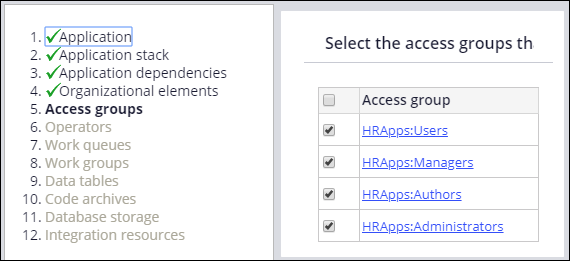
- On the Access Groups step, identify the access groups associated with your application. If you have created access groups for development or testing that are not part of the application, clear the check box next to the access group names to exclude them.
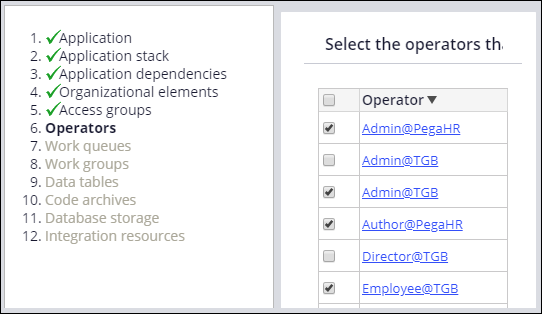
- On the Operators step, identify the operators associated with the application. If you have created operators for the purpose of development or testing and are not part of the application, clear the check box next to the operator names to exclude them.
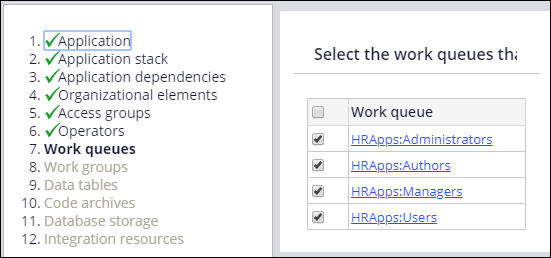
- On the Work Queues step, identify the work queues associated with your application.
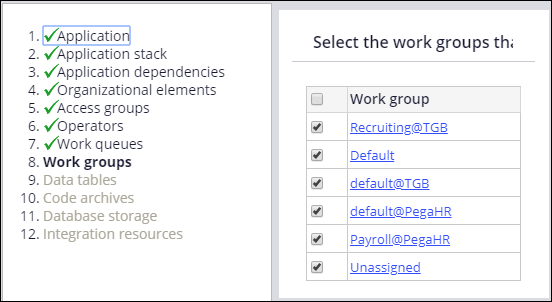
- On the Work Groups step, identify the work groups associated with your application.
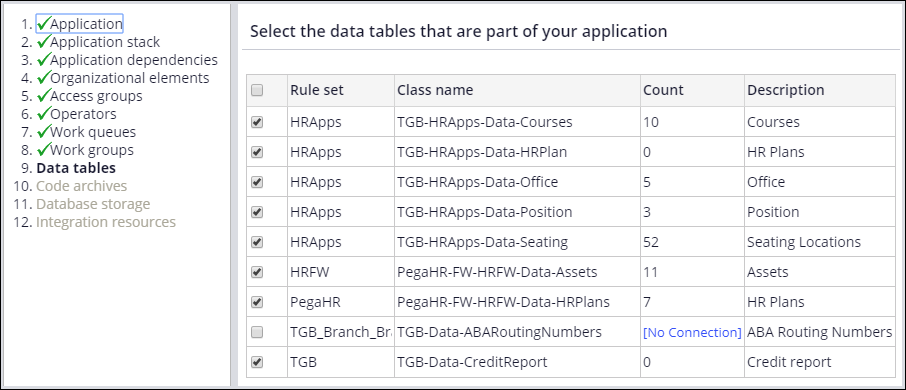
- On the Data Tables step, identify the local data storage data types used in the application. A link named No Connection is displayed in the Count column if a connection issue arises. For example, an external data table may have more than one data class mapped to it. Click the No Connection link to open the rule, and click Test Connection to identify the issue.
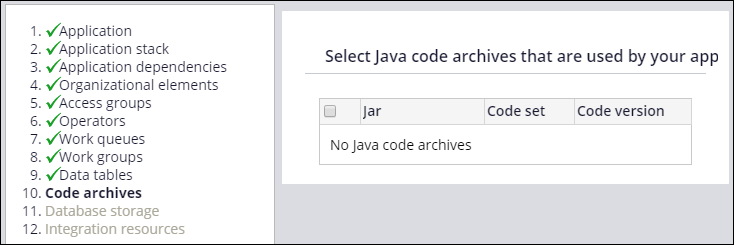
- On the Code Archives step, identify the Java code archives used by your application.
- On the Database Storage step, identify the databases and database tables that are available to your application.

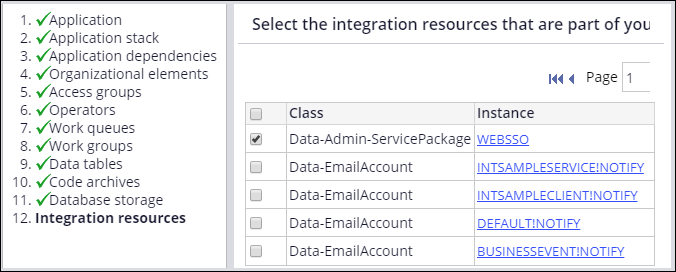
- On the Integration Resources step, identify the integration resources available to your application. The integration instances associated with your application are automatically selected.
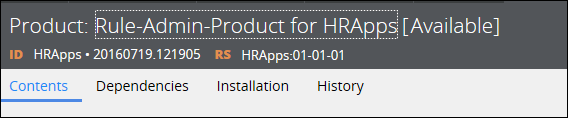
When you have completed all the steps, click Finish. The system creates the product rule in the ruleset you specified. The wizard names the product rule after the application you specified. The version is set to the date and time of creation.
After you click Finish, the Package landing page displays a dialog that lets you perform various tasks.
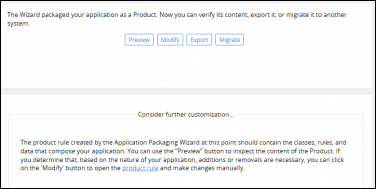
- You can do the following:
- Click Preview to show the content of the ZIP file that is created by the product file.
- Click Modify to open the product rule so that you can manually add or remove instances or change default settings.
- Click Migrate to start the Product Migration wizard. The Product Migration wizard lets you automatically archive, migrate, and import a Product rule to one or more destination systems. For more information on exporting an application with the Application Packaging Wizard, see the Help topic Product migration.
- Click Export to create an archive file on your local computer. The system displays a Create Product File dialog in which you enter a file name.

Click OK. A progress indicator is displayed. When the export process is complete, the indicator displays a link to the archive file.
Click the link to download the file.
 Note: After you have created your product rule, you can also create the archive file using the Export gadget. The gadget is available from the Configure menu in Dev Studio by selecting Application > Distribution > Export. In the gadget, provide the product information and click Export. You can also use the Export gadget to quickly package specific rulesets and data objects without having to create a product rule.
Updating the product rule after you use the wizard
The product rule created by the wizard uses default settings that you may have to override, depending on your requirements or selections you made in the wizard. Click Modify to open the rule and make your updates.
| What you want to export | Where to make the update |
|---|---|
| You export delegated rulesets. | In the File details section, select the Allow unlocked ruleset versions? check box. These rulesets must be unlocked so that users can access them on the destination system. In the Applications to include section, select the Custom/Production rulesets check box. |
| You exclude specific associated data instances in the wizard. | In the Applications to include section, clear the Include associated data items check box. Otherwise, all associated data items are included in the archive file. |
| You exclude specific data tables in the wizard. | In the Applications to include section, clear the Include data types check box. Otherwise, all data types are included in the archive file. |
| You want to exclude rule history instances. | In the Applications to include section, clear the Include rule history check box. |