You can publish application changes that you make in App Studio to the pipeline. Publishing your changes creates a patch version of the application and starts a deployment. For example, you can change a life cycle, data model, or user interface elements in a screen and submit those changes to systems in the pipeline.
Before you begin: Review the steps in Configuring App Studio for publishing to ensure proper configurations
of your systems before making application changes in App Studio.
To publish an application change using App Studio:
-
Log in to your application in a development environment.
Note: Application changes can only be published from a development environment.
-
In the top-right corner of App Studio, click
Development.
- If there are pending updates staged for publication, the application version states Not published in orange text.
- If there are no updates, the application version states No changes.
- Click Manage versions.
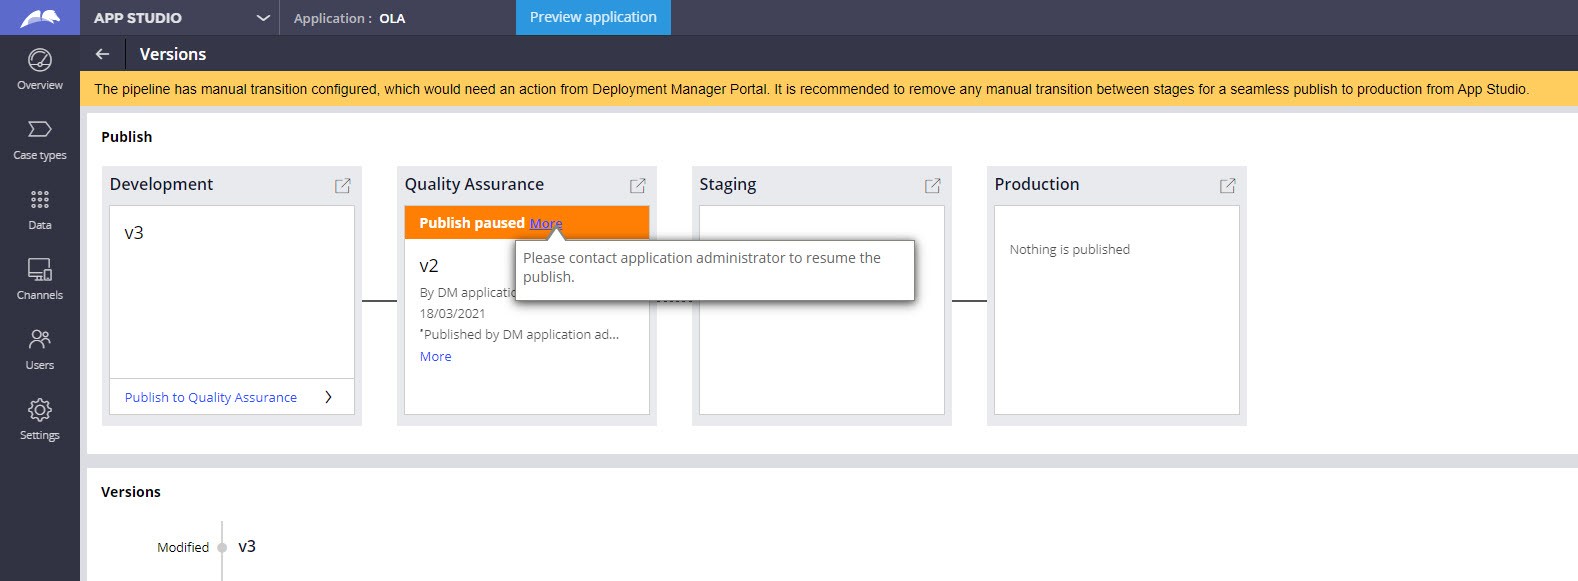
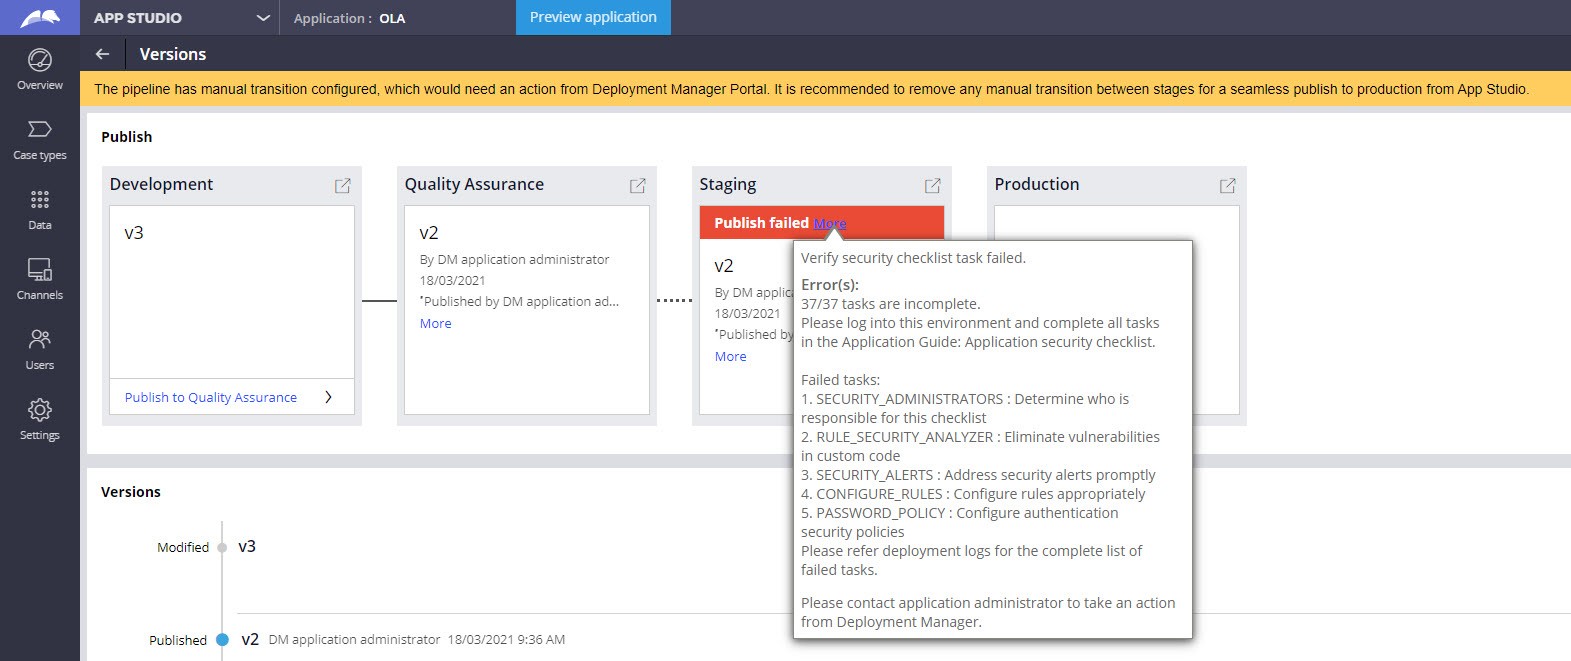
- Your deployment pipeline is now visible under the Publish section, broken out into the pre-configured stages.
-
From the Development stage, click Publish to [next
stage].
Note: Publishing a new application aborts all existing publishes in progress, queued, and pending-promotion versions, irrespective of phase or stage. Ensure there are no active publishes in your pipeline before starting a new one.
- In the publish confirmation dialogue, enter a short description for the publish log. You can also add any associated user stories/bugs if you have Agile Workbench configured with App Studio.
- Click Ok.
-
The publishing of your application now progresses through your deployment
pipeline model.
Note: If you have a manual transition configured, this is marked in the pipeline model by a dotted-line between stages. This requires you to take action from the Deployment Manager portal.
- Click Approve for production to finalize the publish and stage for production. App studio only supports the approval of publishing. To cancel or abort your publishing, simply start a new publish to overwrite any existing publishes in the pipeline.