Creating data relationships in Views
4 Tasks
10 mins
Scenario
Note: The framework of this challenge uses the view-based Constellation architecture of Pega Platform. To practice this challenge on the traditional UI-based architecture Theme Cosmos, see the Creating a data relationship version 8.7 challenge.
The Mayor of MyTown asks you, the town project manager, to enable residents to report problems they encounter on line so that the necessary work can be performed and approved. To accomplish this task, you need to add the project request type to the town's standard online submission form. You also need to encourage users to add their personal information to their report so they can be contacted should additional information be needed to complete the work. You can accomplish this by adding data relationship fields to the views for the steps that gather and display the specific information.
Some views have been previously configured by a different MyTown developer.
The following table provides the credentials you need to complete the challenge.
| Role | User name | Password |
|---|---|---|
| Application Developer | author@mytown | pega123! |
Note: Your practice environment may support the completion of multiple challenges. As a result, the configuration shown in the challenge walkthrough may not match your environment exactly.
Challenge Walkthrough
Detailed Tasks
1 Create the Request type data reference field in the Report problem step
- In the Pega instance for the challenge, enter the following credentials:
- In the User name field, enter author@mytown.
- In the Password field, enter pega123!.
- In the App Studio navigation pane, click Case types > Service Request to display the Service Request case life cycle.
- In the Service Request case type, click the Report problem step to open the contextual property pane on the right.
- In the contextual property pane, click Configure view to add fields to the view.
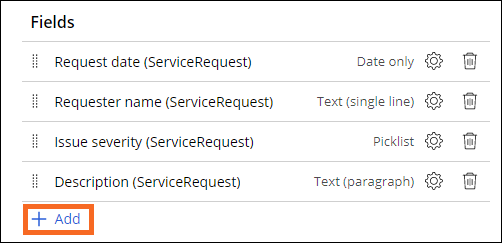
- Below the Fields section, click Add.
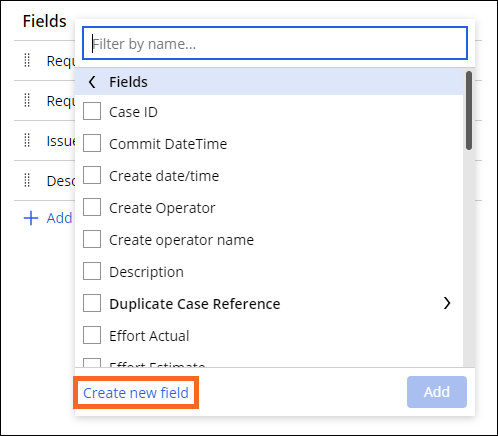
- Click Fields > Create new field to open the Add field dialog box.
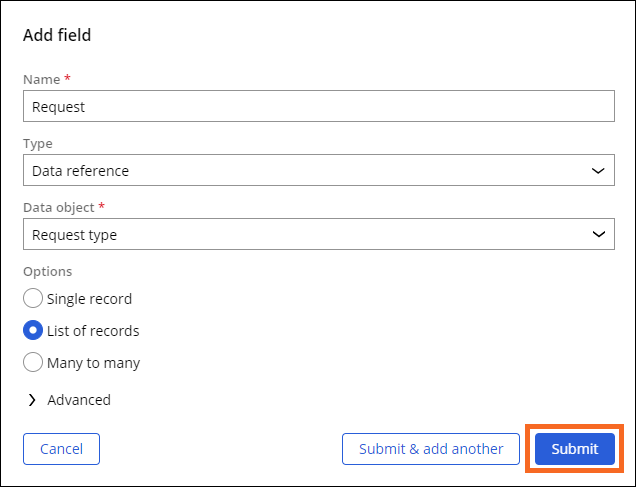
- In the Name field, enter Request.
- In the Type list, select Data reference.
- In the Data object list, select Request type.
- In the Options field, select List of records.
- Click Submit to close the Add field configuration window.
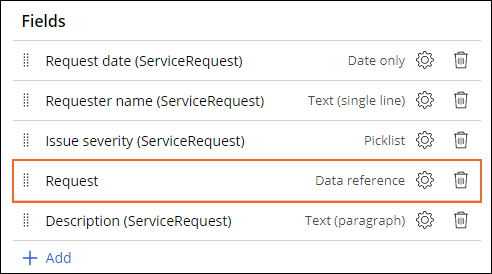
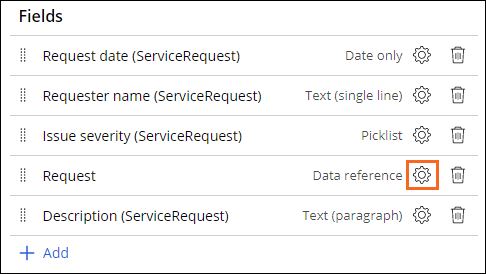
- Using the left-side Direction icon, drag the Request row to drop it above the Description (ServiceRequest) field.
2 Configure the properties of the Request field
- To edit the properties of the Request field, click the Configure button.
- In the Input settings section, in the Display as list, select Combo-Box.
- In the Display field list, select Type.
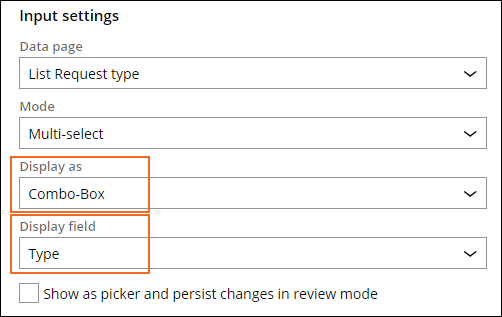
- In the Conditions section, in the Required list, select Always.
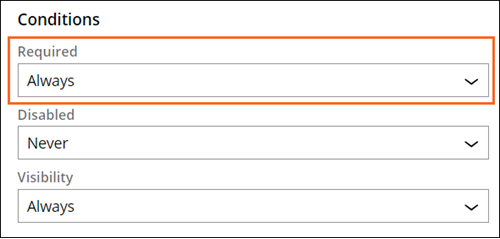
- Click Submit to finish configuring the Request view properties.
3 Create the Embedded data field Submitter Information
- Click the Identify submitter step to open the contextual property pane on the right.
- In the Step properties pane, click Configure view.
- In the Fields section, click Add.
- Click Fields > Create new field to open the Add field dialog box.
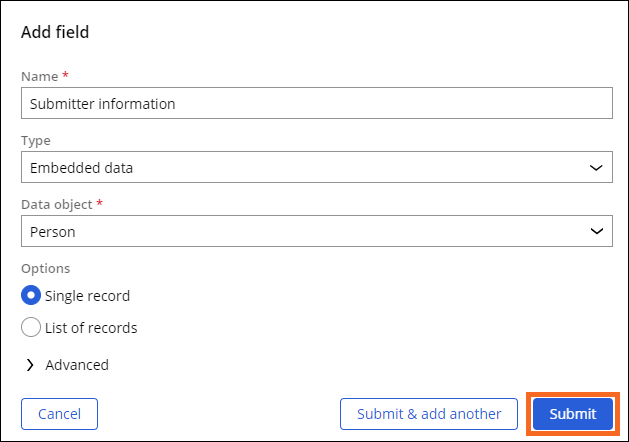
- In the Name field, enter Submitter information.
- In the Type list, select Embedded data.
- In the Data object list, select the Person data object.
- Confirm the radio-button selection is Single record.
- Click Submit.
4 Create the Submitter Information view
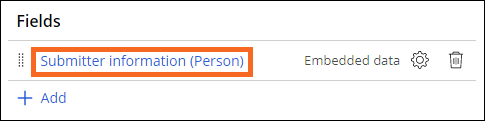
- In the Fields section, click Submitter information (Person).
- To the right of Primary fields, click the Remove icon to delete the Primary fields row.
- Click Add > Fields.
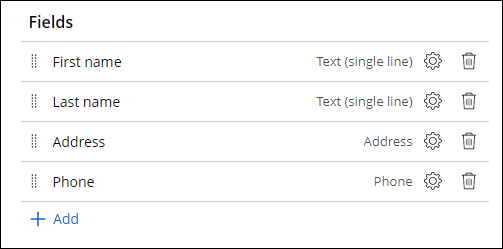
- Select the Address, First name, Last name, and Phone fields, and then click Add.
- Using the Direction icons, drag the rows in the order of First name, Last name, Address, and Phone.
- Click Submit to finish configuring the Submitter information view.
- Click Save.
Confirm your work
- In the Service Request case type, click the Data model tab to confirm that the Request and Submitter information data relationship fields are displayed.

- Click Save and run.
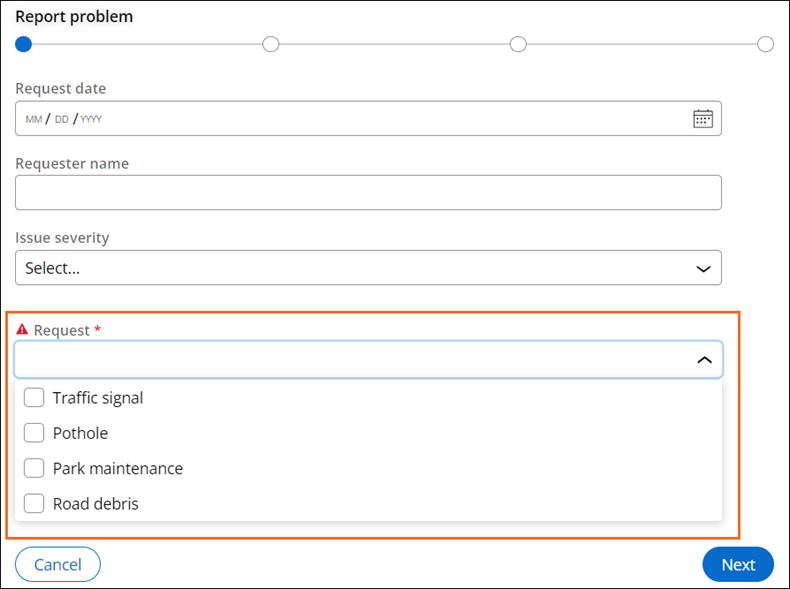
- In the Report problem step, confirm that the Request field is required and displays a combo-box that provides the Types: Traffic signal, Pothole, Park maintenance, and Road debris.
- Select Traffic signal, and click Next to advance the case.
- Click Next to advance past the Identify location view.
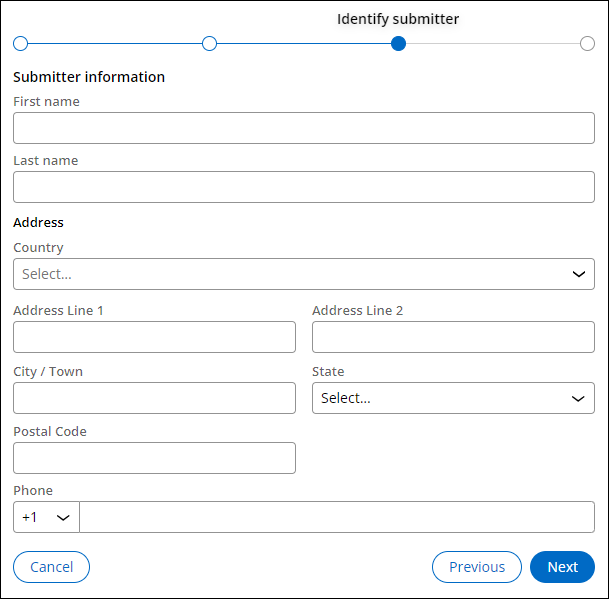
- In the Identify submitter step, confirm that the view has First name, Last name, Address, and Phone fields.
This Challenge is to practice what you learned in the following Module:
Available in the following missions:
If you are having problems with your training, please review the Pega Academy Support FAQs.
Want to help us improve this content?