Creating and adding skills
In Pega Customer Service™, a chat queue is the work queue for chat requests that are received from one or more web pages. Chat skills can be added and associated with chat queues and customer service representatives (CSRs). CSR operators can join queues that match their skills.
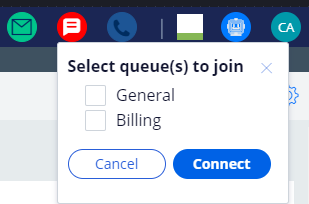
For example, CSR operators with billing skills can join the Billing chat queue and handle customers with specific billing requests. When the CSR with Billing skills logs in to the Interaction Portal, the CSR can join the queues with the same skills.
Creating a new skill
The first step is to create a new skill.
- In Dev Studio, navigate to Create > Process > Skill. The Create Skill record is displayed.
- In the Label field, provide a skill name and click Create and open. The Edit Skill window opens.
- In the Edit Skill window, set the high and low values for the skill. and click Save.
- You can see a list of available skills by navigating to Configure > Case Management > Work Management > Skills.
Adding a skill to a CSR
After creating a new skill, you want to associate it with users.
- In the navigation pane of App Studio, click Users > People.
- Select the user you want to add the new skill to. The user page is displayed.
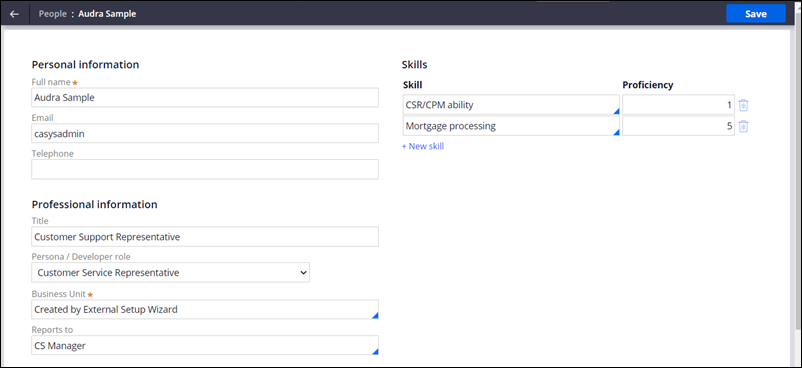
- Click New skill and select a skill from the drop-down list.
- Select a Proficiency from 1 to 10, with 10 being the highest.
Note: The proficiency lets you rank users. When a chat request is received, the routing engine assigns the request to the highest proficiency user who is available.
- Click Save.
Adding a skill to a queue
After creating a new skill and associating it to a user the next step is to associate that skill with a chat queue.
- To access the queue settings, in the navigation pane of App Studio, click Settings > Chat and messaging, then click the Queues tab. The list of queues is displayed.
- To select the queue, click the gear icon to the right of the queue name. The queue settings dialog is displayed.
- On the queue settings dialog, click the Members tab.

- On the Members tab, click Add skill and select the skill from the drop-down list. The users who have the selected skill are listed in the Members section.
- Click Save to save the changes and close the dialog.
- Click Save to save your queue configuration.
This Topic is available in the following Modules:
If you are having problems with your training, please review the Pega Academy Support FAQs.
Want to help us improve this content?