Creating a segment
Business scenario
U+, a retail bank, wants to use the always-on outbound approach to send promotional emails to qualified customers. As the starting population for the outbound schedule, the bank wants to include all customers who have opted in to receive promotional emails.
Creating a segment
To meet the business requirement, you need to create a segment with two criteria.
- A criterion to reference the existing top-level segment, All Customers, which contains a list of all customers in the customer base.
- A criterion to check if customers have opted in to receive promotional emails.
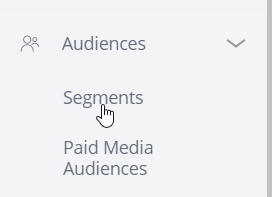
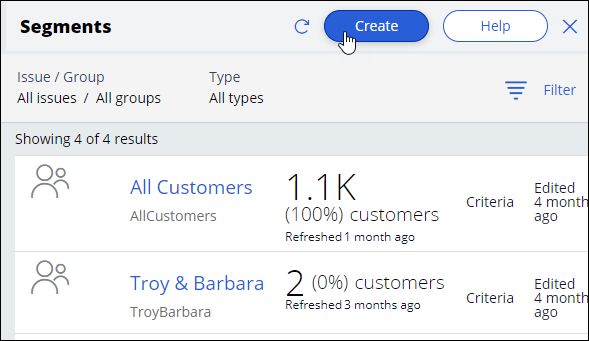
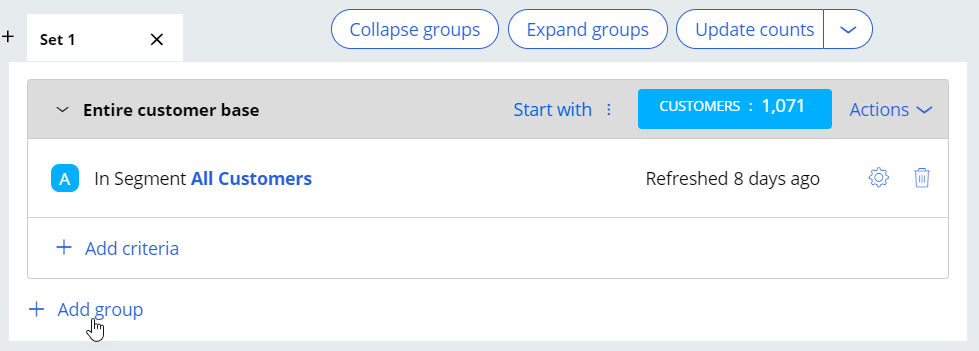
Segments are managed on the Segments landing page. The Segments landing page can be accessed from Audiences -> Segments in the navigation menu.
You can open existing segments or create a new segment from here.
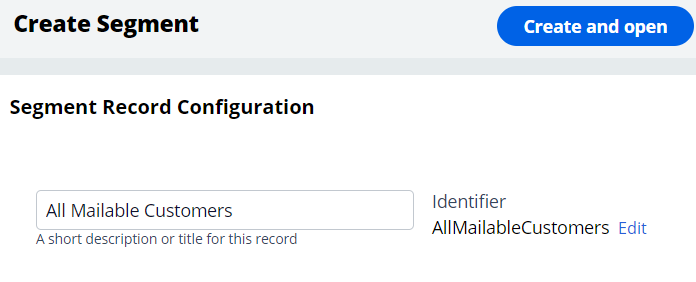
Provide a short description for the new segment, and the identifier is automatically populated when you tab out.
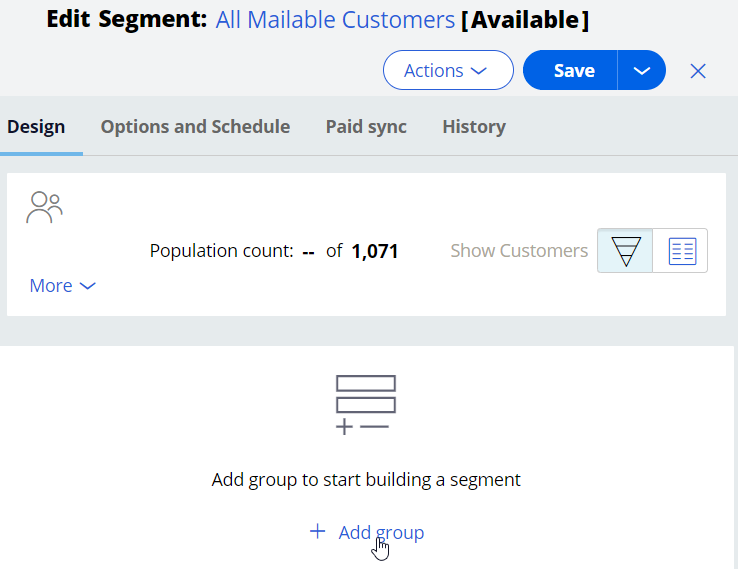
Entering the segment criteria
The Design tab is where you assemble the criteria required to identify customers of interest.
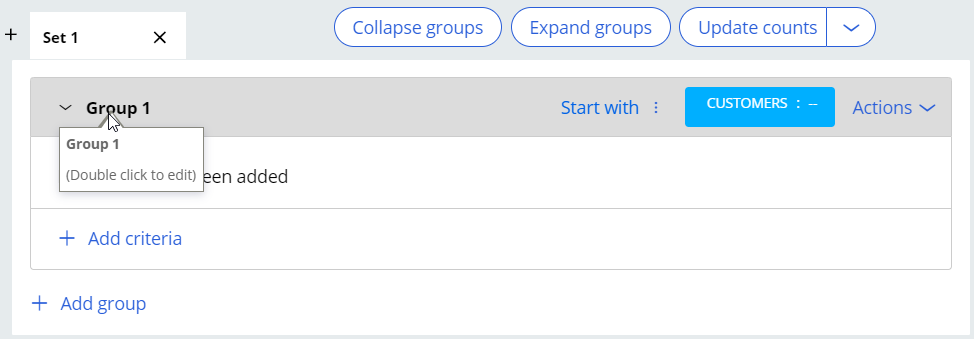
Segment criteria are grouped for ease of reading. So, before you can add the first criteria, add a criteria group.
You can provide a more descriptive name for the criteria group.
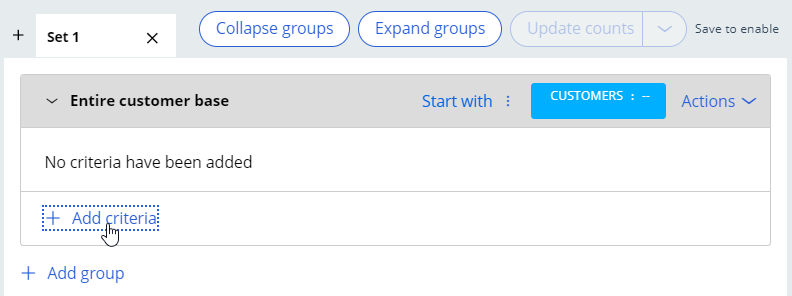
In this scenario, the bank wants to consider all customers in the customer base, then select the customers who have opted in to receive promotional emails. The bank has already created the All Customers segment, which contains the list of all customers. You can reference this segment in the first criterion.
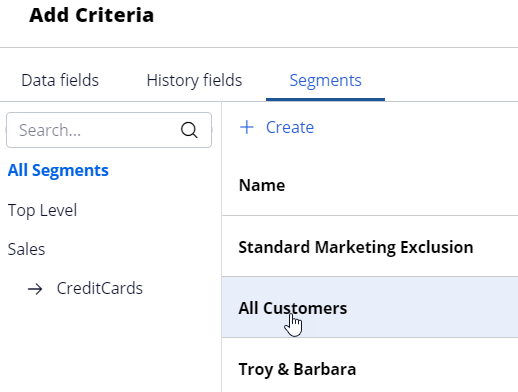
In the Add Criteria window, the Segments tab lists all available segments. Select the existing All Customers segment.
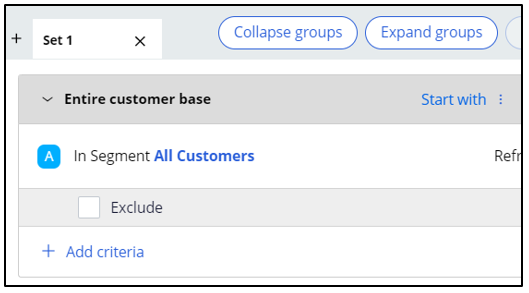
The All Customers segment is added as the first segment criterion. The Exclude option allows you to exclude the result of a criterion.
The next step is to add another criterion to identify customers who have opted in to receive promotional emails. You can add the new criterion in the existing criteria group or in a new group.
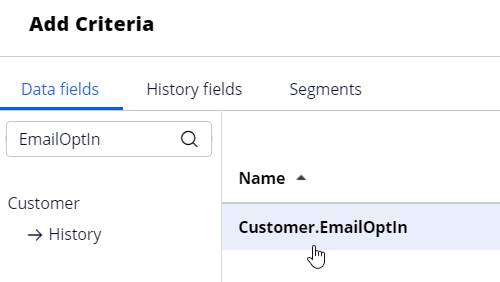
In the Add Criteria window, the Data Fields tab lists all available customer properties. You can either select the field directly or search for it by entering the partial name in the search field. Then, select the desired field from the search results. In this system, the field EmailOptIn contains the information about whether a customer has opted in to receive emails or not.
Once the field is selected, you can configure it to meet the business requirement. In this system, the value Y indicates that the customer has opted in, and N indicates that he/she has not opted in to receive promotional emails.
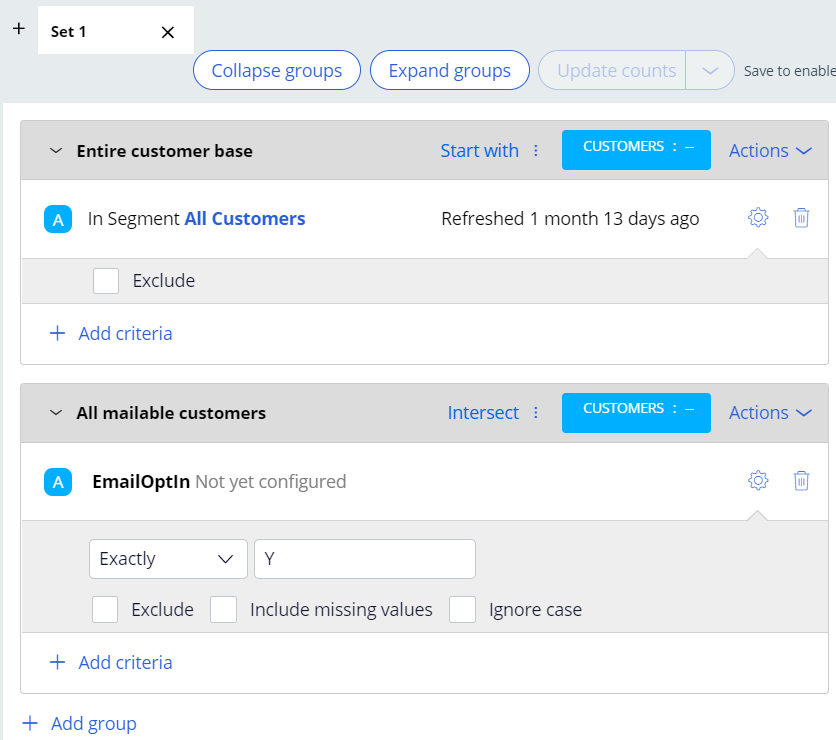
The Include missing values option is used to include results that do not have a value specified for the selected field.
The Ignore case option is used to perform a case-insensitive search. You can leave both options unselected for this scenario.
The Update Counts option is used to update the population count of the segment while you are building it.
Note: The Update Counts option is enabled when you save the segment.
You can combine the result of a criteria group with the result from the criteria group above it using one of the three options:
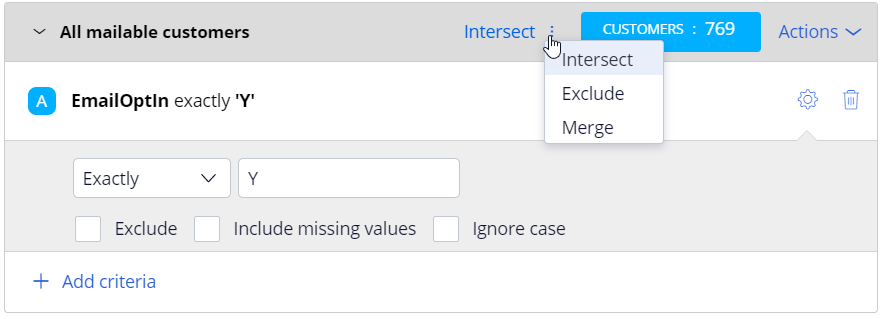
Intersect selects the customers the two results have in common.
Exclude excludes the result of the current criteria group from the result above it.
Merge combines the results of both criteria groups.
Save and run the segment
When you are done defining all the segment criteria, you can save and run the segment. Running the segment will populate the number of customers in a segment out of the total number of customers in your application.
Click Run to run the segment.

While the segment is running, you can stop the execution by clicking the Stop button.

Once the run completes, the number of customers in the resulting segment is displayed as Population count.
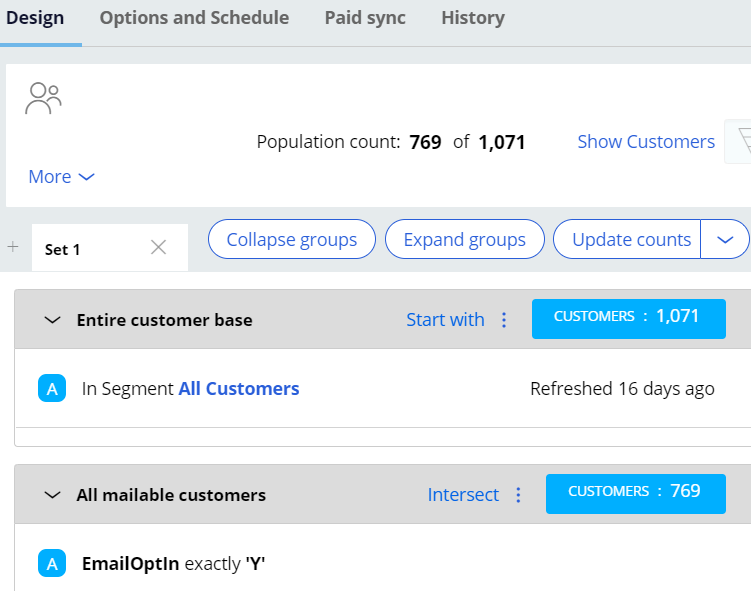
There are 1071 customers in the All Customers Segment, out of which 769 customers have opted in to receive promotional emails.
Click the Show Customers link to preview the list of customers selected for this segment.

The list is shown in a separate window.

Key segment configurations
On the Options and Schedule tab, there are two key settings under Data Options that control how data in the segment is refreshed at run-time and what level of control a segment can exert over other segments.
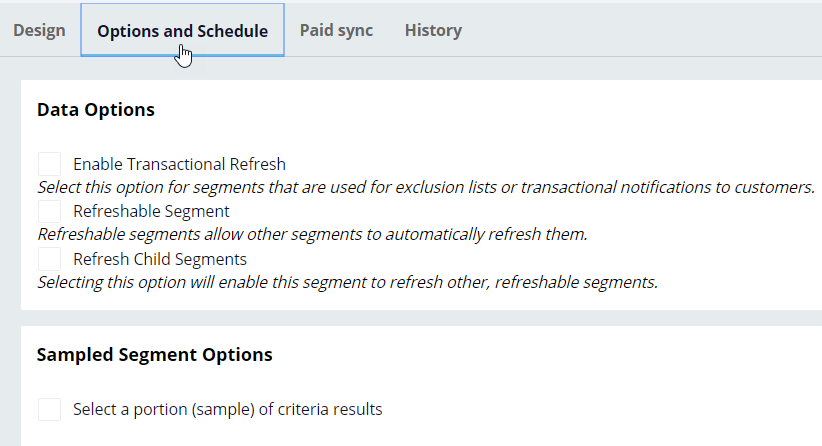
When the Refreshable Segment option is enabled, the segment will be refreshed when the other segments that reference it are run.
The Refresh Child Segments option allows you to control the cascading effect of the refresh operation. The segment can automatically refresh data in its child segments, if they are marked as refreshable.
The Sampled Segment Options allows you to select a random sample of a segment result to be selected as the final segment result.
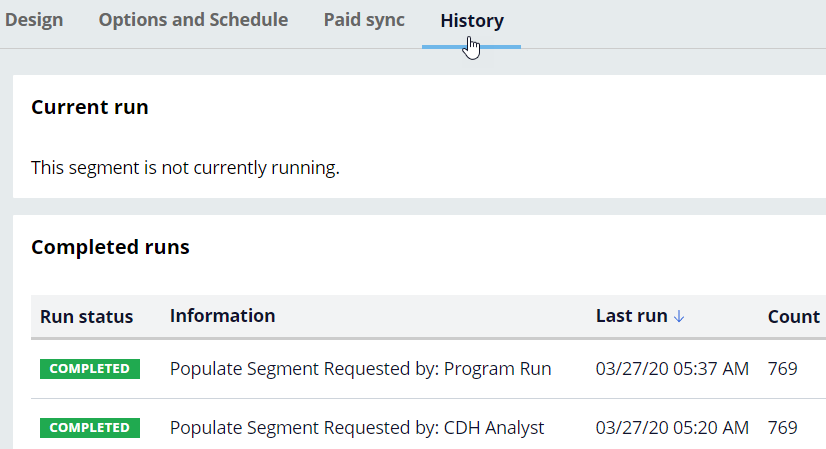
Segment run history
On the History tab, you can view the details of previous execution runs. The history lists the runs triggered manually by a user, indicated by Populate Segment Requested by: <user name>. It also lists runs triggered by the outbound schedule in Next-Best-Action Designer, indicated by Populate Segment Requested by: Program run.
This Topic is available in the following Modules:
If you are having problems with your training, please review the Pega Academy Support FAQs.
Want to help us improve this content?